Binding, binding and more binding!
So you pieced your quilt top or table runner or baby blanket, and you did all your quilting on it. Maybe it was meandering stitch, some fancy free motion, straight walking stitch or even knotted, whatever you did, it’s now ready for the binding. Did you know you have a few options with your binding?
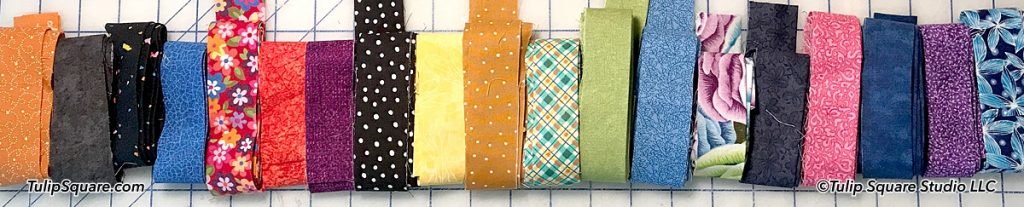
We recommend waiting until your project is finished or at least all pieced together, before picking out your binding fabric. It’s a lot easier to visualize your binding next to the finished top instead of next to a pile of several fabrics. If you have your binding coordinate with your backing fabric, your item will be reversible. Especially handy for kitchen items.
First of all, there are different widths your binding can be. Most common are binding strips cut 2-1/4 or 2-1/2 inches wide, but you can use a different width if you choose to.
Before you cut your binding, you need to understand that your fabric has three directions with varying stretchiness. If you try to stretch your fabric parallel to the selvage edges you’ll see there is basically no stretch at all in this direction. If you try stretching from selvage to selvage you’ll have a fair amount of stretch. And if you took a square of fabric and pulled it from corner to corner, you’ll find the most stretch of all. This is important to know because your binding needs vary with different projects. For example, if your project will get a lot of use, or it has curved edges, you will want to cut your binding on the bias. This is the most durable edge you can give your quilt or other project, because the threads of the binding are criss-crossing the edge, instead of running straight across the edge of the binding.
Bias cut is best used on quilts and bed covers and is preferred, as the edges aren’t as likely to get worn and frayed from a lot of handling. Bias cut is also preferred on anything with curved or rounded edges because the stretch can handle the curves much better.
When bias cut is not practical or needed, then cutting the binding from selvage to selvage is the next option. There is still a good amount of stretch in this direction so corners and long sections will stitch without issue.
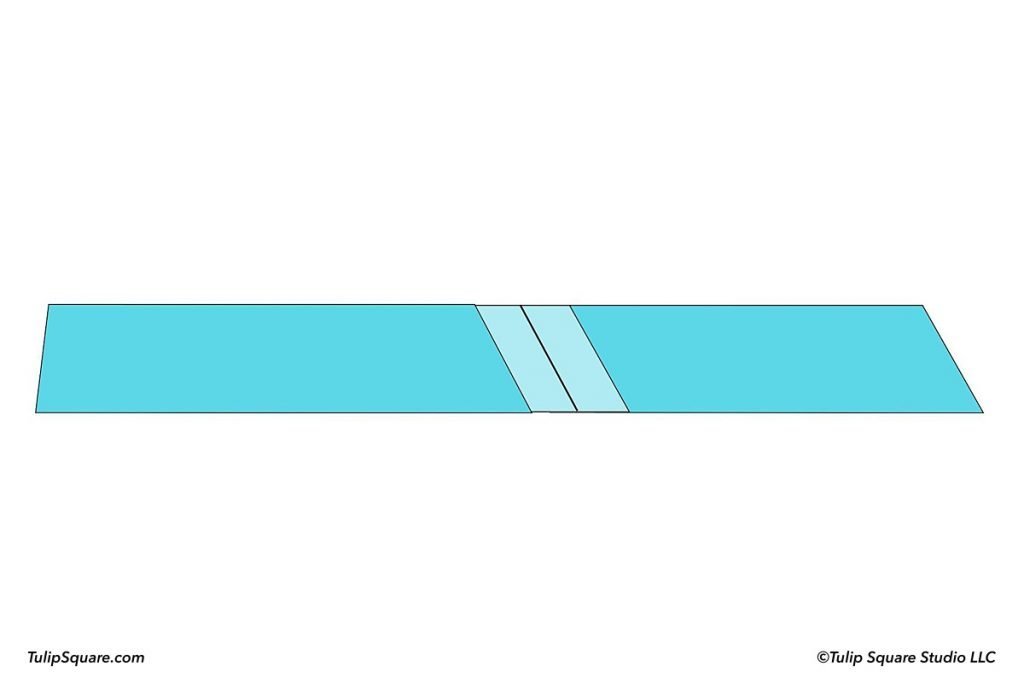
Connecting the ends of your binding is very important as well. You want to connect on the bias if at all possible as it reduces the bulk in the binding. There are only a few instances where this isn’t practical, such as small items like coasters and some potholders. (See our Blog Post “Easy Scrappy Binding” for everything to do with actually adding and finishing your binding.)
Here are three ways to cut binding on the bias. Two are a bit easier but require you to sew a lot of strips together, and the third takes a little more time but gives you one long continuous strip. Here’s the easier ones first –
Quickest way to cut your bias binding:
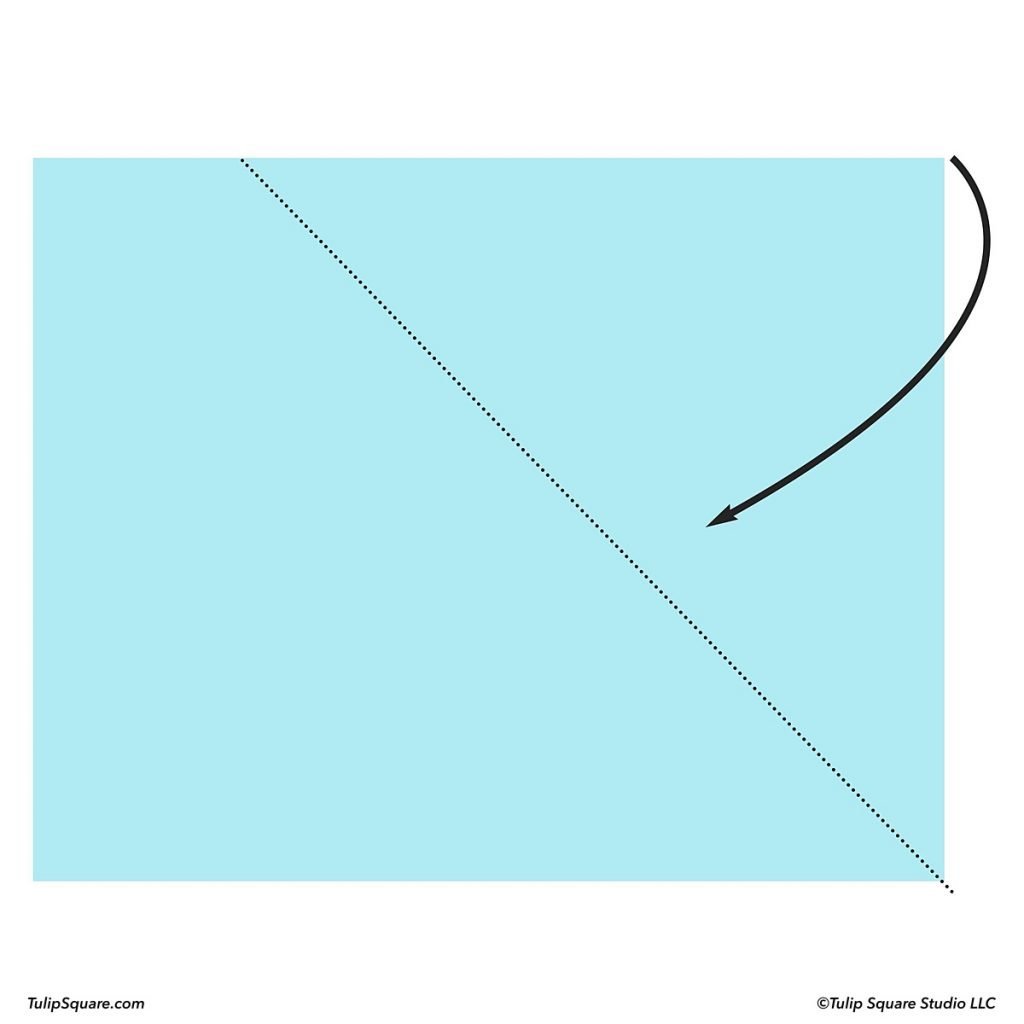

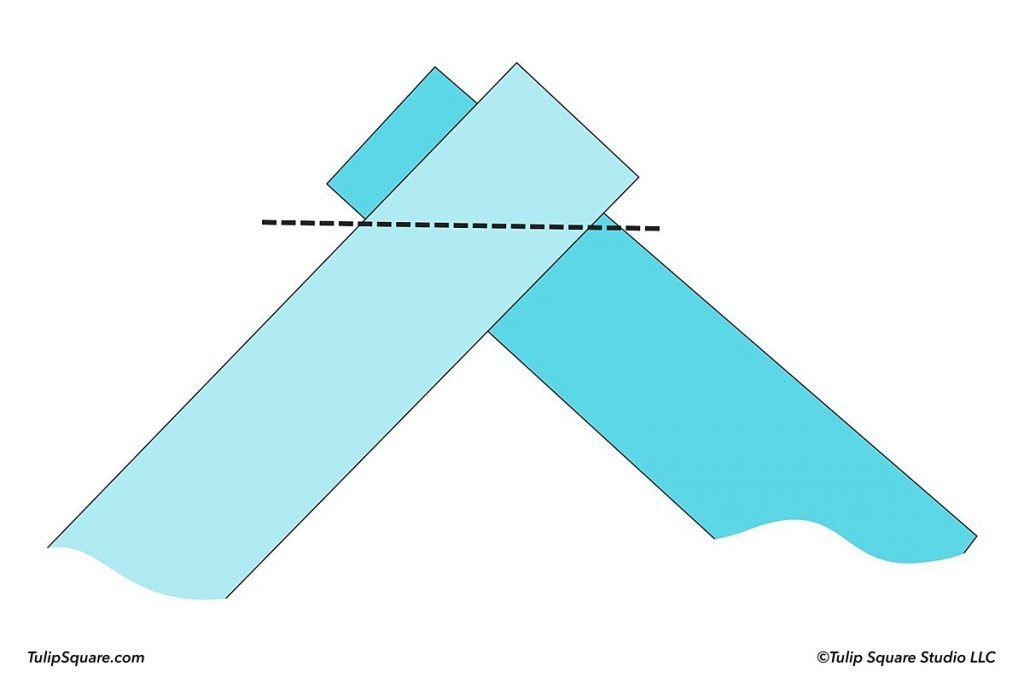
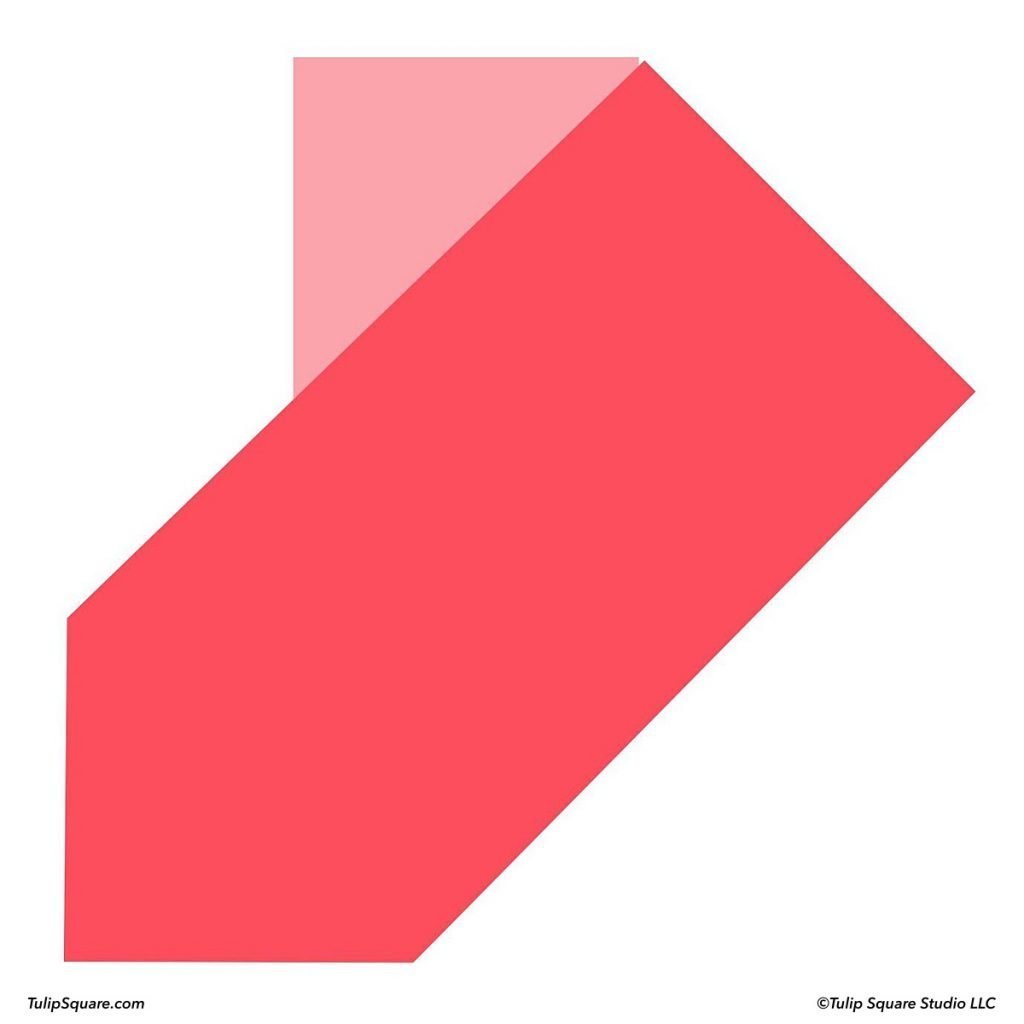
Open your piece of fabric and lay it flat and smooth, wrong side up. Fold one corner down to meet the opposite edge, forming a triangle with the two edges meeting neatly. The closer to square your fabric is, the more strips you’ll be able to cut.
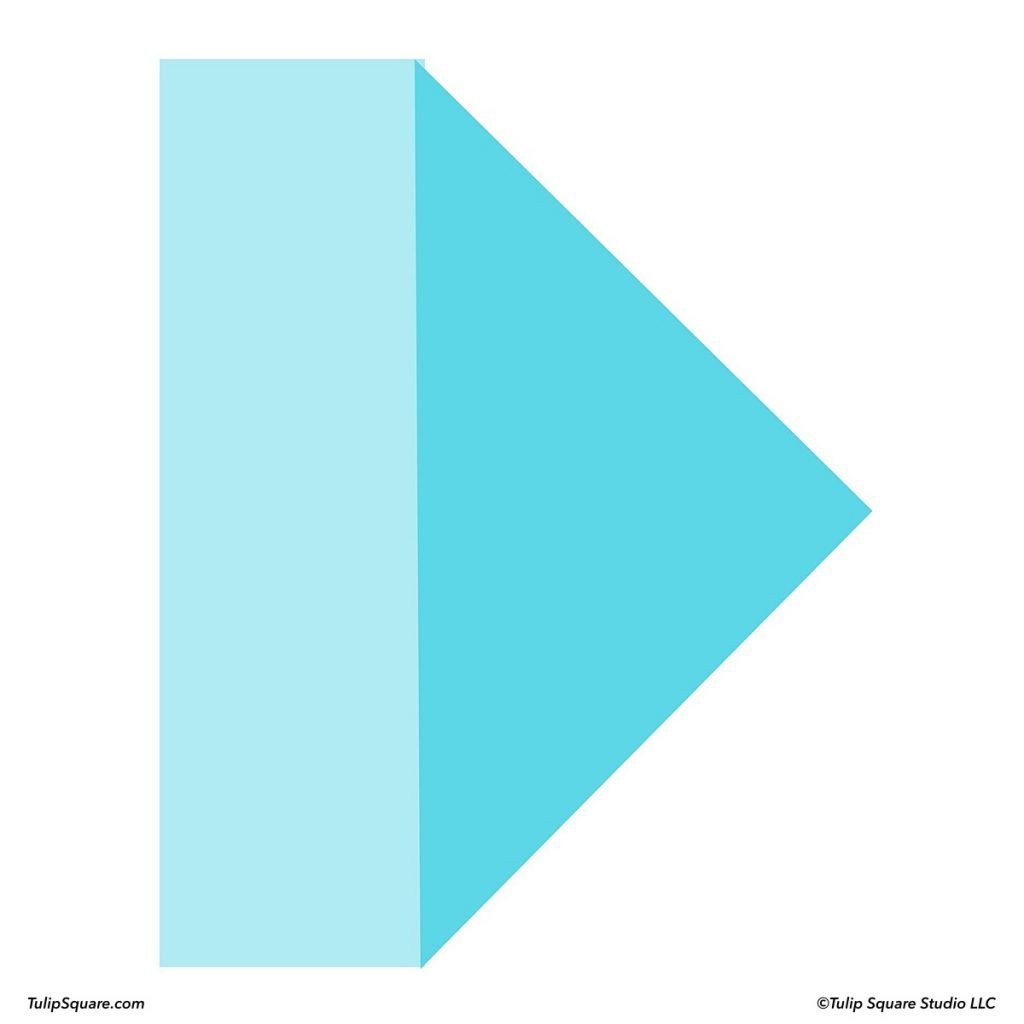
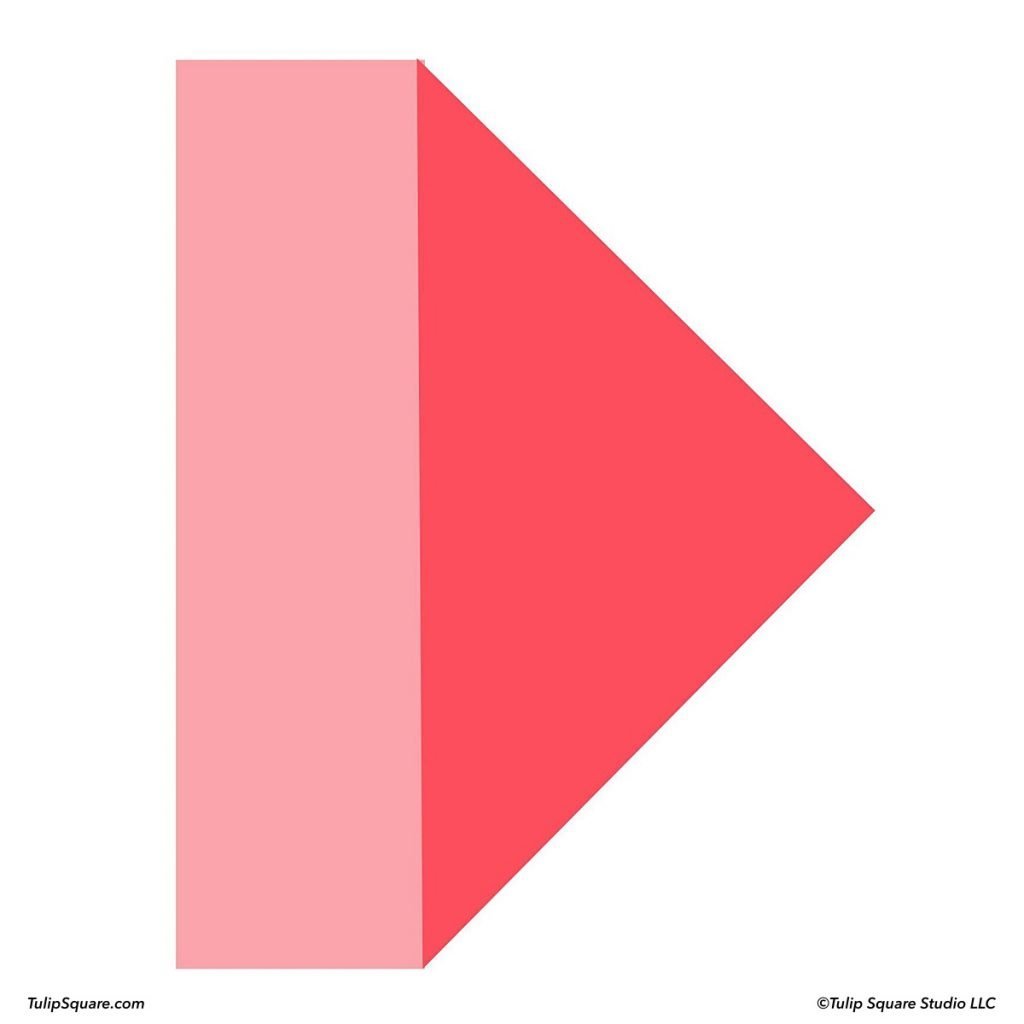
Next fold the point of the corner up to meet the opposite point on the triangle. Keep all edges even. I like to press it here to keep everything in line.


Starting along the folded edge, measure, mark and cut your strips. Cut along the fold line as well.
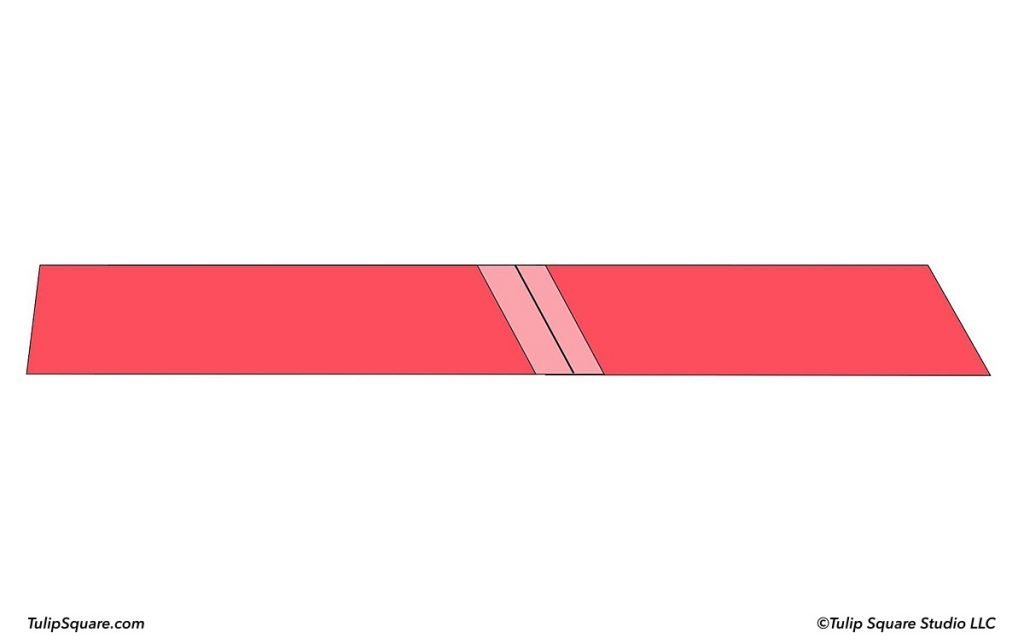
Sew ends together, right sides facing, to make the desired length of binding you need.
A similar bias binding method:
This method is done the same as the quick one above, with just one extra step. You’ll end up with the same number of strips in the same sizes, but your cuts will be shorter (and through more layers at once).
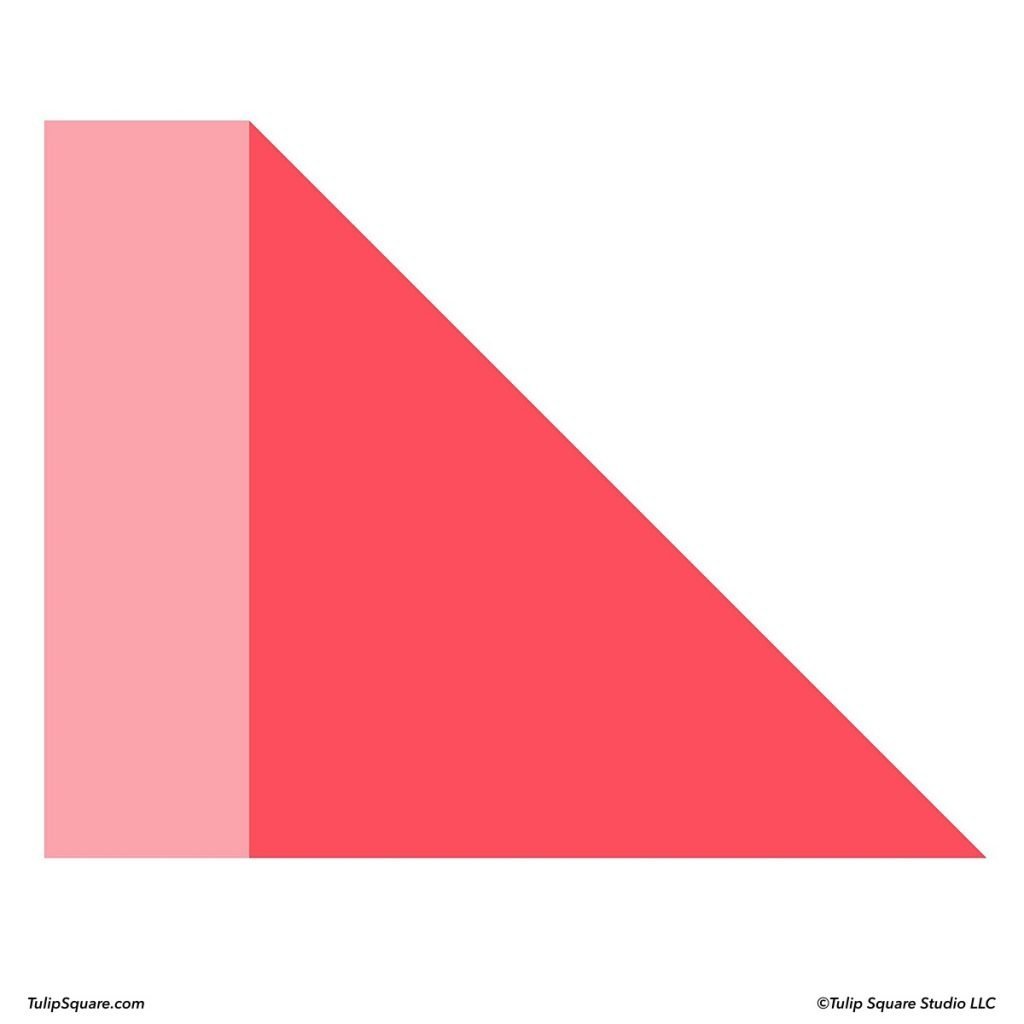
Open your piece of fabric and lay it flat and smooth, wrong side up. Fold one corner down to meet the opposite edge, forming a triangle with the two edges meeting neatly.
Next fold the point of the corner up to meet the opposite point on the triangle. Keep all edges even. I like to press it here to keep everything in line.
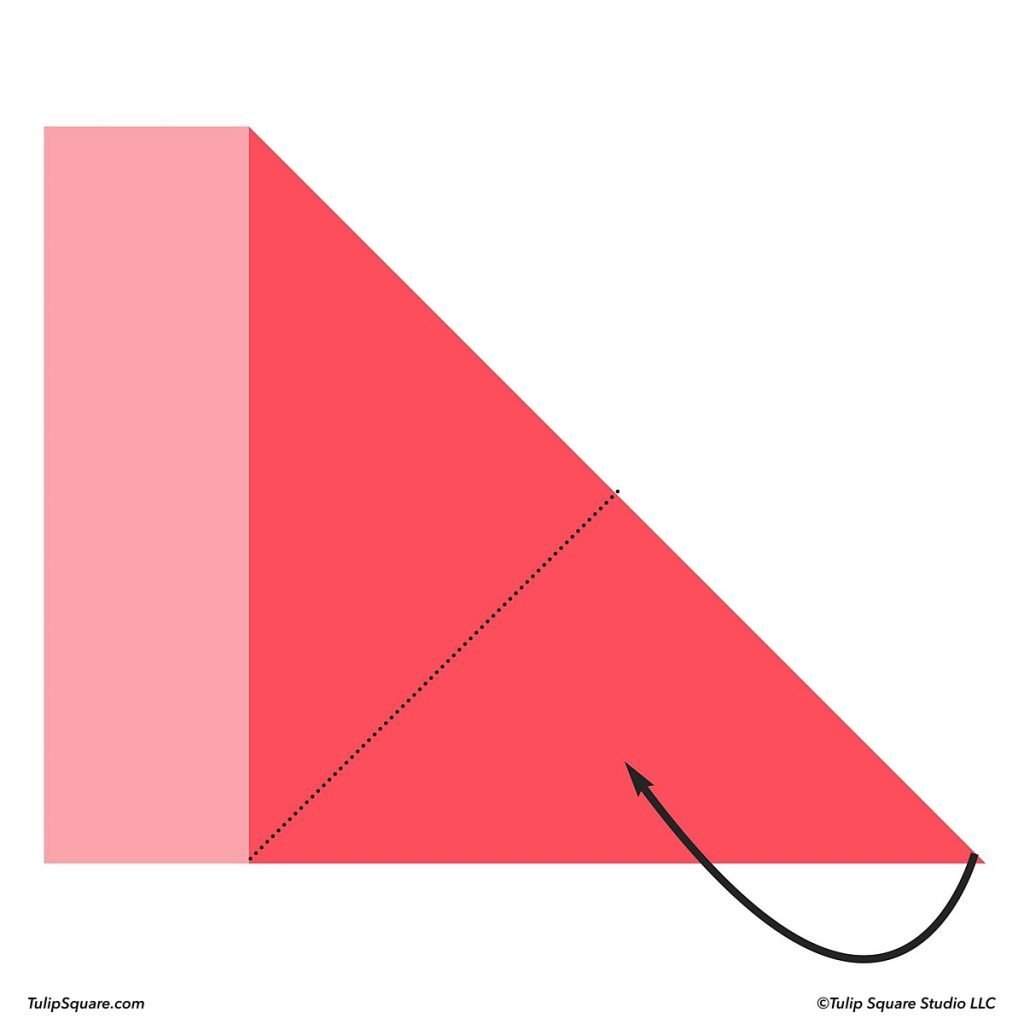
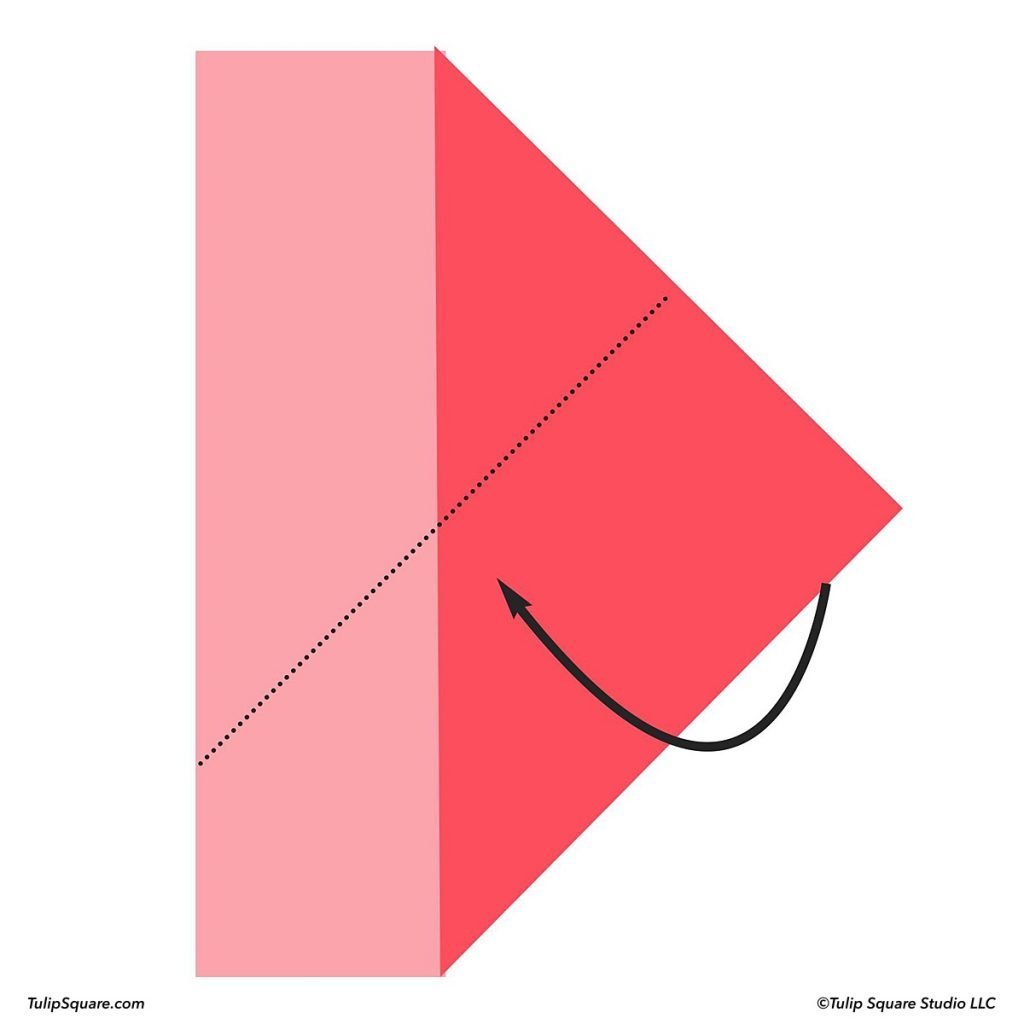
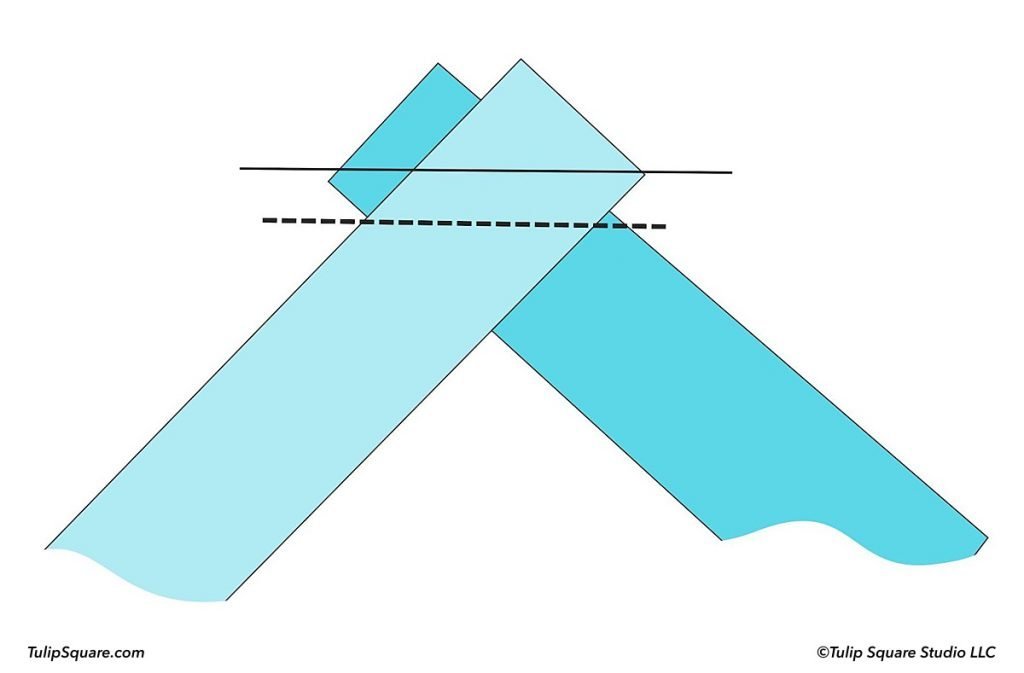
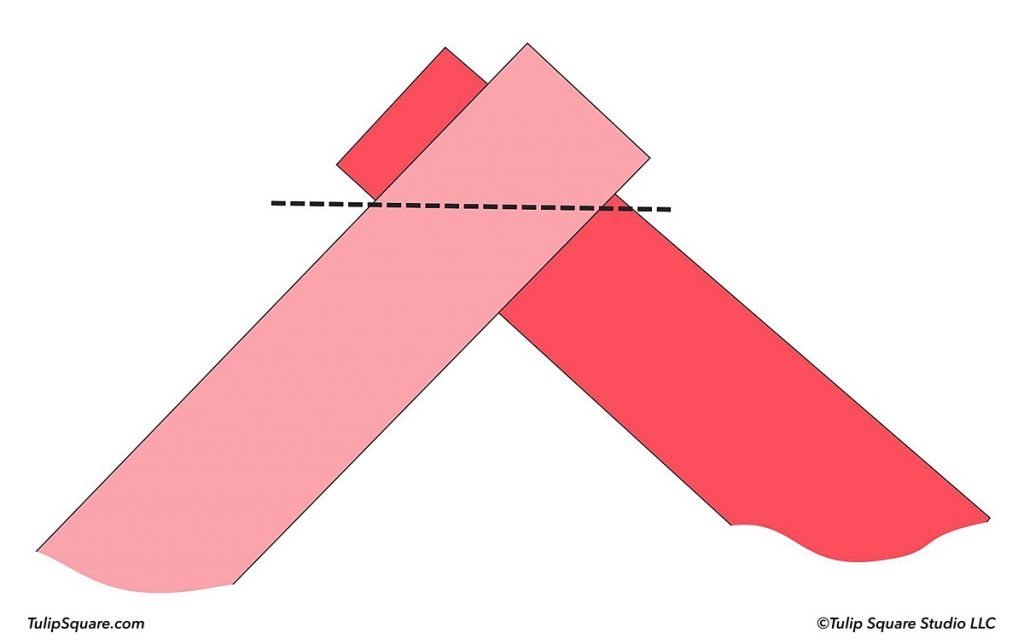
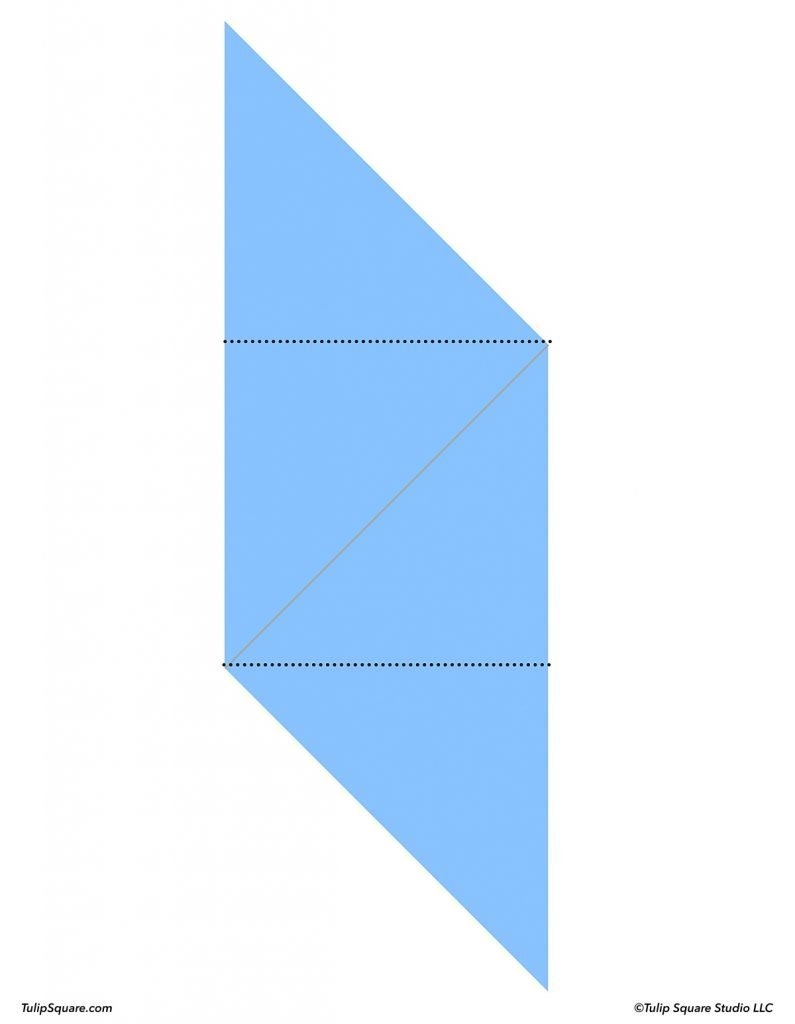
Find the point half way between the two corners on the angled right side and make a fold here parallel to the bottom fold.
Measure, mark and cut your binding strips, starting along the right angled edge.

Sew ends together, right sides facing, to make the desired length of binding you need.

This method takes more time but makes one continuous strip:
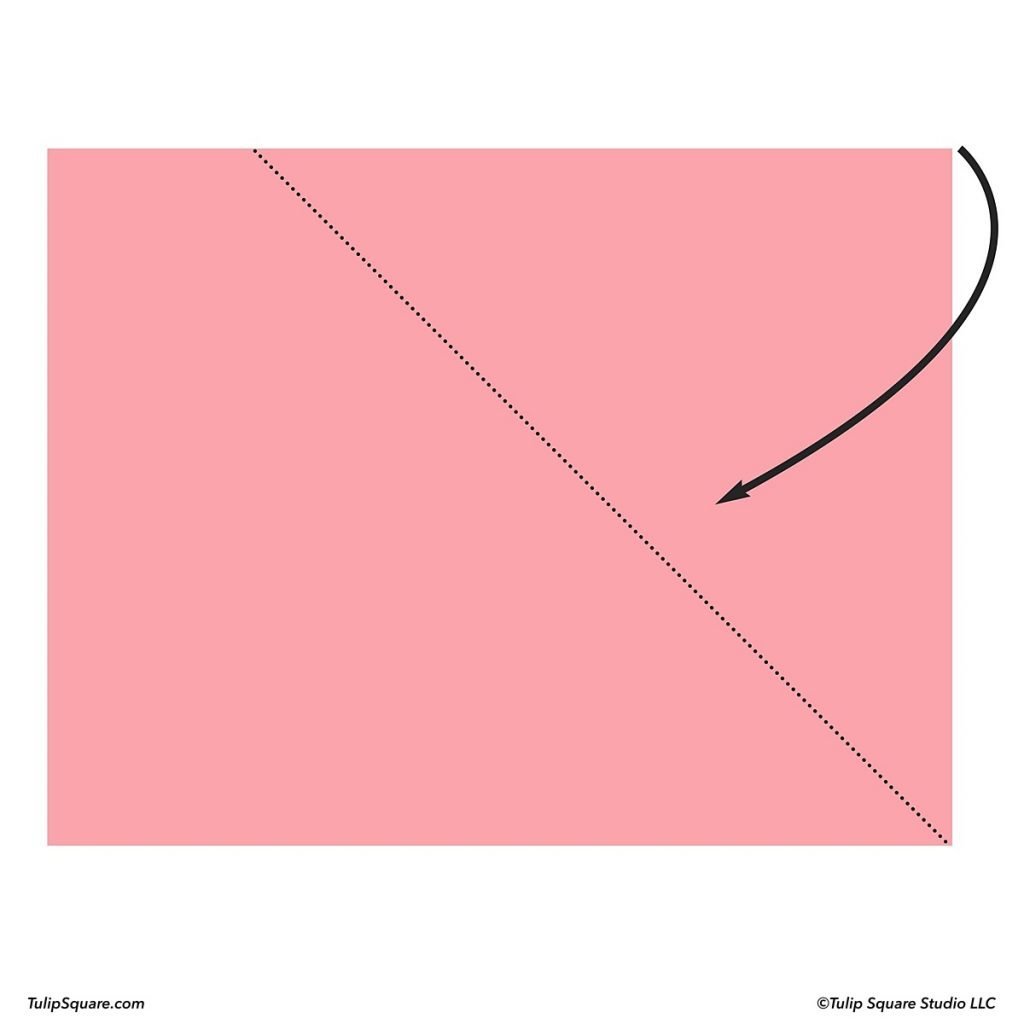
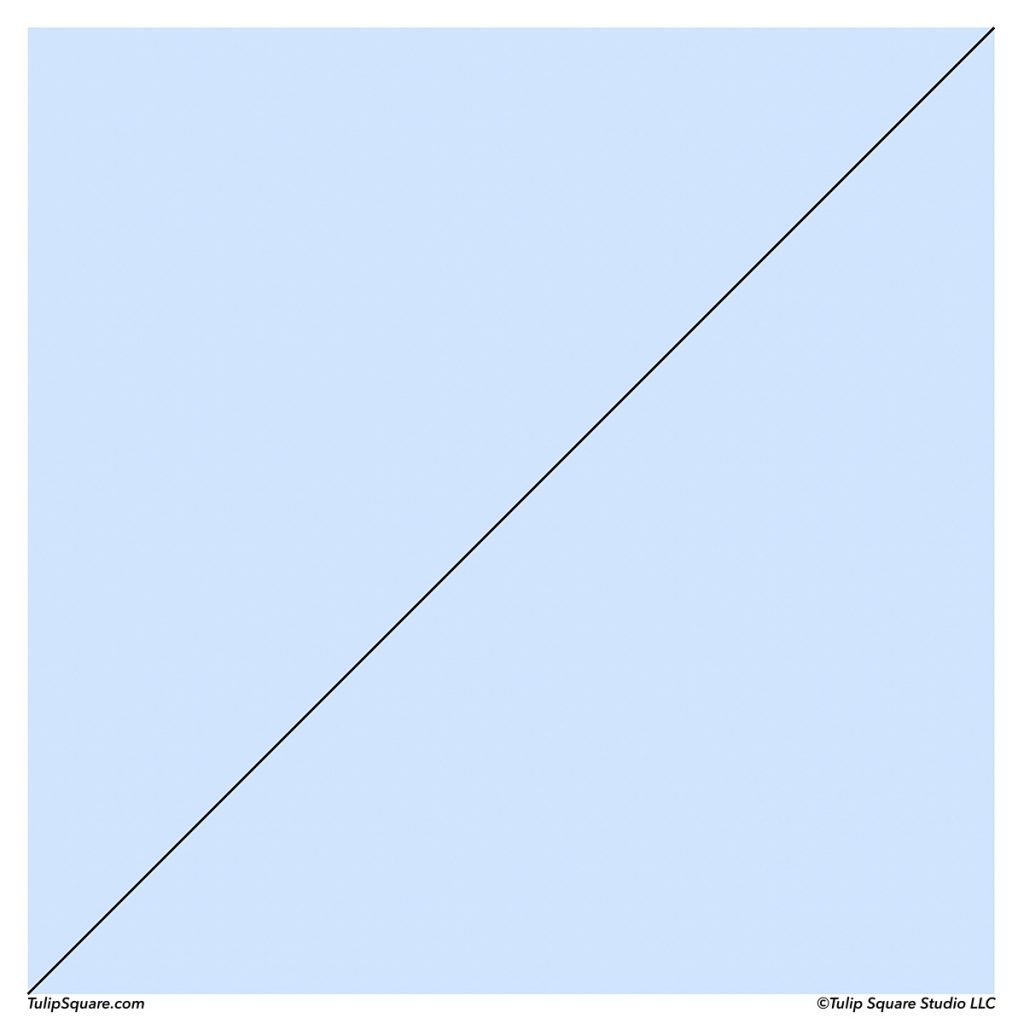
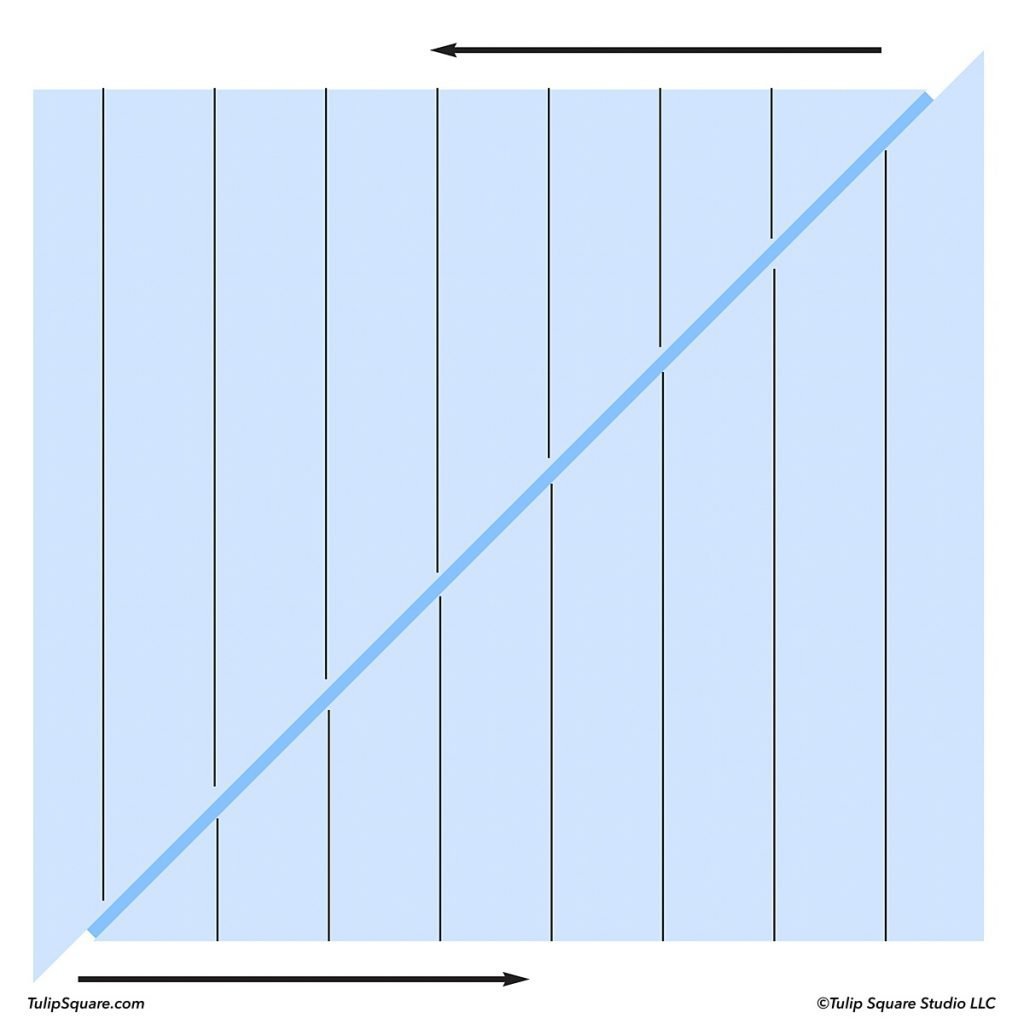
You’ll need a square piece of fabric for this method. Start by cutting the square on the diagonal. Take the two halves and sew them together with a 1/4 inch seam, right sides facing, along a straight edge as shown here. Get this step right or the rest will not work.
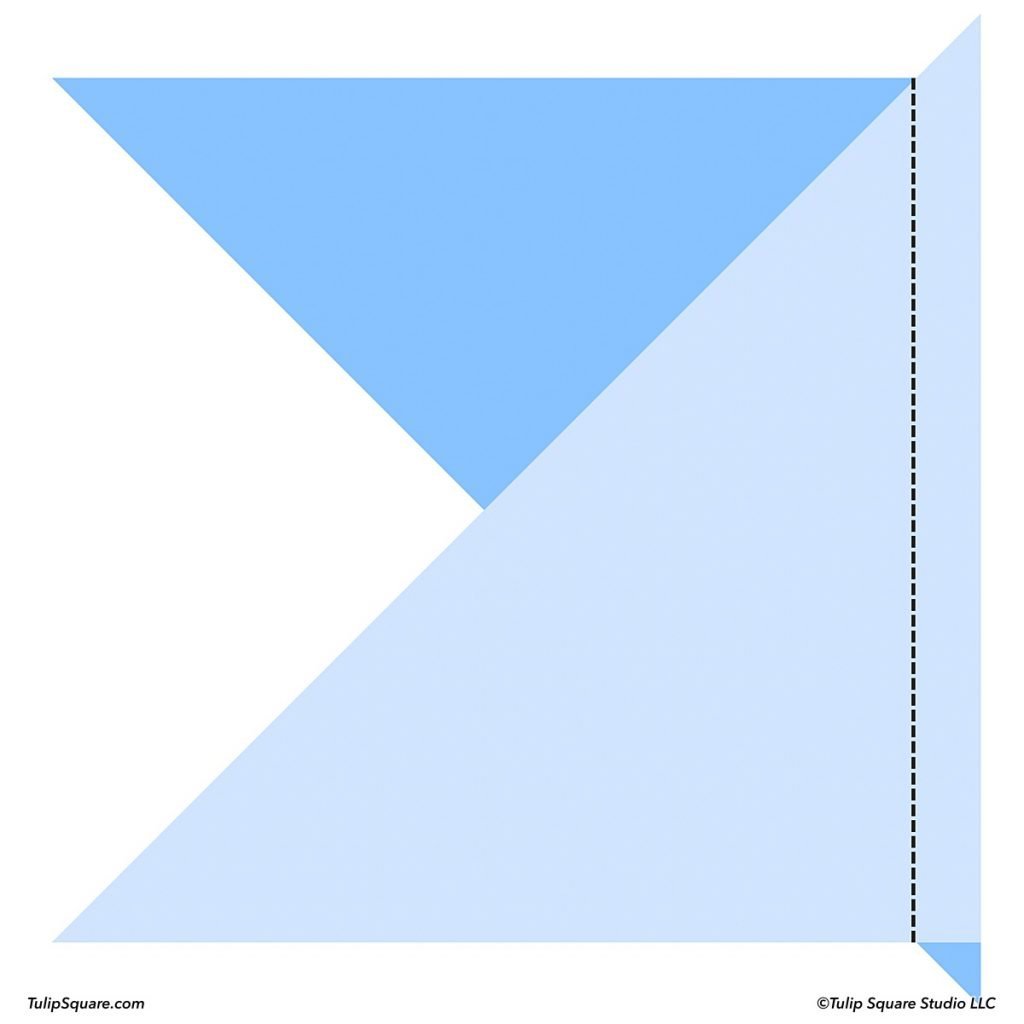
Press the seam open taking care not to stretch the fabric. On the wrong side of the fabric, carefully draw your binding lines. They need to be clear and all the way across the fabric. I like to use a sharp colored pencil. A clear ruler is handy for this.
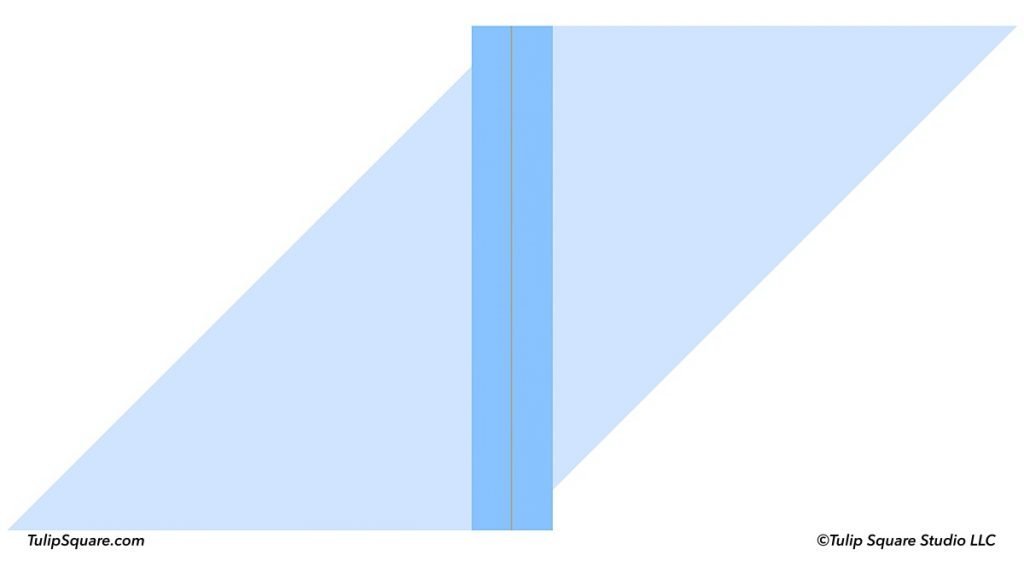
Flip the whole piece to the right side and positioned vertically. Make two fold lines straight across, right where the triangles end. Fold the ends over to the front.
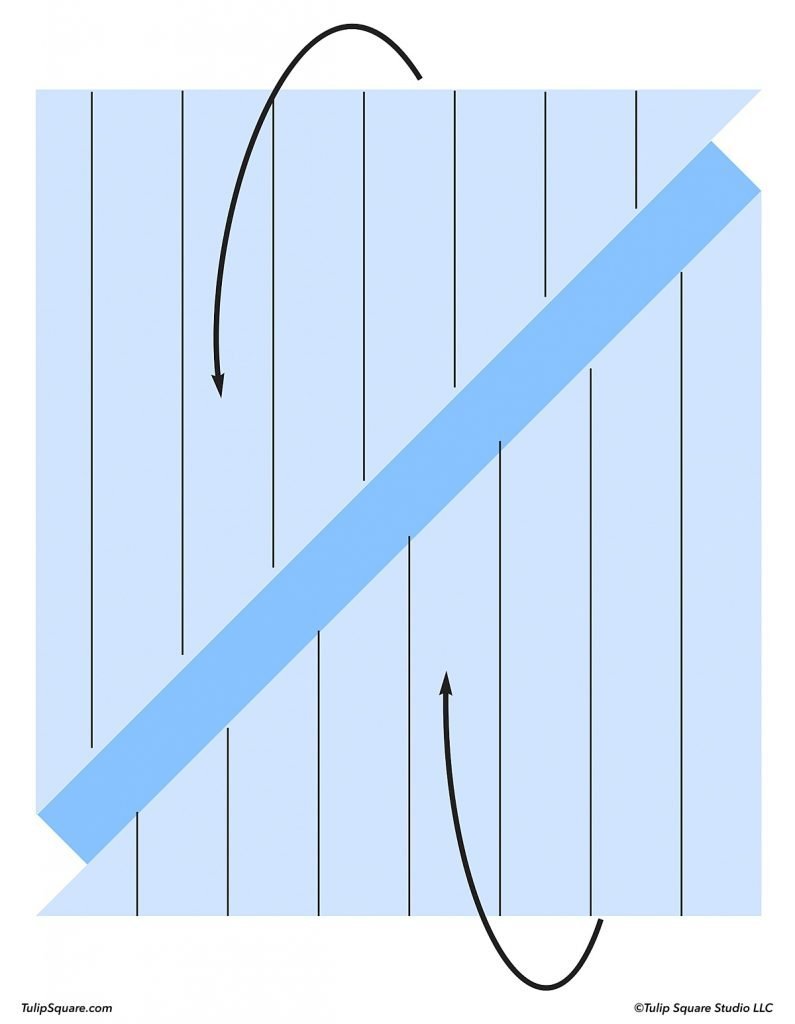
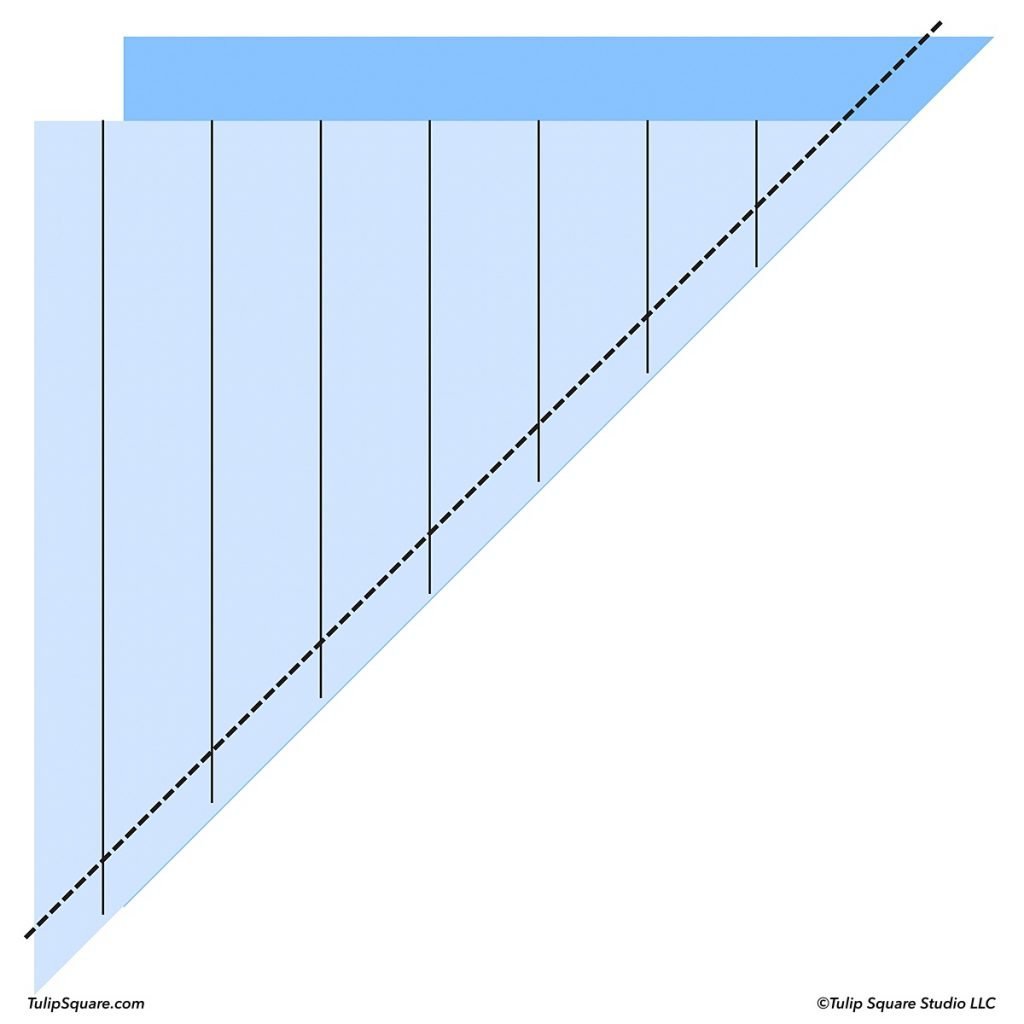
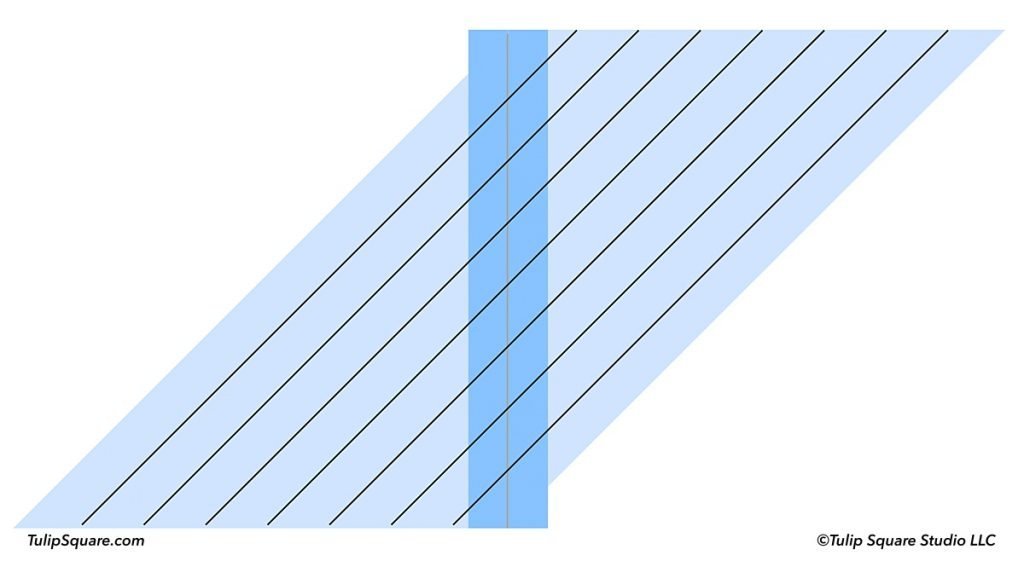
Carefully shift the two end points so the drawn lines are staggered by one line. Pin the two edges together carefully and stitch them along the diagonal line. Take care not to stretch the fabric. You will be forming a slightly lopsided tube with this seam.
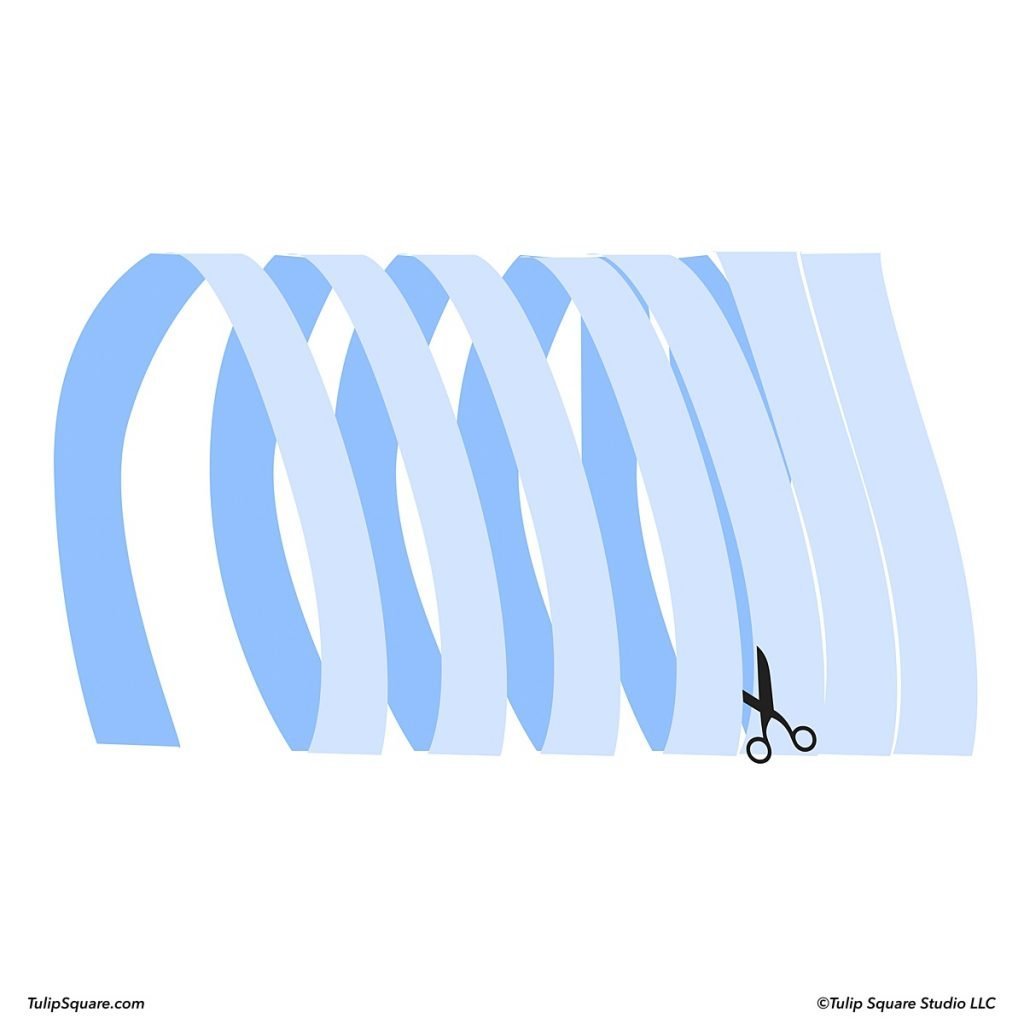
Open the piece out so it is somewhat flat, and following your drawn lines, use scissors to cut a continuous spiral strip. You cut through only one layer at a time. Once you get to the end, you’ll have one long finished strip of binding.