
Hi again everyone. If you were following my previous post on making some cute scrappy blocks, I’ll be explaining all about binding them here. Everything I explain here is for binding in general, regardless of the project. So if you need a little more binding info or a refresher, this will be helpful to you too!
At the end of the previous post, the scrappy blocks were finished and quilted, and ready to be trimmed for binding. I made a set of six scrappy placemats and I love how they turned out.
Check out that post here: Making scrappy blocks
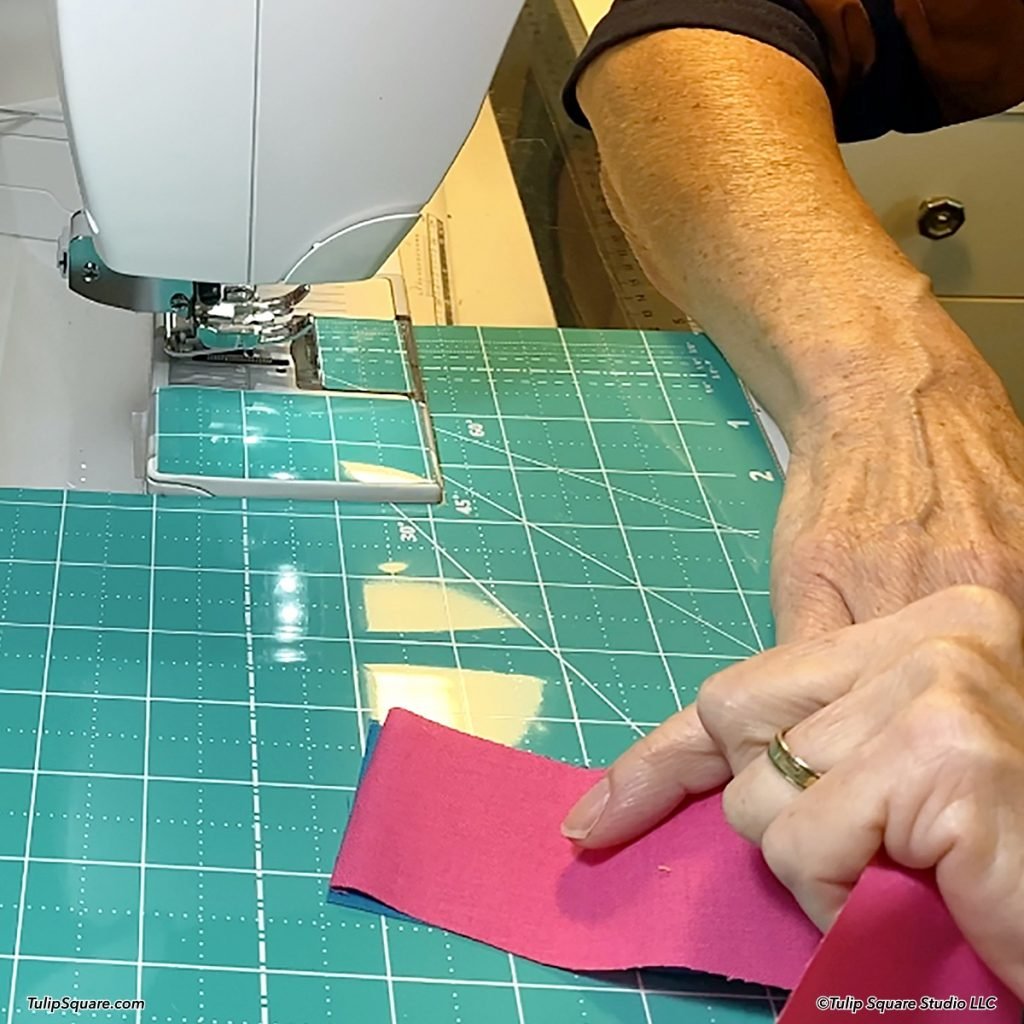
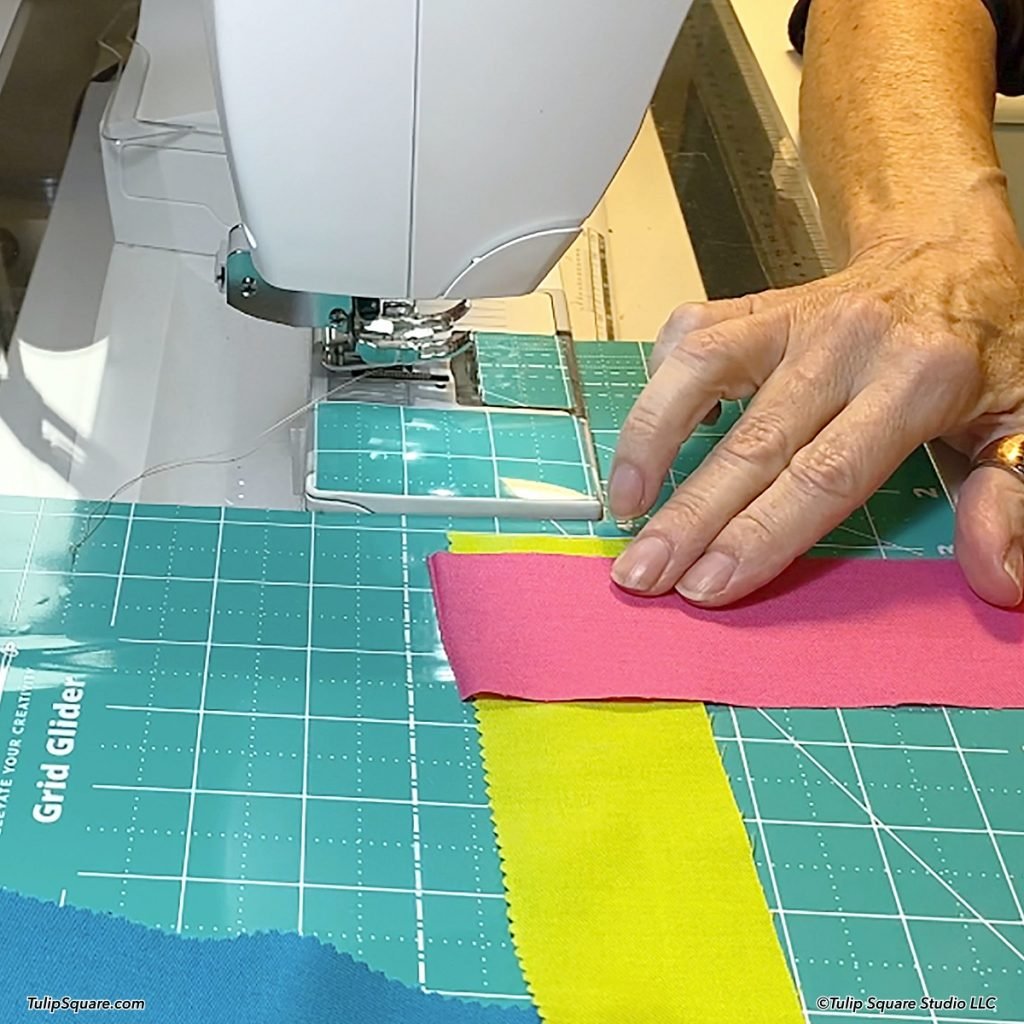
So let’s get started with the binding. For my placemats, which are 10 x 16 inches each, I need a piece of prepared binding about 60 inches long for each. To start with, there are a few different ways you can stitch the ends together when you need to sew several strips to make a piece long enough for your project.
First, you can stitch the two end straight across. This isn’t used whole a lot because it creates extra bulk in that spot in the binding seam. It’s only really necessary to connect your final two ends where you don’t have room to do a diagonal connection. Good for potholders and other small items. Beginners also use this method until they master the diagonal seams.
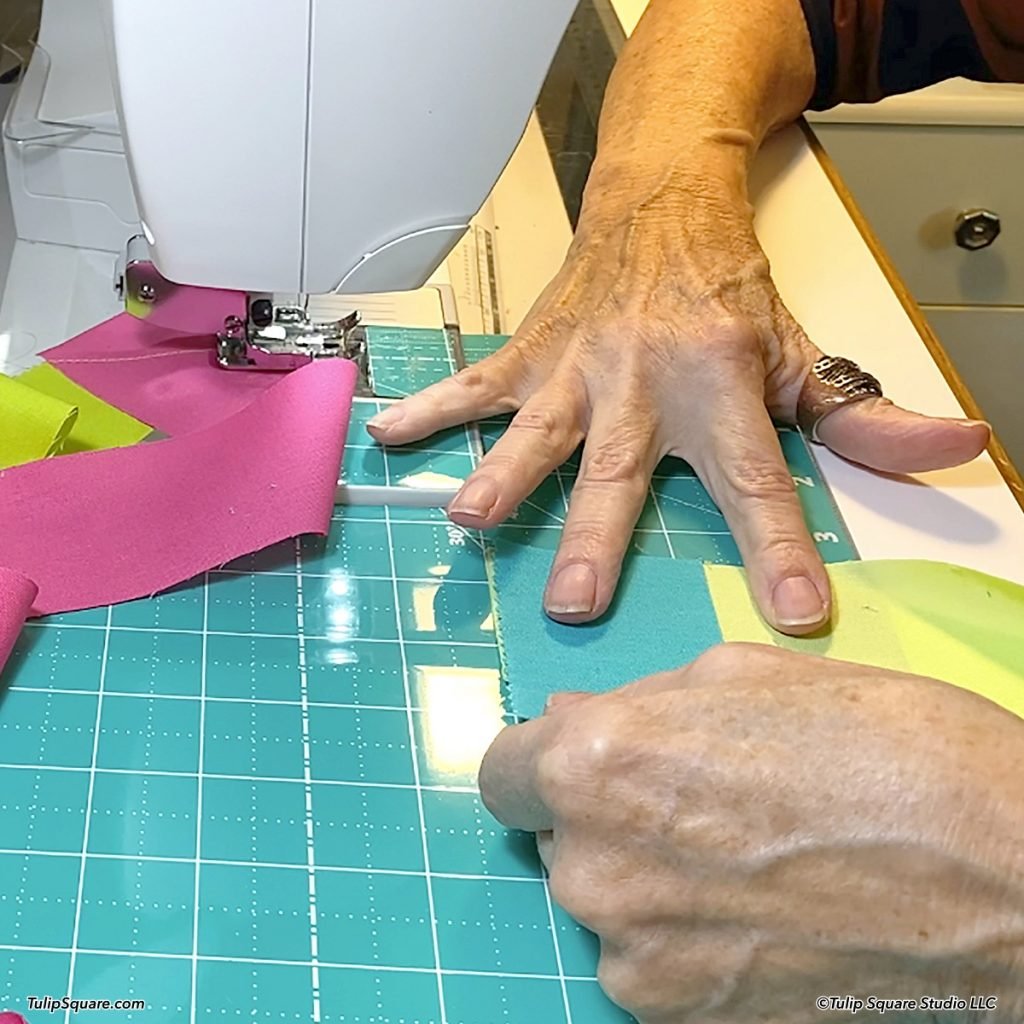
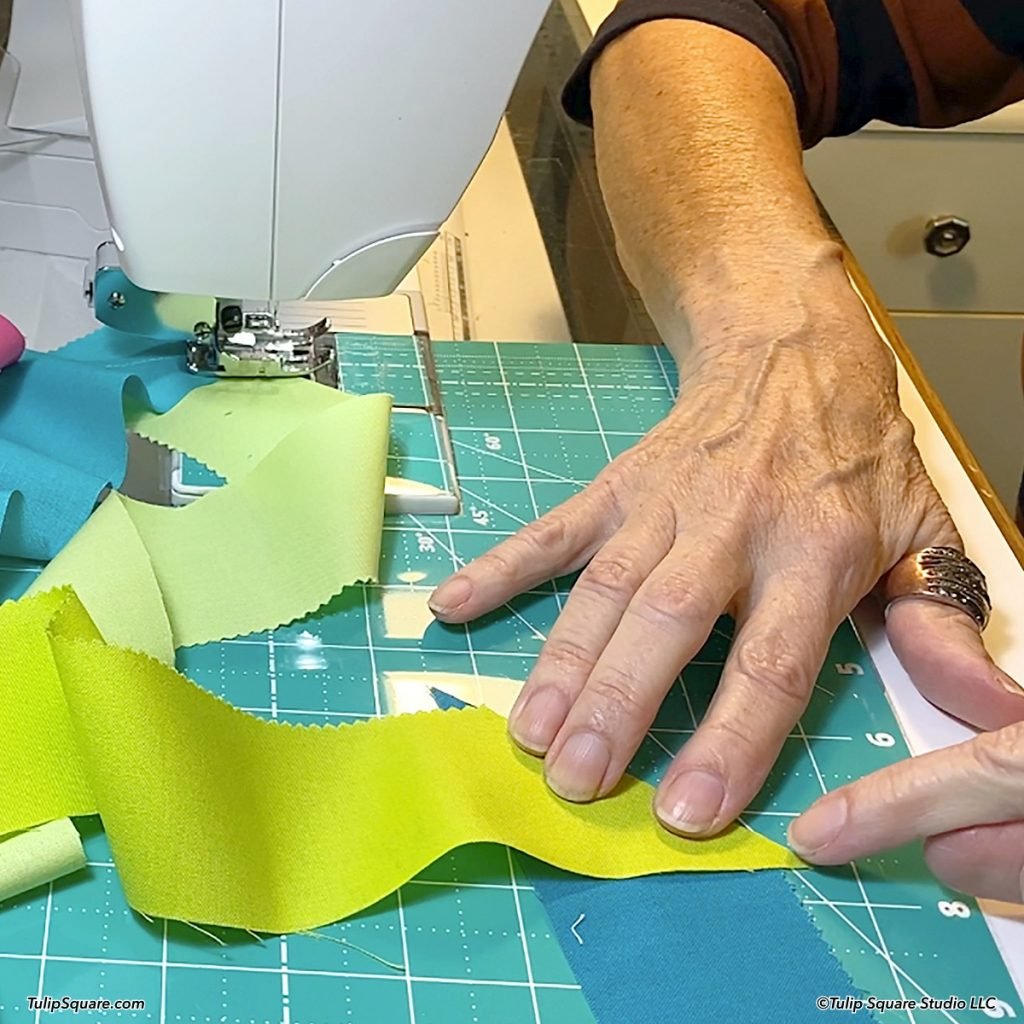
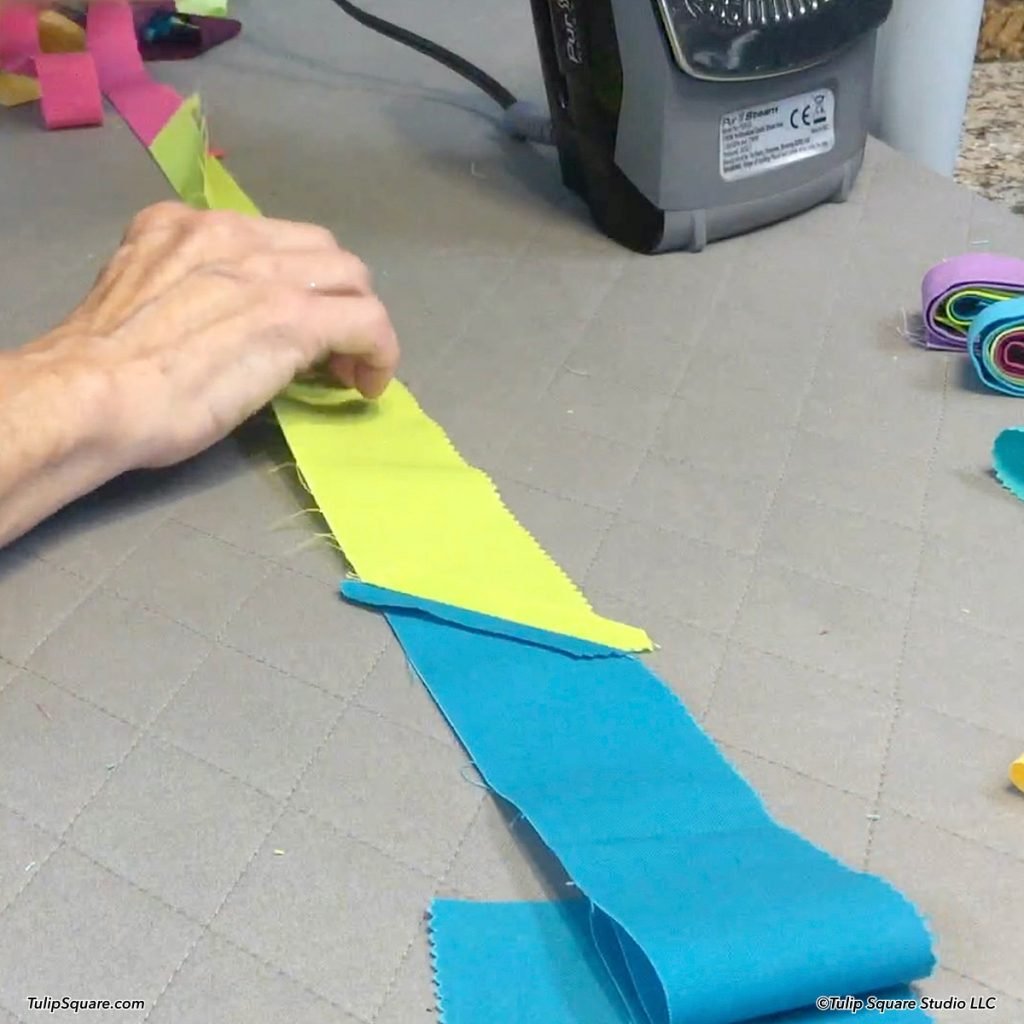
Next, there are two methods of making the 90 degree angle seams. On the first one, you have a little bit of each end of the two pieces extending past the edges. This makes the diagonal corners you are sewing to a little more visible, and is a very popular connection method. A very similar method has you line up the ends in the same 90 degree configuration, but without the extended edges. You have to be a bit more careful to sew your diagonal seam right to the corner with this method. Both of these methods require you to trim off the corner once you sew the seam, leaving a 1/4 inch seam allowance.

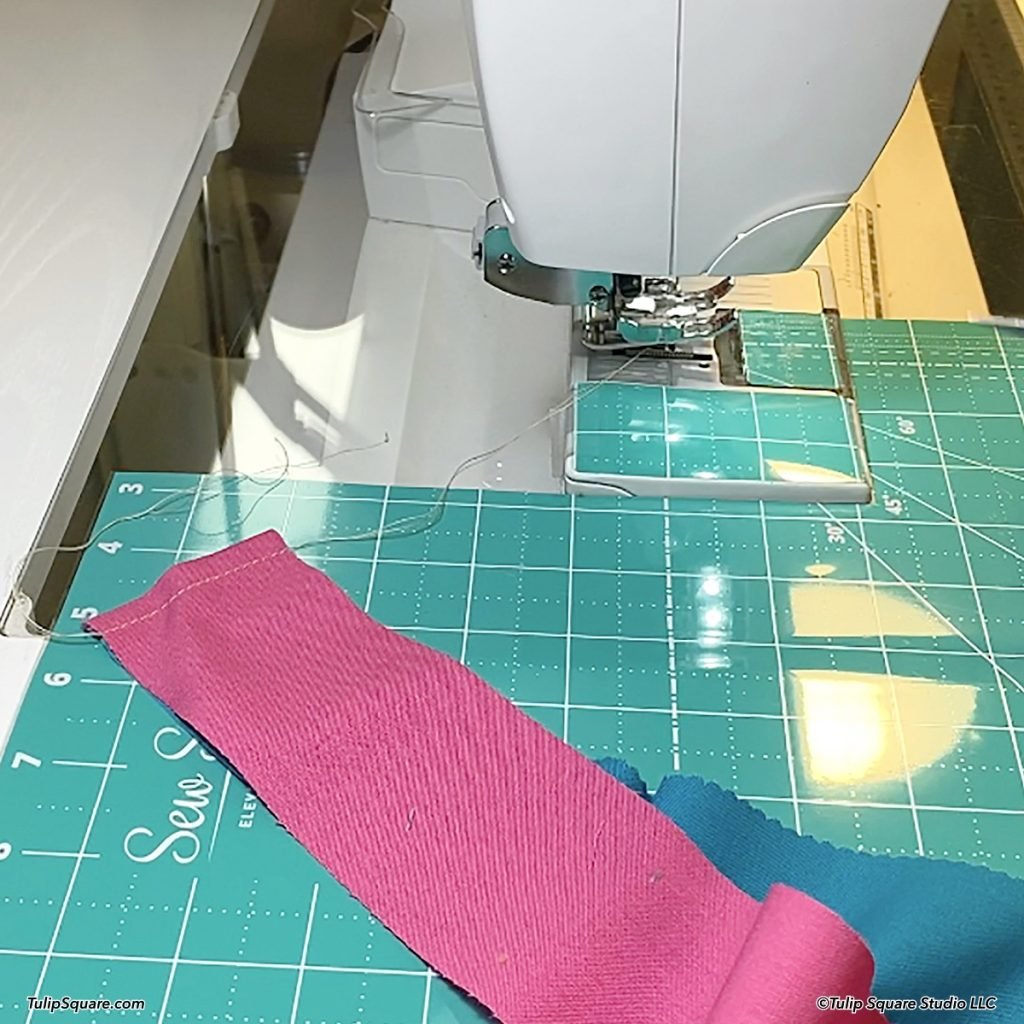
Last are the strips made if you cut your binding strips on the bias. These strips have to be sewn along the edges of the two pieces, with the little extra end tabs evenly extended. Take care not to stretch the fabric when you sew this seam. These seams are ready to be pressed open.


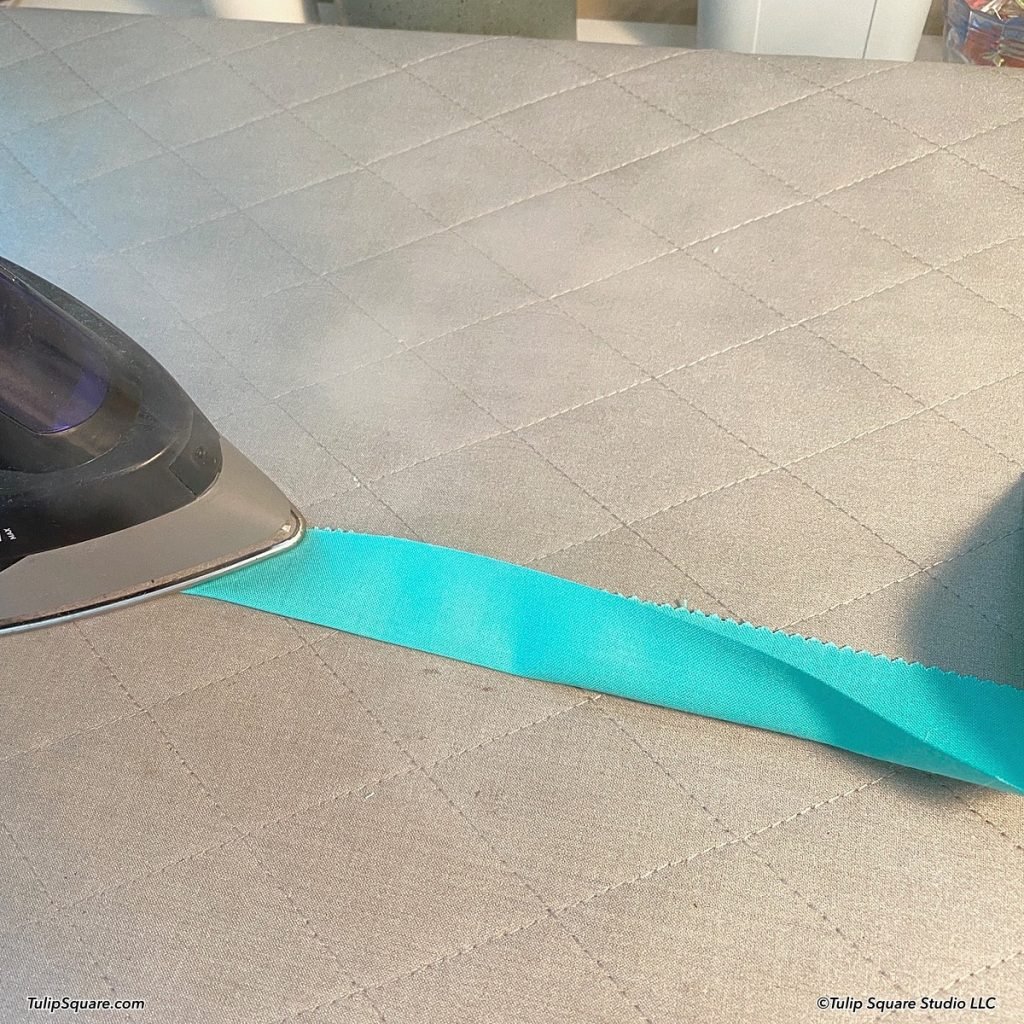
Once you have all the seams sewn and trimmed, press the seams open and then fold the strips in half and press them. Be sure the edges are even and the diagonal seams are nicely flattened so you have no issues when you are sewing the binding to your project.

Now we can start attaching the binding to the placemats (or other project). You can stitch the binding to the front of your work then fold it to the back for the second stitching, or you can sew it to the back then fold it to the front. The differences are this – the second stitching will leave a visible line of stitches just below the binding on the first side you started on.
If you start on the front, this line will be on the front just below the binding, and if you started on the back, this stitching line will be on the back of your project. For this reason, I prefer to start on the back, sew the binding edges down on the front, and have that second line of stitching on the back.
You can also consider hand sewing the binding in place after you’ve sewn it down on the first side. This is especially nice for an heirloom quilt or similar. I don’t recommend hand sewing for utility items that will go in your washer and dryer frequently, like placemats, table runners and the like.
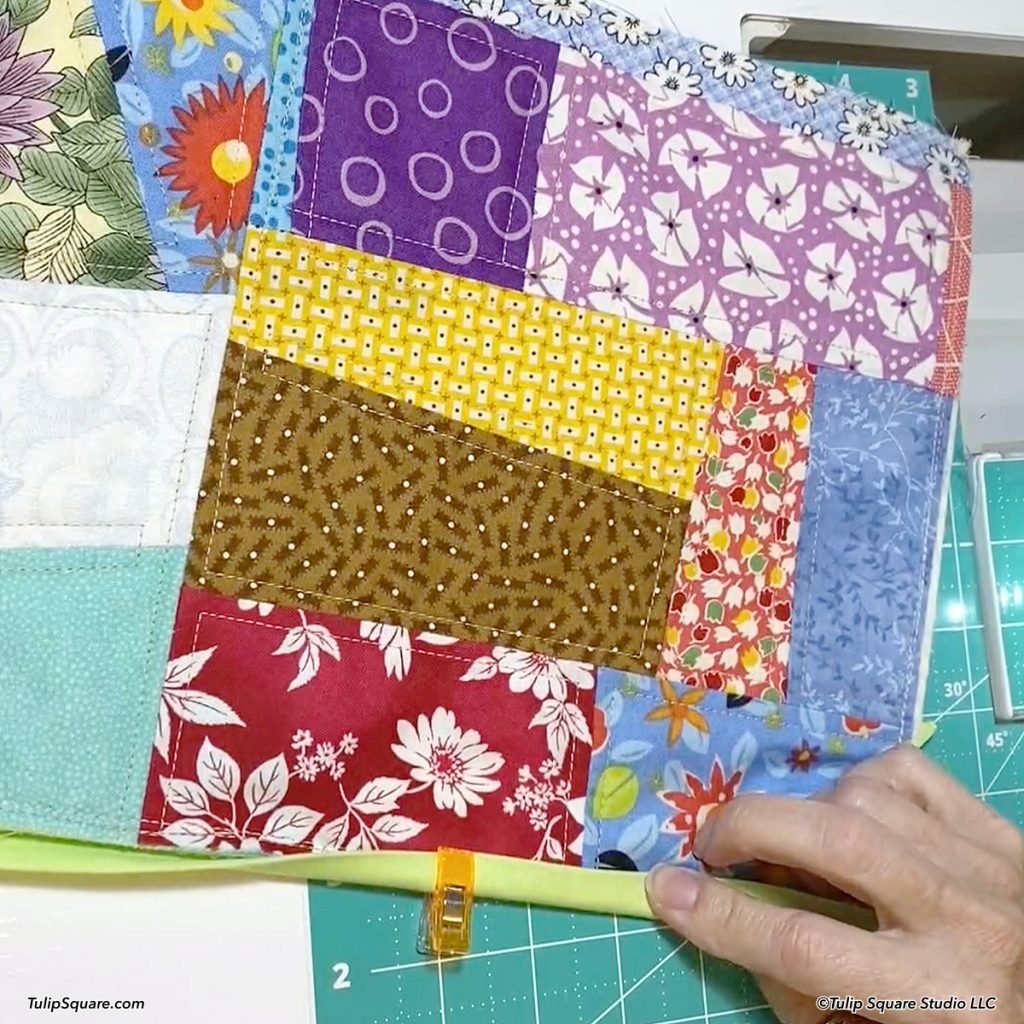
Once you have decided what side you’ll be sewing your binding to, start sewing about 1/3 of the way from the corner you are closest to. Leave about a six inch end of binding free and sew toward the first corner, using a 1/4 inch seam. Stop 1/4 inch from the corner.
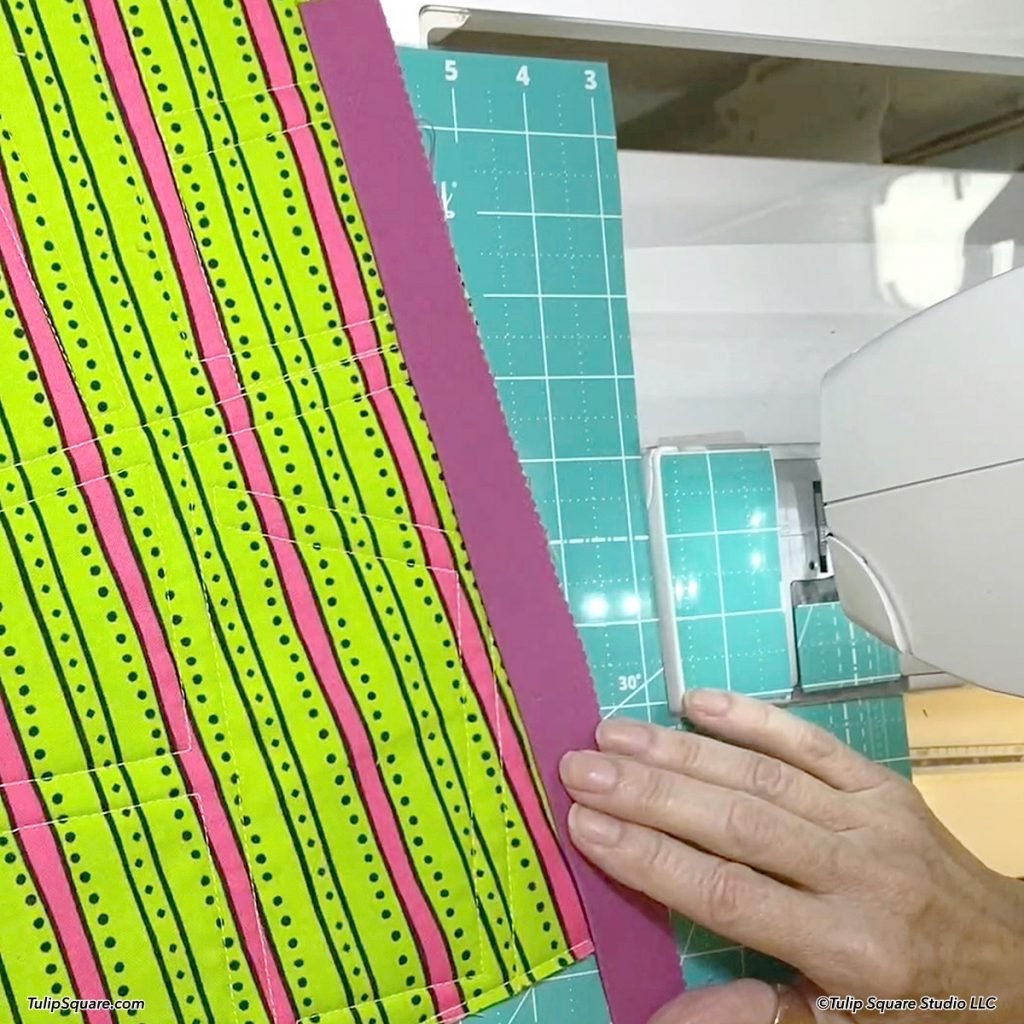
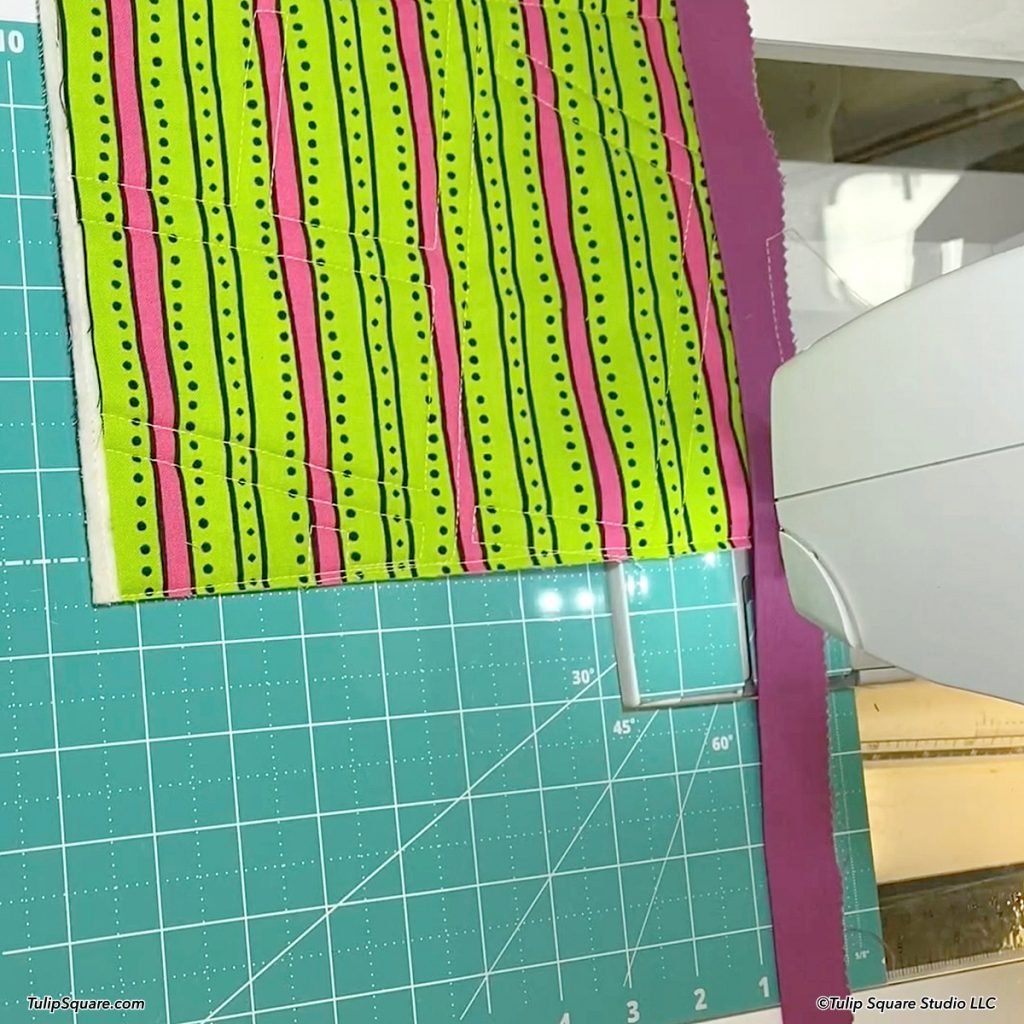
Cut the thread and remove the placemat from the sewing machine. Fold the binding up at a 90 degree angle so the edge of it aligns with the next raw edge of the placemat. Make a nice straight fold to bring the binding down to the next edge. I like to lay a thin ruler at the top edge of the placemat and fold the binding over it, to line it up perfectly along the next edge to be sewn.


Sew along the next edge, using a 1/4 inch seam, and repeat the process of removing the placemat from the machine, folding the binding onto the next edge, just as you did at the first corner. Do this all the way around the placemat. After you sew the 4th corner, you’ll be back on the edge where you started. Sew only about 2 inches down from the corner, then remove the placemat from the sewing machine and cut the thread.

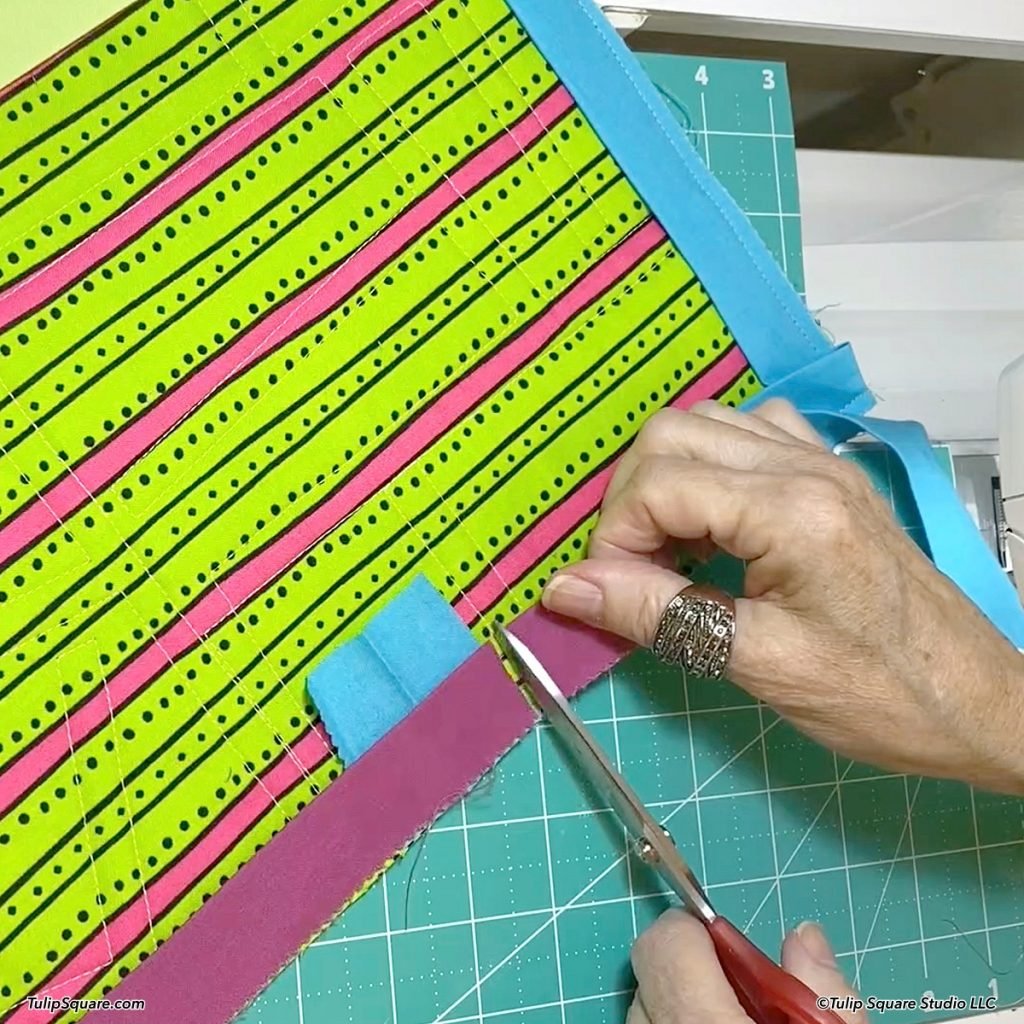
You should have a gap of several inches with no binding sewn in place, and two ends of binding. Find the approximate center of this gap. Cut a short piece of your binding off (making sure it’s excess), unfold it and place it in the middle of this open edge, so the fold is perpendicular to the edge of the placemat.
Lay one end of the binding over this scrap, and cut the binding off even with the far side of the scrap. Do the same with the second end of binding, at the side of the scrap furthest from it. Remove the scrap and you have your two binding ends overlapping by the width of your binding, which in this case is 2-1/4 inches.

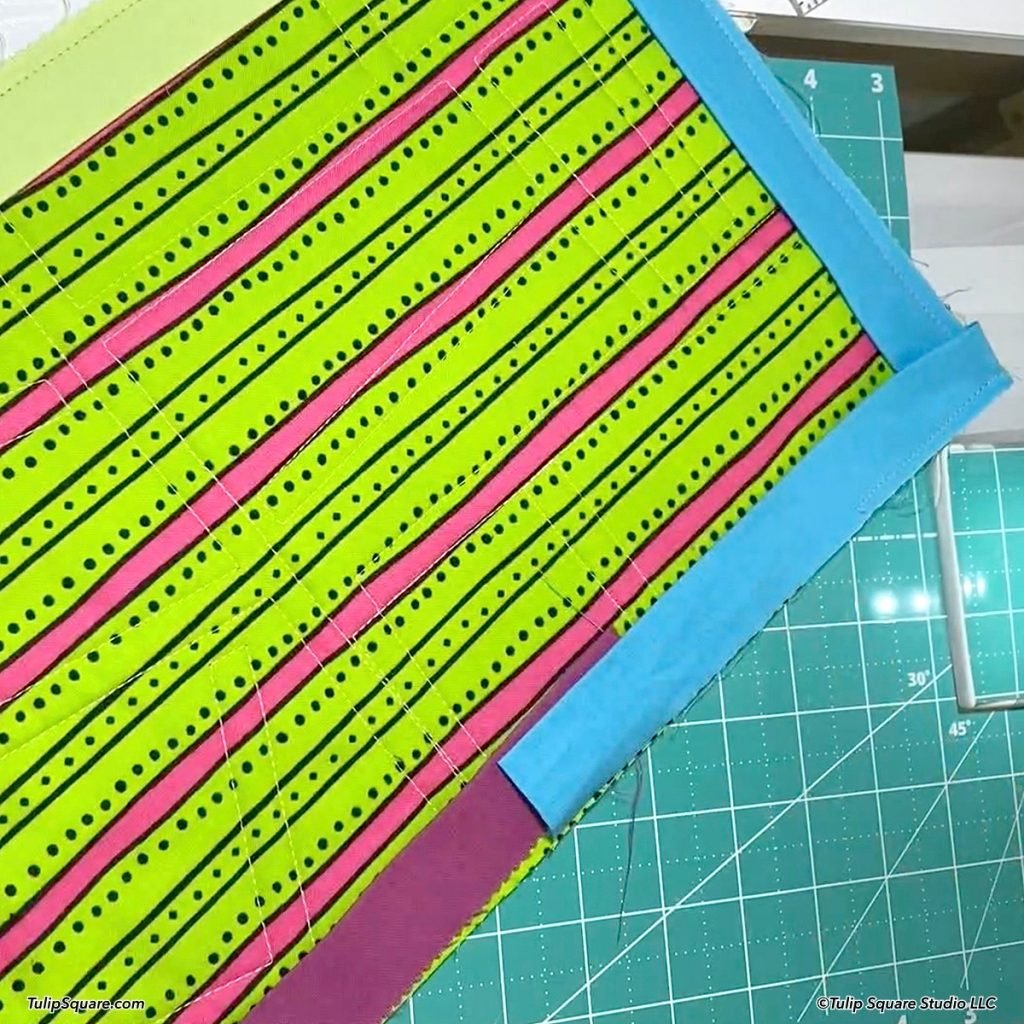
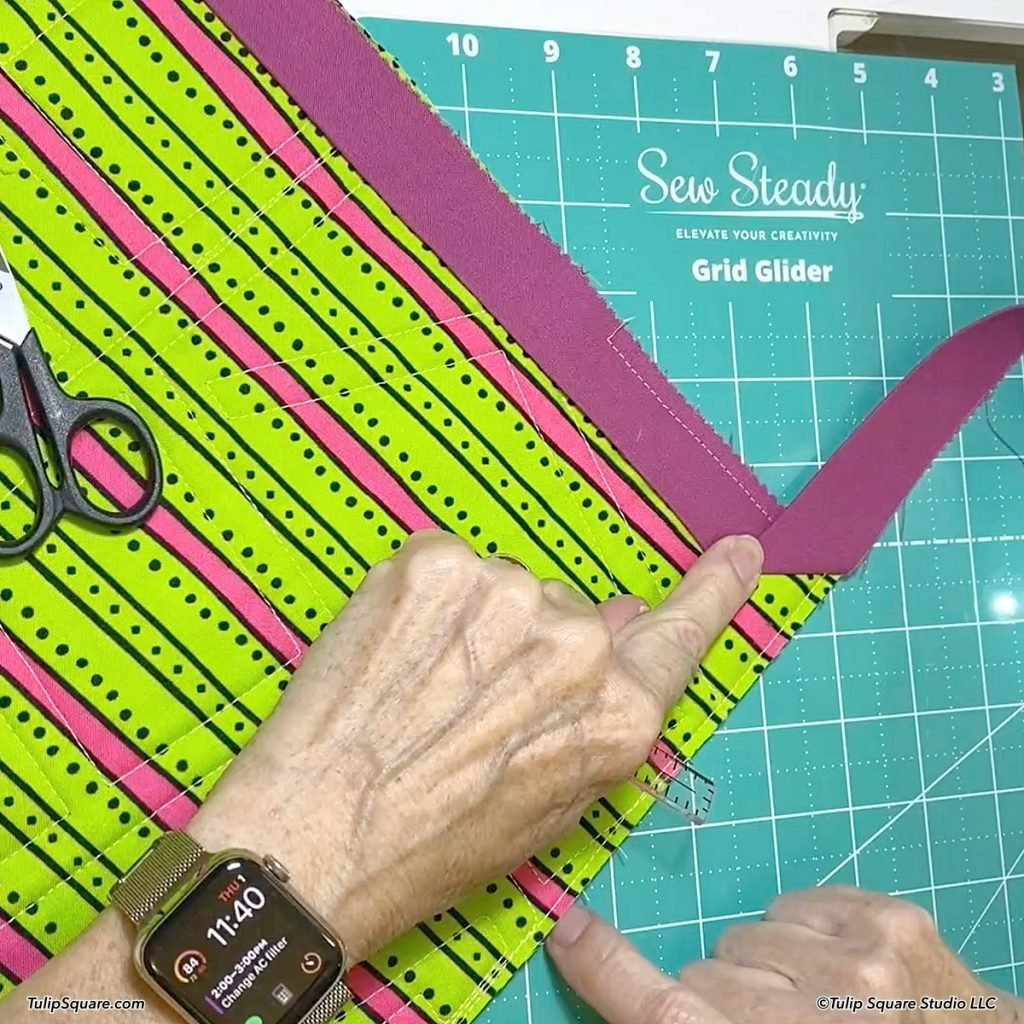
Fold the two ends over facing each other (the peaks of the folds toward each other) and stitch a diagonal seam from corner to corner, same as the method for connecting binding strips. Trim off the corner and finger press the seam open.


Flatten the binding back on its original fold line and lay it in place on the edge of the placemat and finish sewing that last seam.
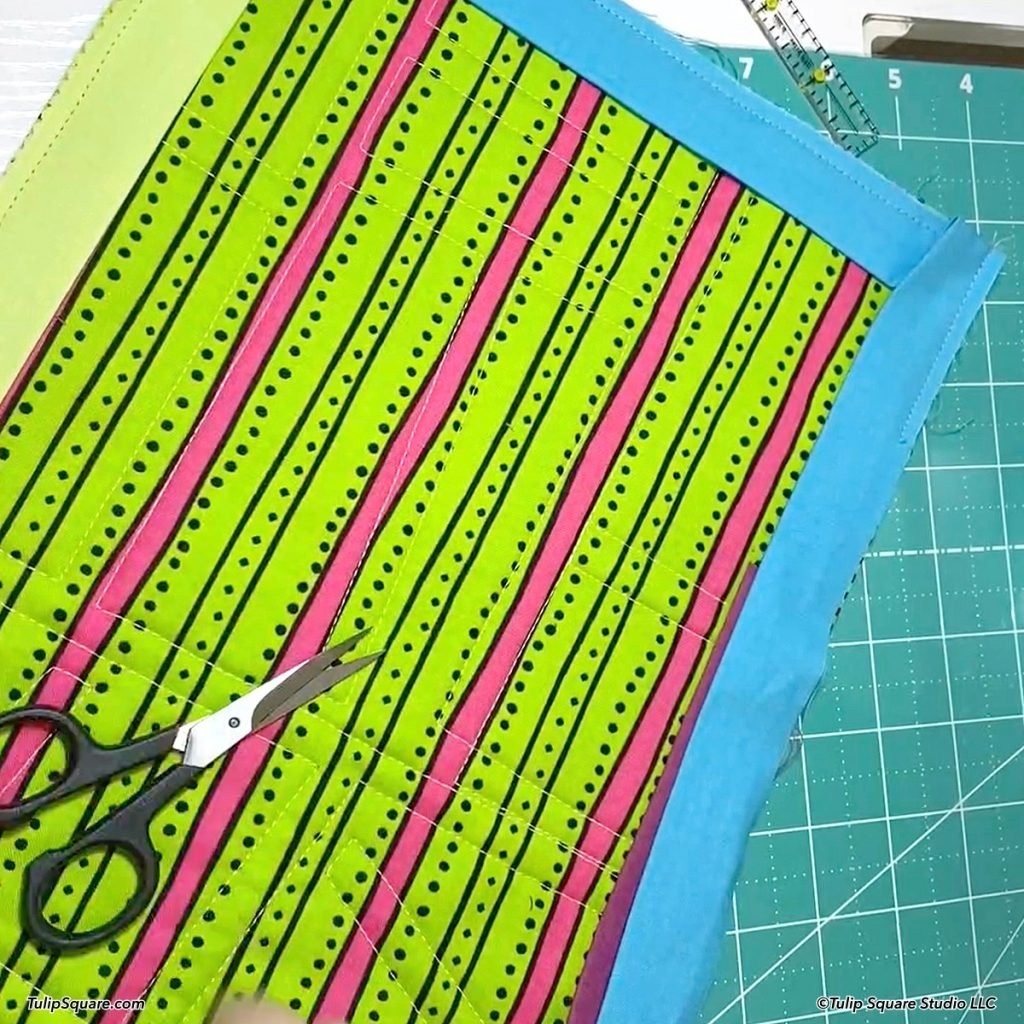
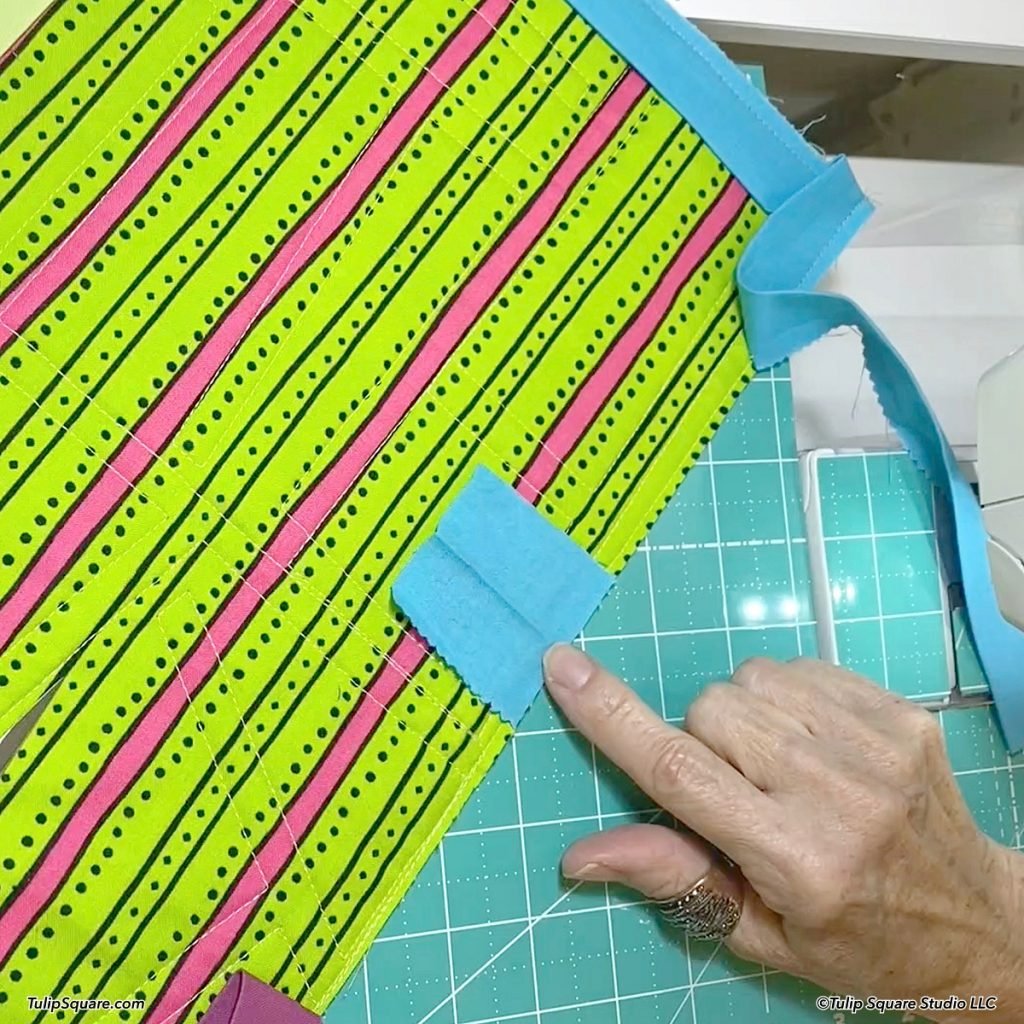
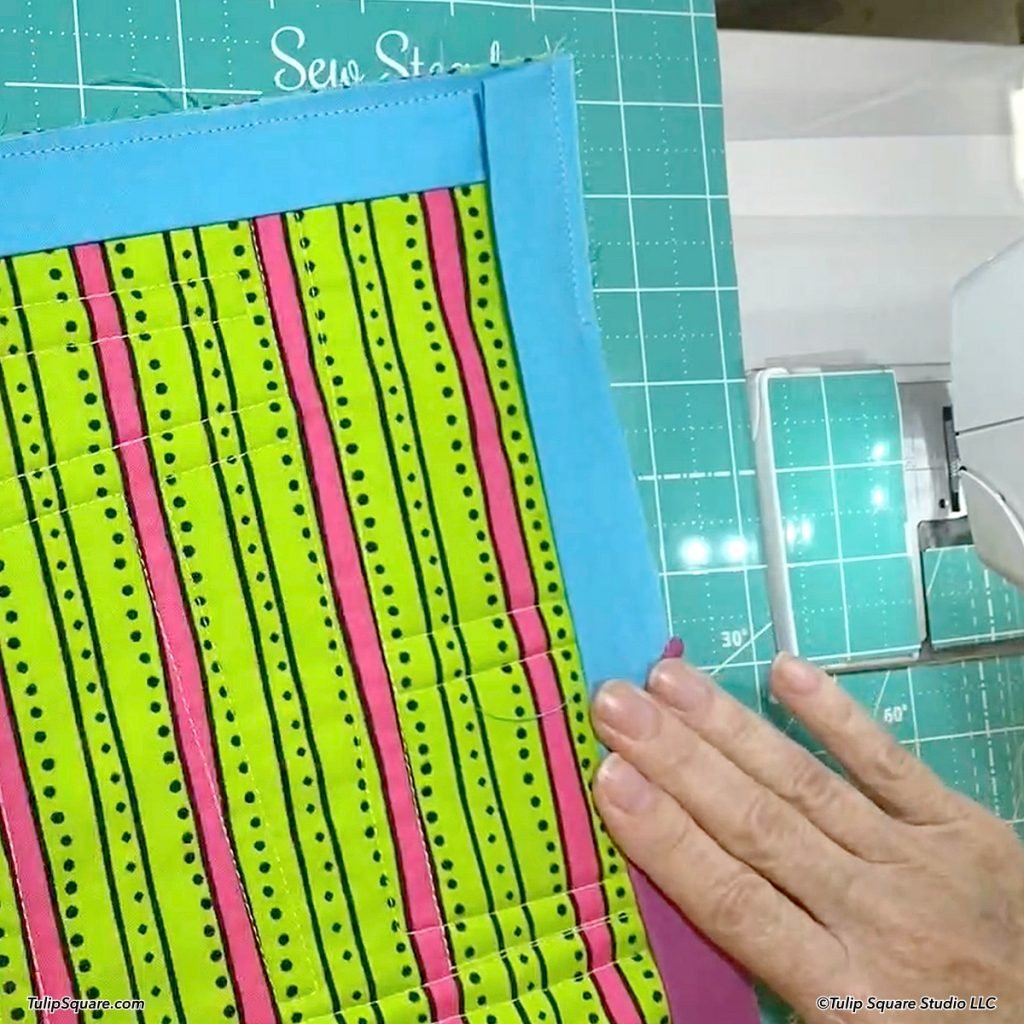
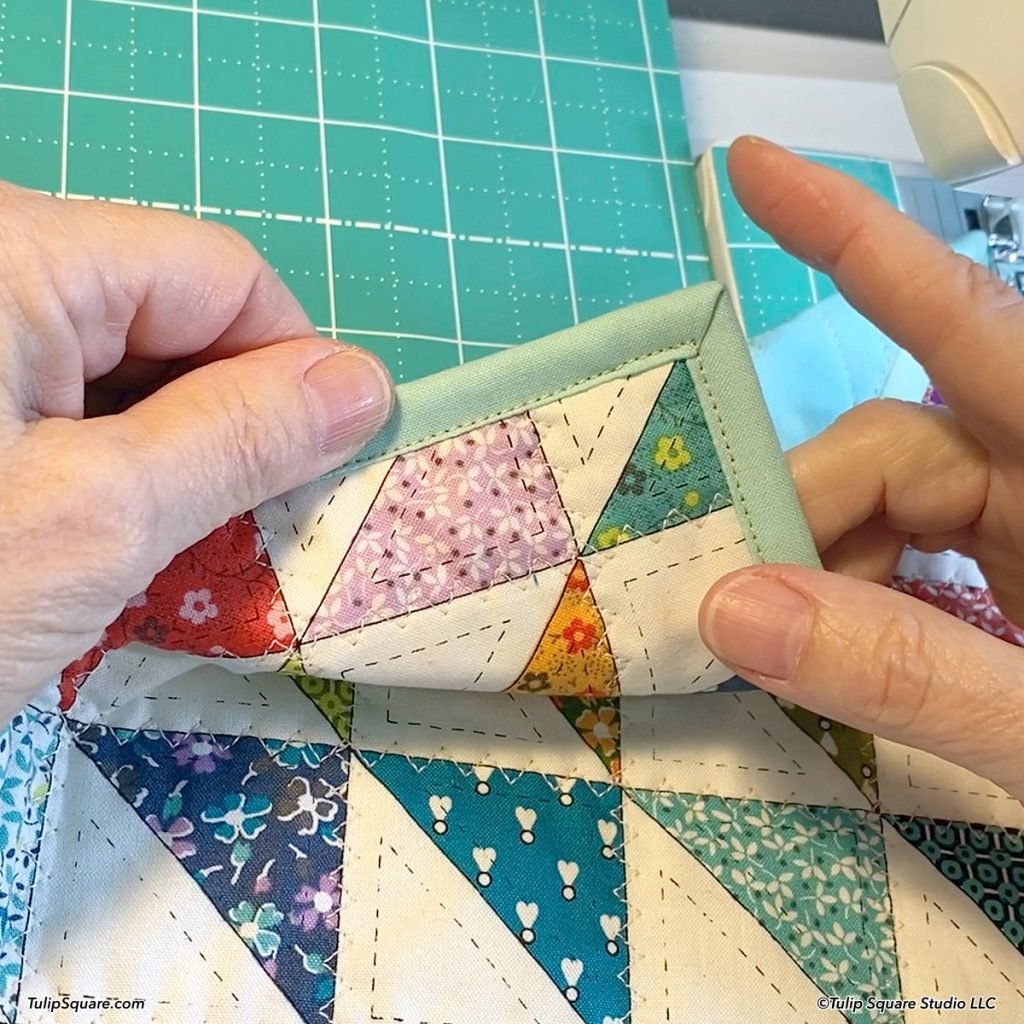
Fold the binding to the front of the placemat. If you like, you can pin or clip the entire binding in place. It’s especially handy to tuck in your corners, and clip them down, if nothing else. To make nice mitered corners, take the time to tuck one edge in straight, then fold the top edge over at a 45 degree angle. Place a clip right over the corner to keep it in place. Finish pinning or clipping all the way around.


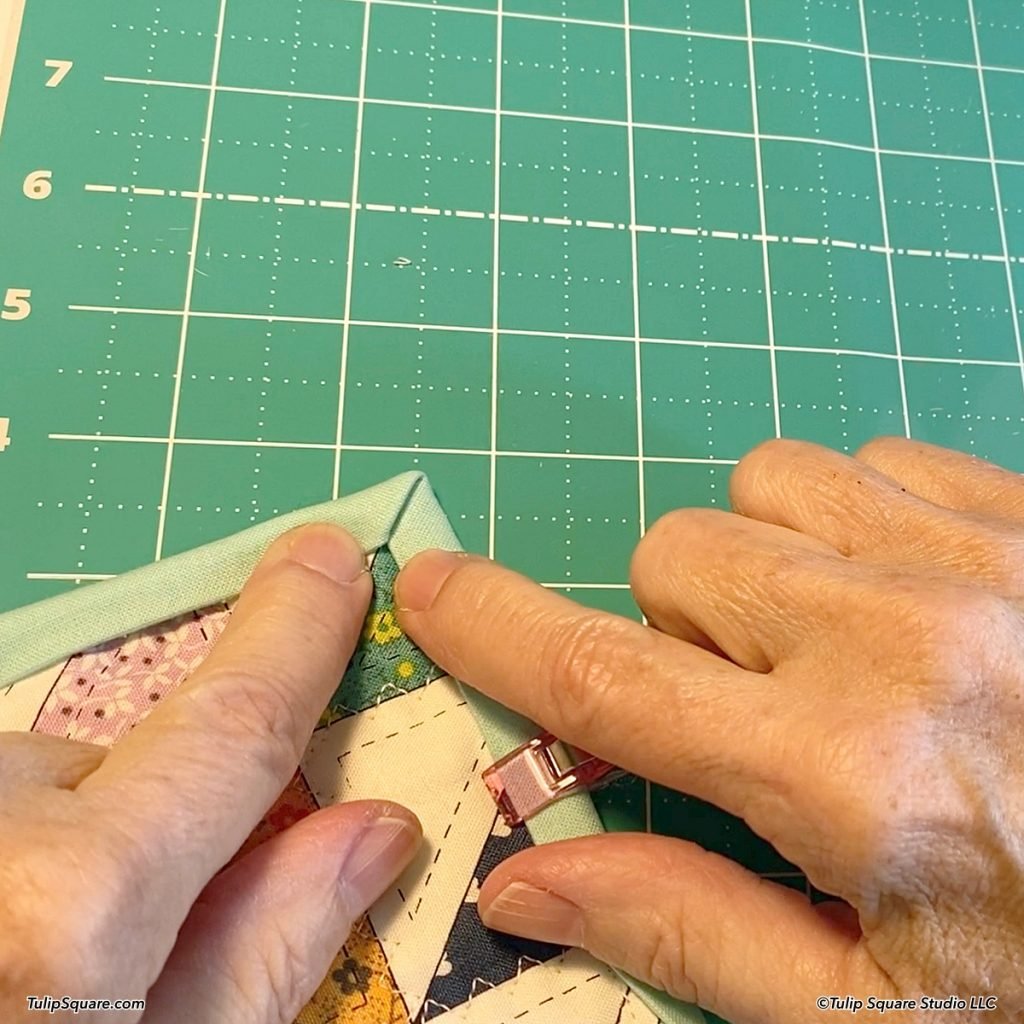
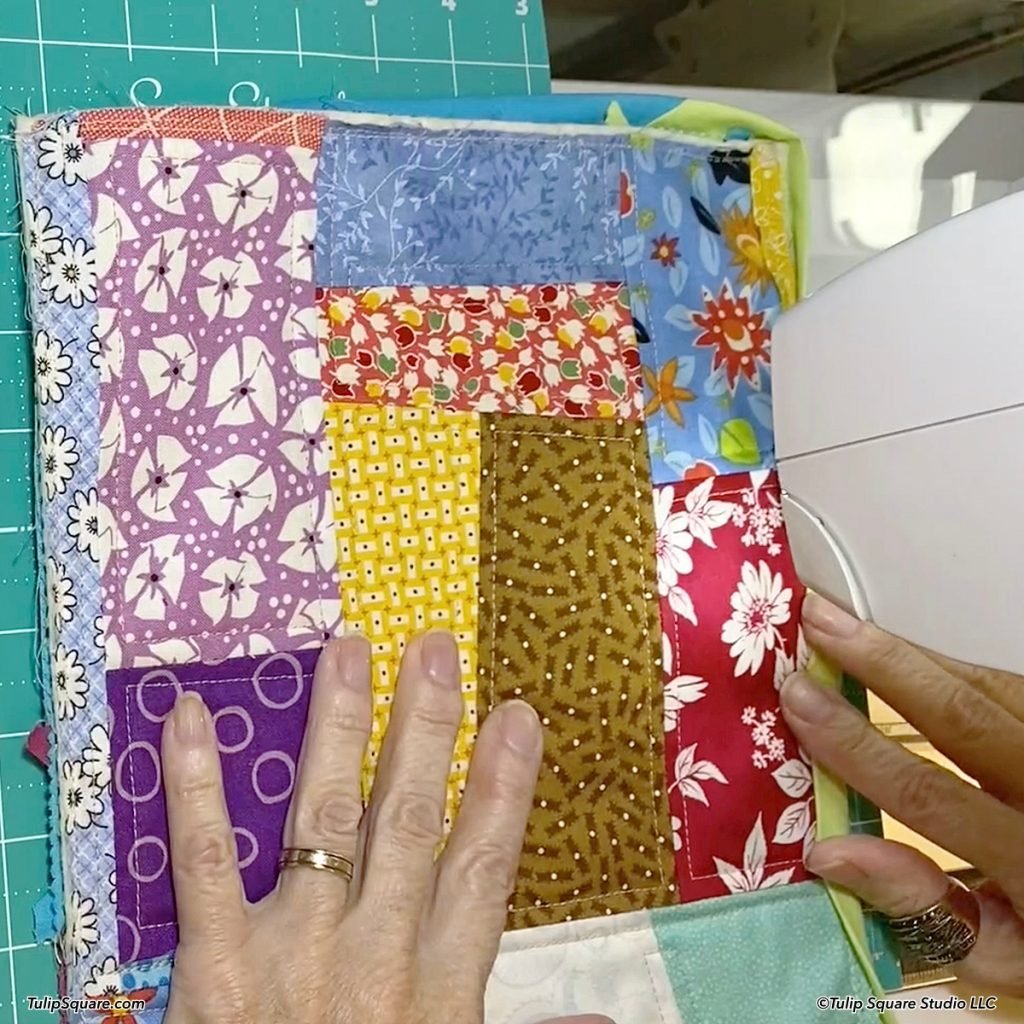
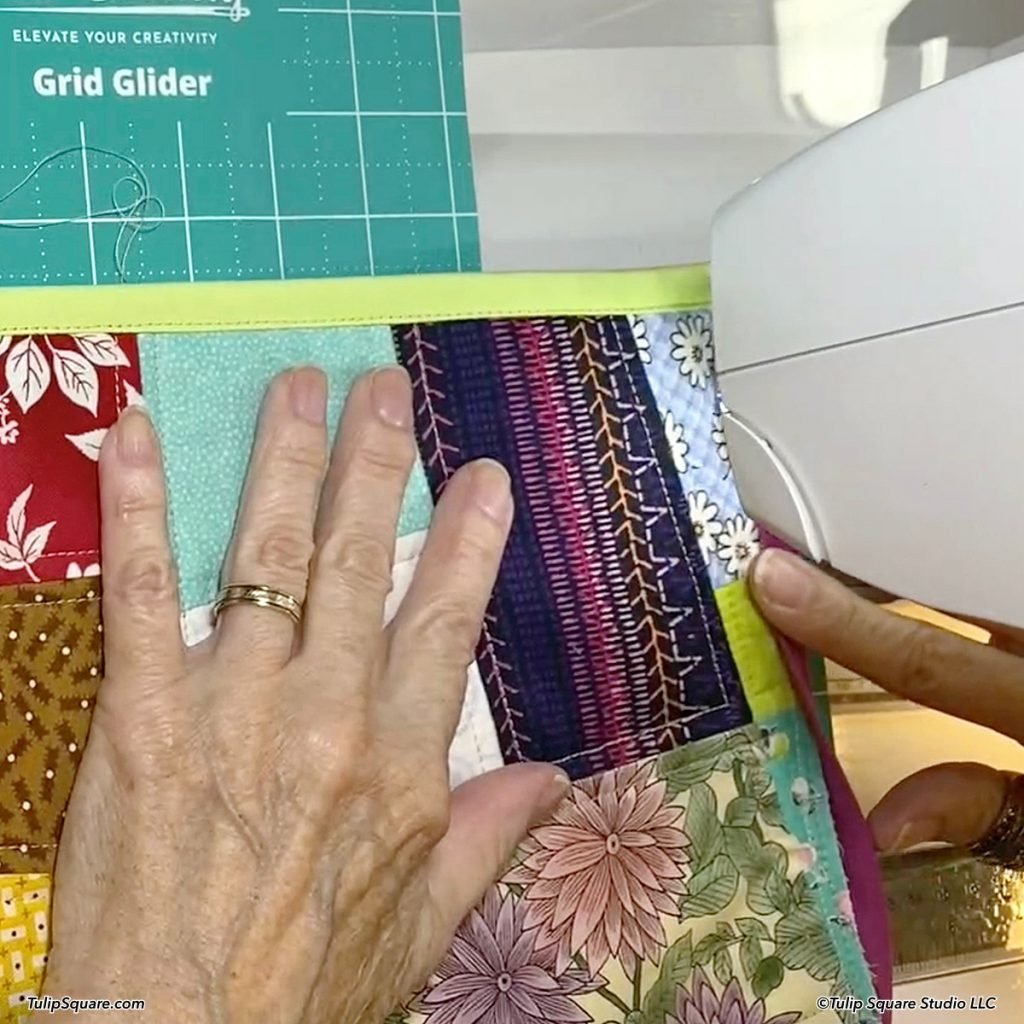
Now you can stitch the binding in place, sewing close to the inner folded edge. Be sure you go right to the point at the corner, and pivot at the point to make a nice mitered corner.
Continue all the way around the placemat until you get back to the spot you started the seam. Back tack or overlap the beginning seam by half an inch. You should have nice mitered corners on both the front and back of your project if you were careful with your sewing.

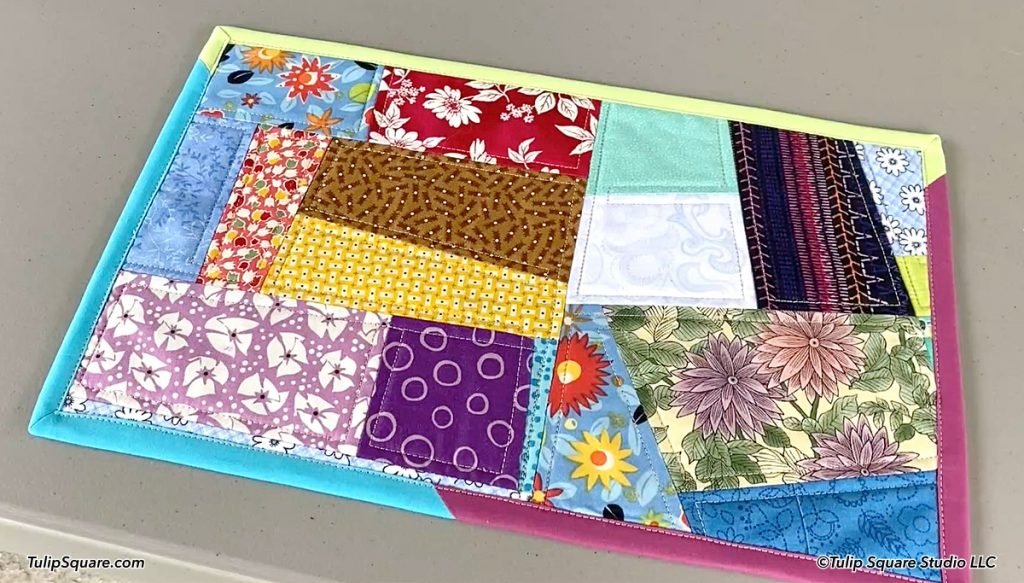
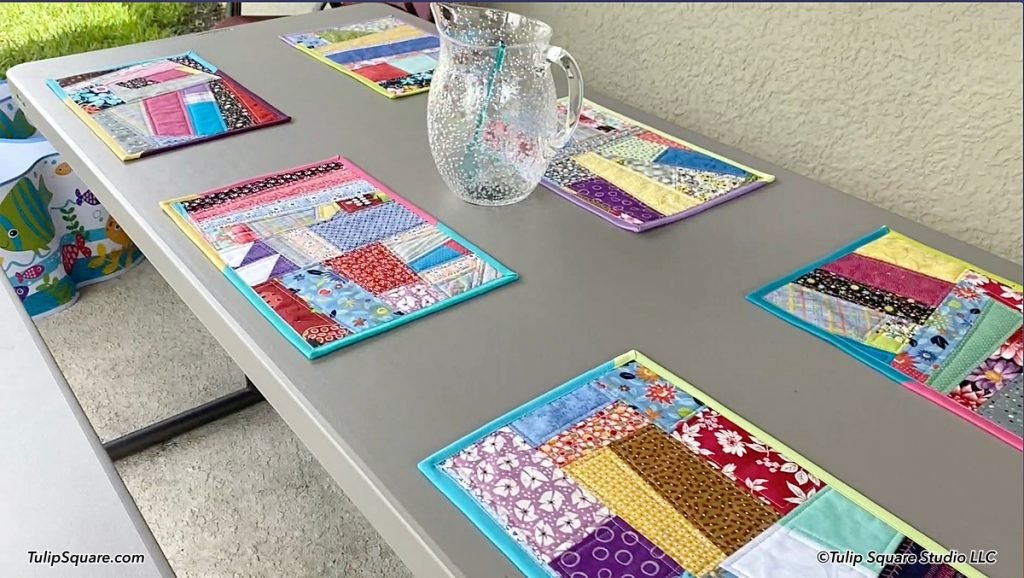
And that’s it, the placemats are finished! They have scrappy binding to go with the scrappy blocks. Perfect for casual dining, parties or anywhere a bit of color is needed! I’ll be using these for our next family get together! Thanks for checking this out, hope to have you back again soon! If you want to see a post explaining any of our patterns in detail, please let us know in the comments below.