
EASY COASTERS AND POTHOLDERS – A STEP BY STEP TUTORIAL
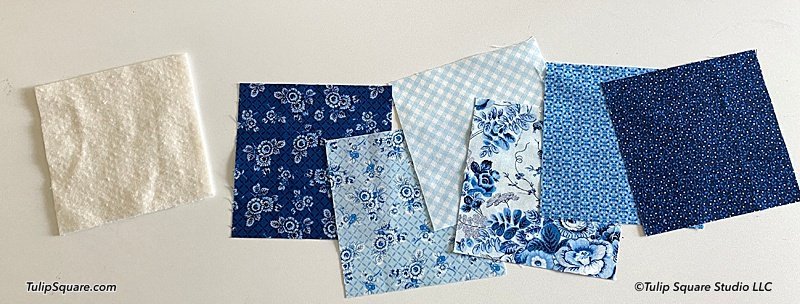
1. Coasters and potholders are made exactly the same except for the size of the squares you use. You need 6 squares for each coaster or potholder, plus a square of batting the same size (2 squares of batting for potholders).
2. Take the four squares you are using for the front squares of the coaster (or potholder), fold them evenly in half, right sides out and press so you have a nice crisp fold on each piece.

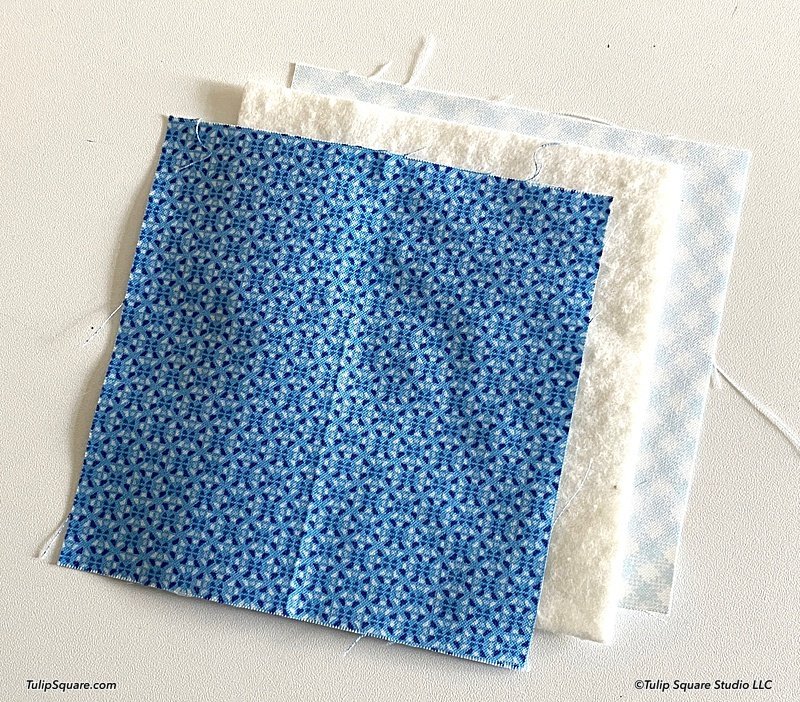
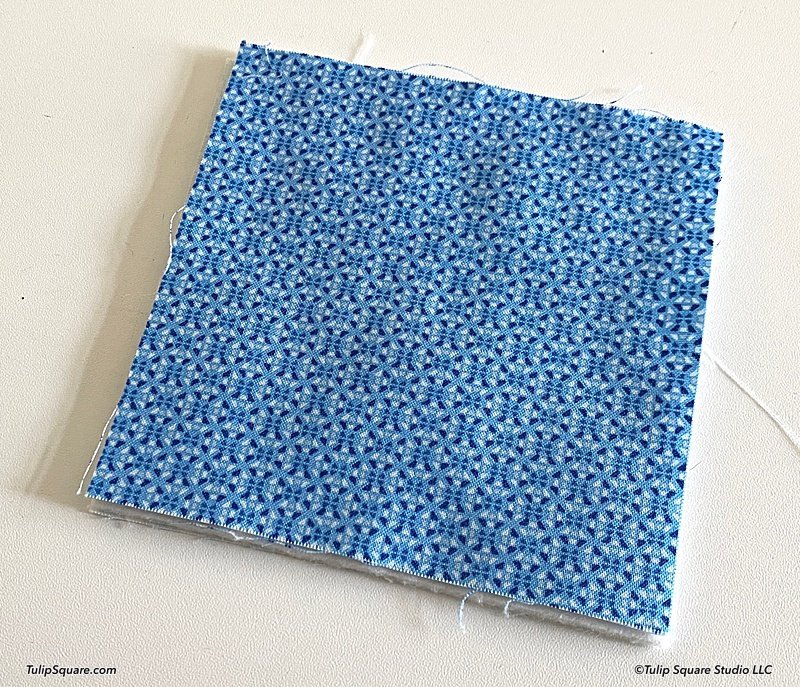
3. Place the square that will be hidden on the inside of the coaster face down on your table (this piece will be under all the folded squares once the coaster is finished, so not really visible at all). Place the square of batting on top of it, then the square for the back of your coaster, right side up. Make sure all the pieces are lined up evenly.
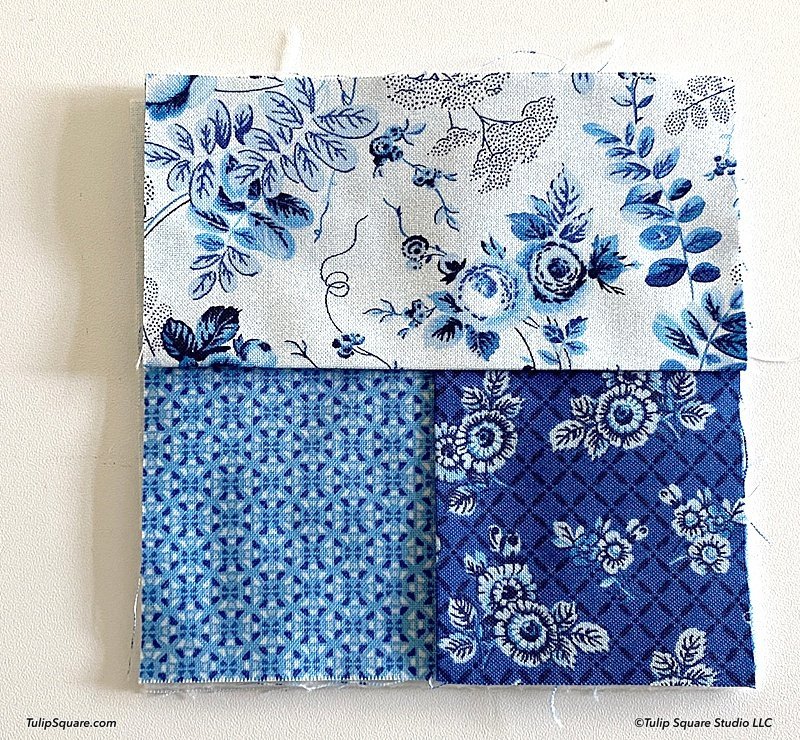
4. Take the first folded square and place it on top of the pile with its folded edge toward the center and the outer edges all even with the stack of layers. Make sure the folded edges are always toward the center.
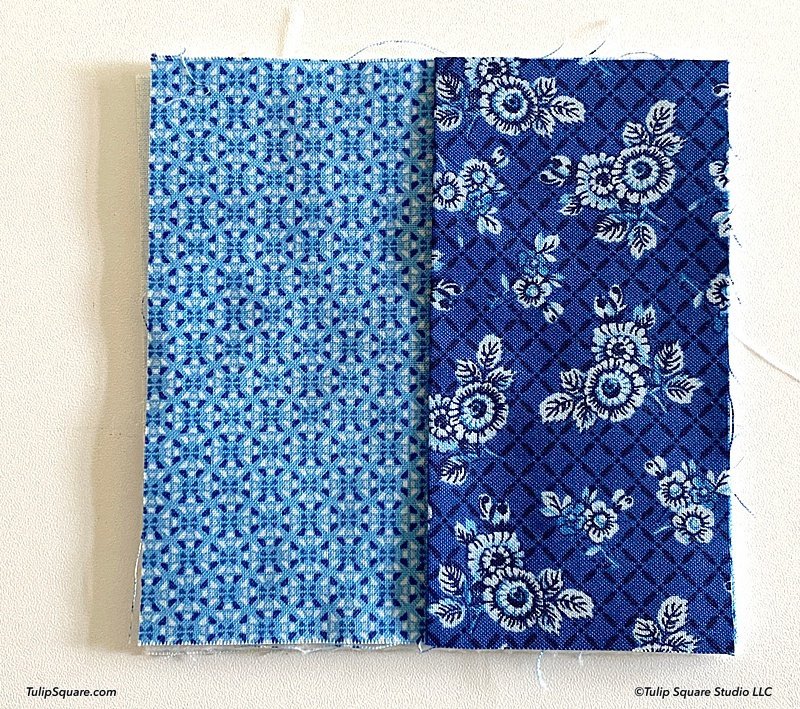
5. Place the second folded square along the next edge, counter-clockwise from the first. It will cover half of the first folded piece.
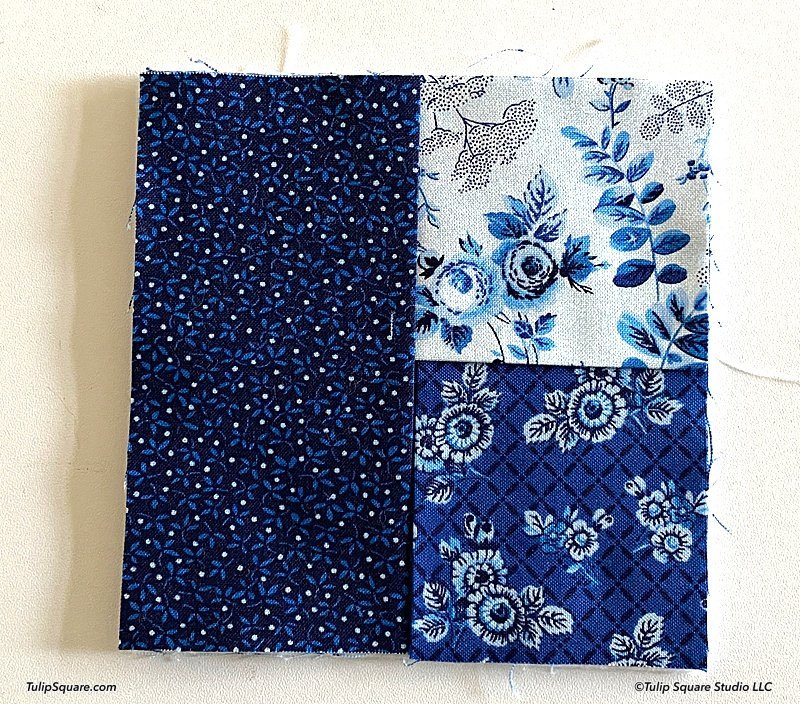
6. Place the third folded piece on the next edge, making sure all of the folded edges are toward the center of the stack.
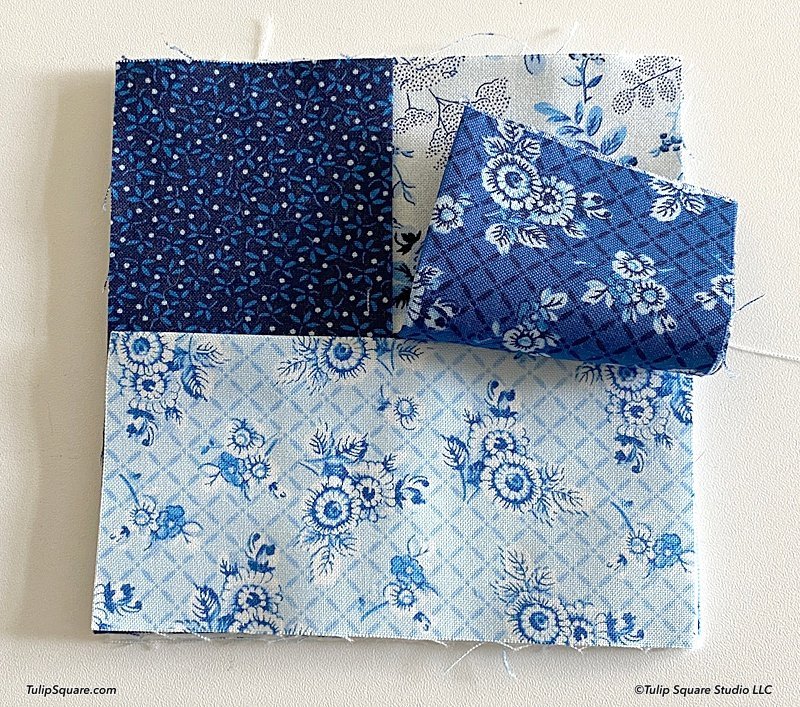
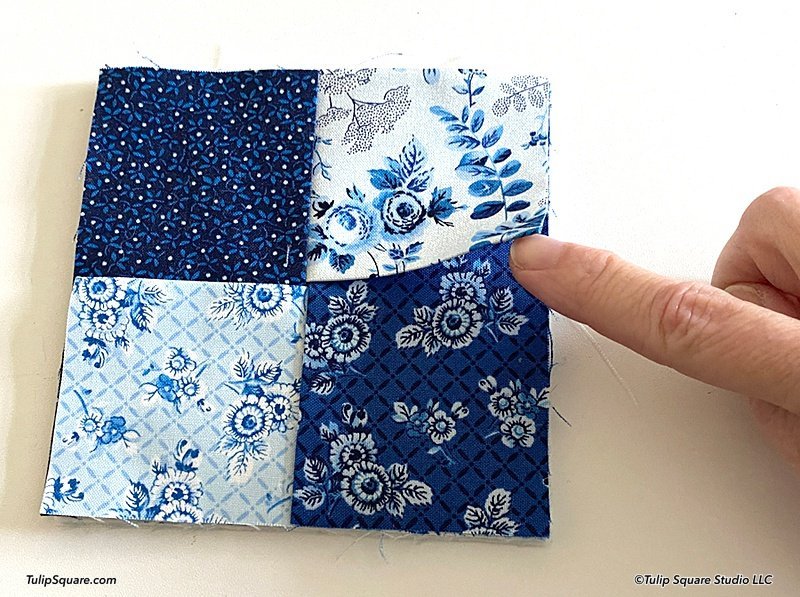
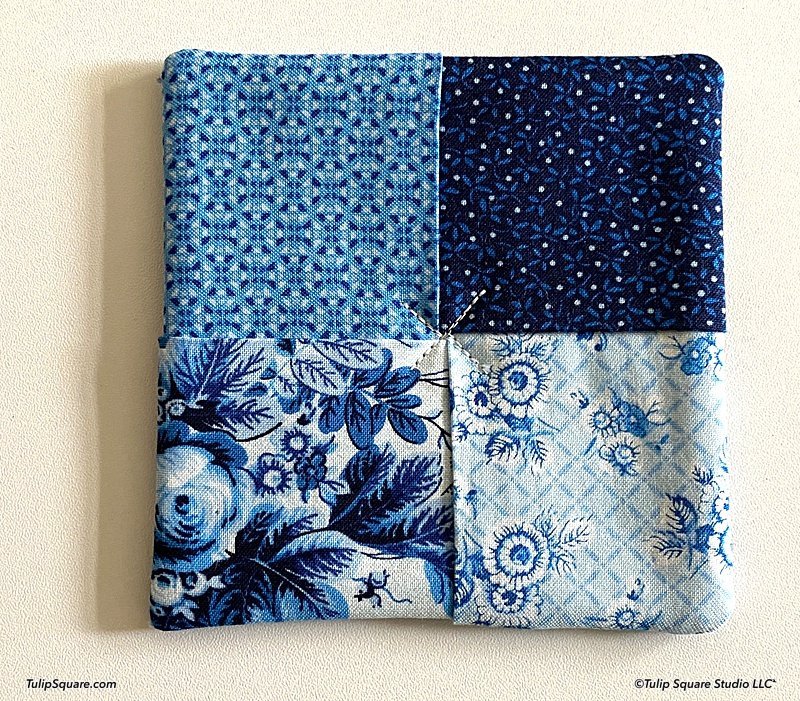
7. Last, place the fourth folded piece on the stack, and tuck the right end of it under the first folded piece. Now you have a square with 4 small squares visible. Make sure all the edges are even and the center joining of all the folded edges is nice and snug with no gaps or overlaps.

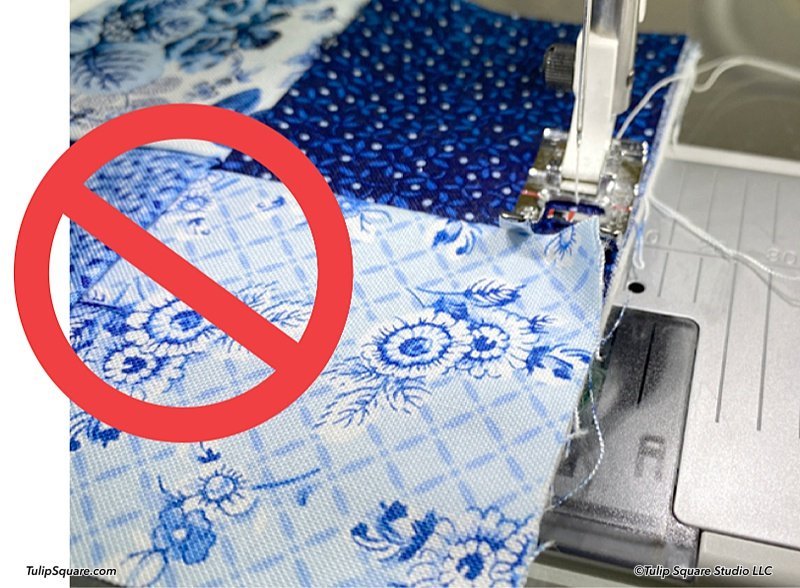
8. Make sure you overlapped the pieces by adding them counter-clockwise so the exposed folded edges don’t get caught on your sewing machine foot. You want the folded edges opening away from your presser foot.

9. Take the entire stack to your sewing machine and stitch around the outer edge, 1/4 inch from the outside. Double check to be sure the folds are not opening toward the foot.

10. Sew 1 or 2 stitches diagonally at each corner so it’s easier to turn it right side out.
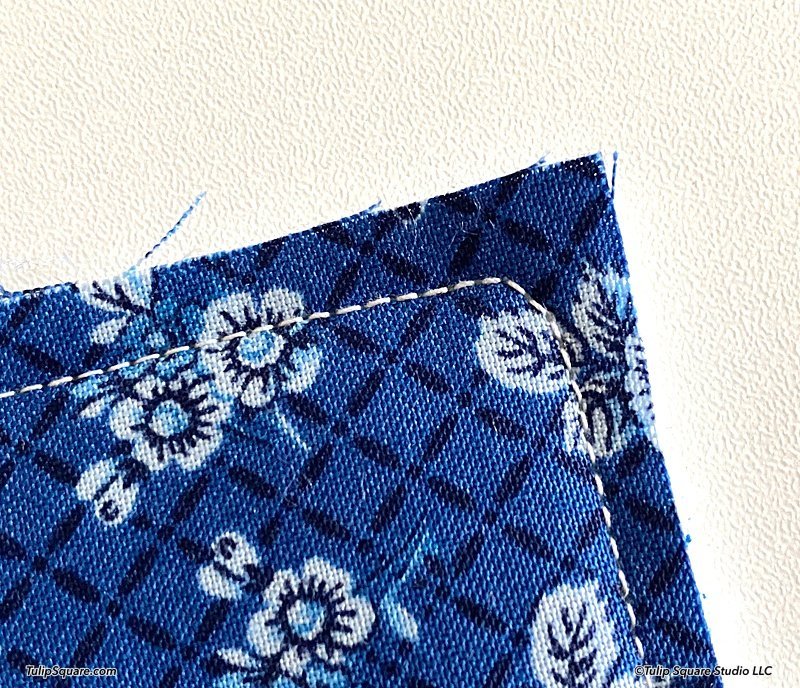
11. Trim the corners off then turn coaster to the right side and press it neatly.


2. Your coaster can be finished at this point or you can add some top stitching if you like. All of these finishing options apply to the potholders as well as the coasters.
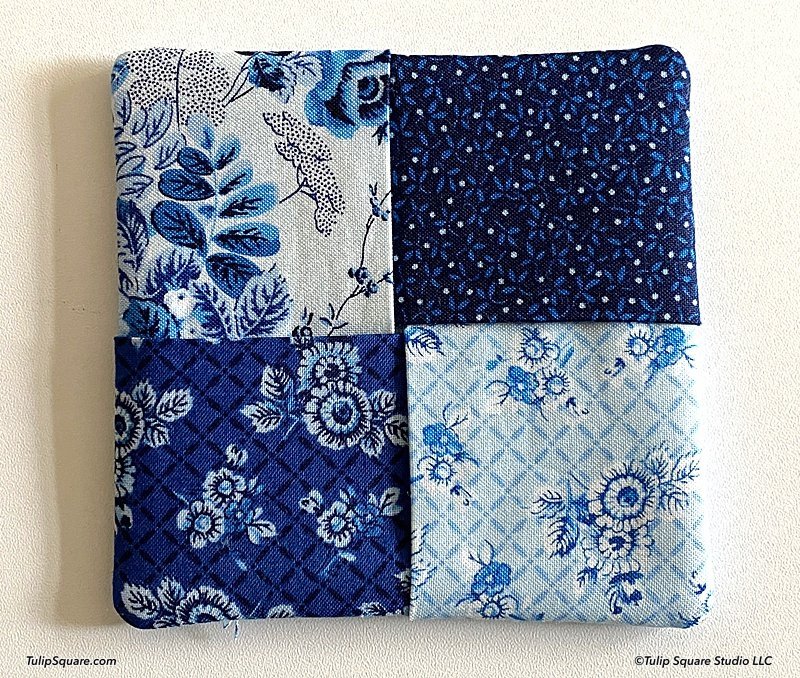
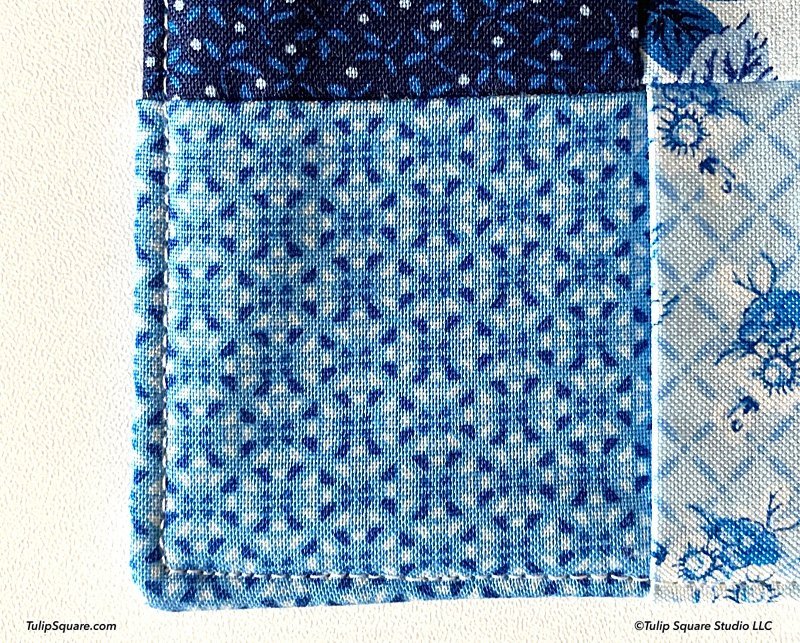
13. Here are a few options – add a simple top stitch around the outer edge only.
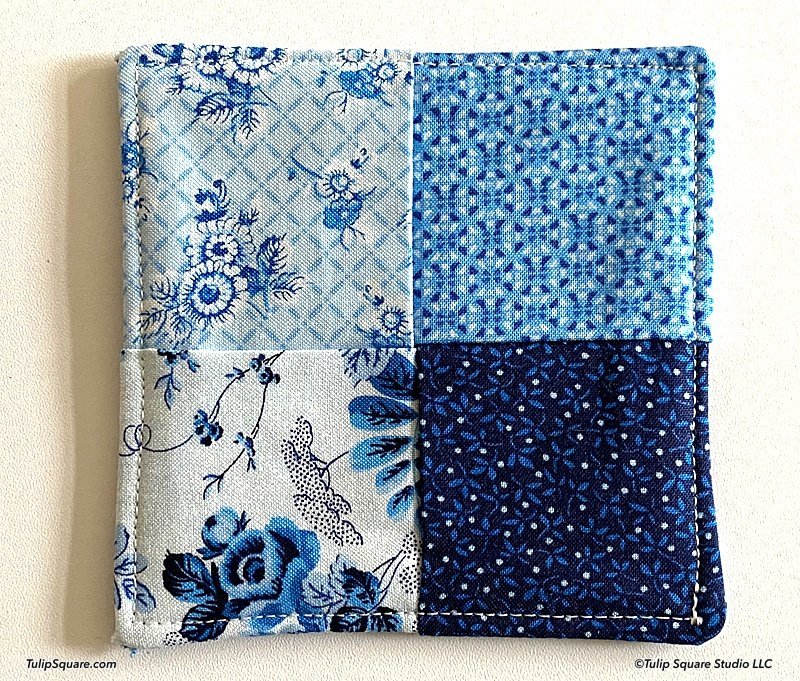
14. Stitch around each small square.


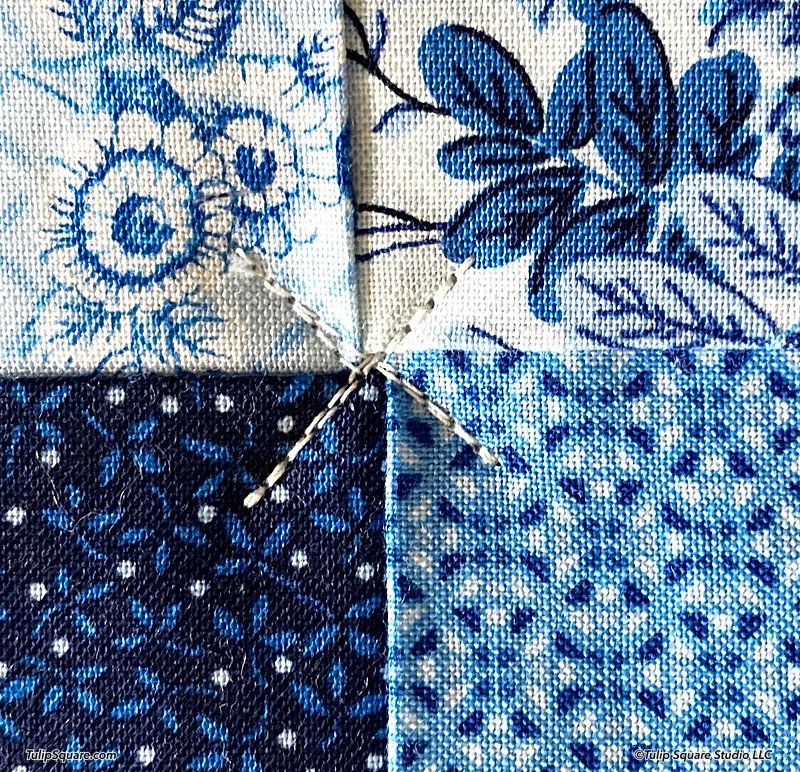
15. Add a small X in the center to grab all four inner corners.
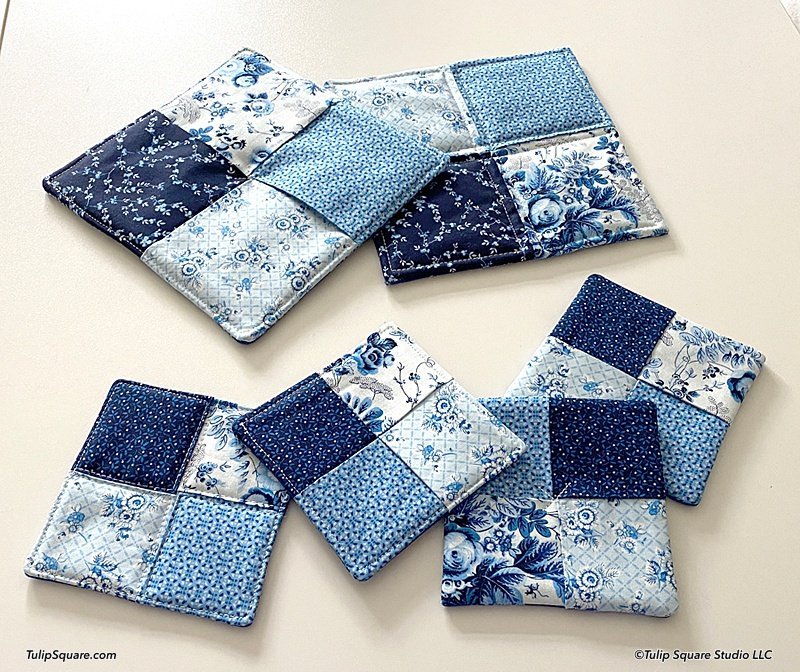
16. Your coaster (or potholder) is finished!
Do you want to watch and make these along with Paulette? Check out the video on our YouTube channel, and don’t forget to subscribe while you’re there!