DISAPPEARING WINDMILLS
Like all the “Disappearing” block designs, they are somewhat misnamed. The windmills don’t really disappear, they are merely transformed. This technique gives you a lot of interesting optional blocks to make.
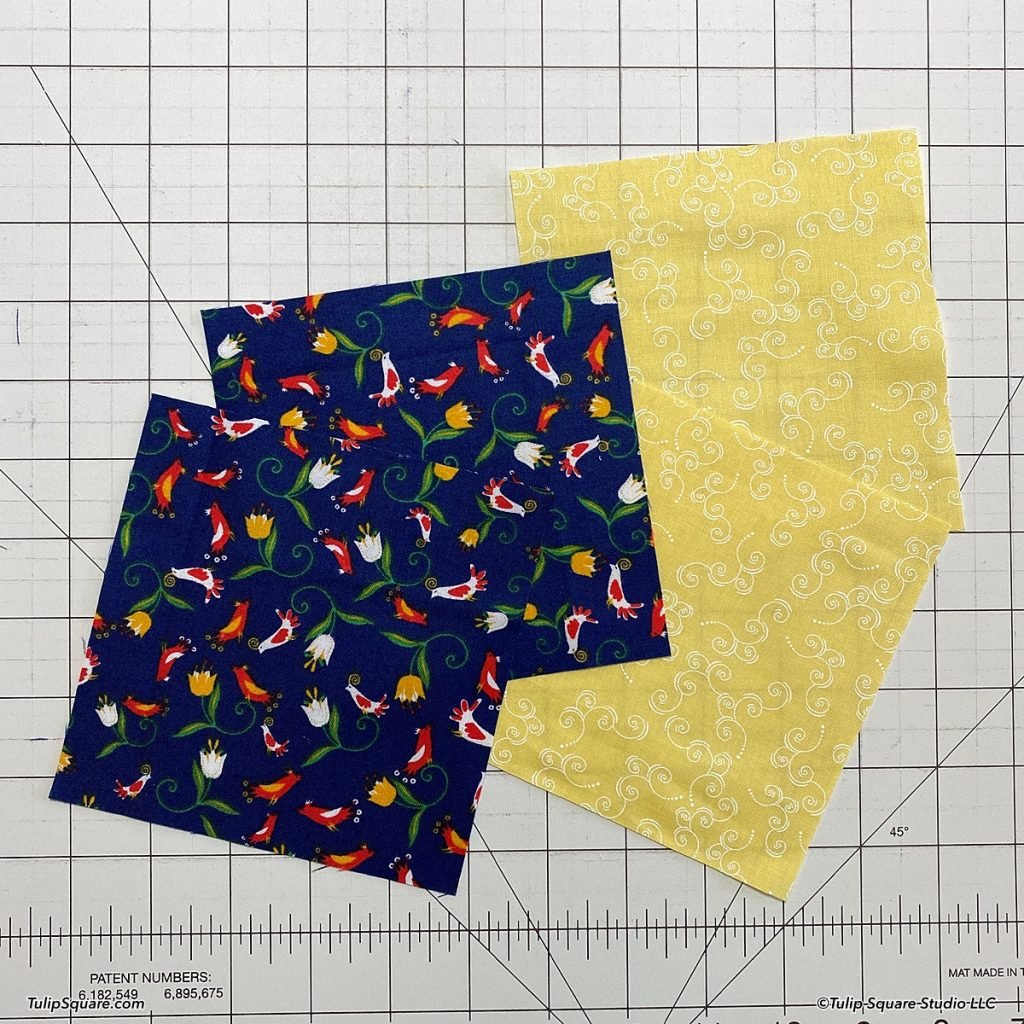
Start with two squares each of two colors of contrasting fabric. I started with 5-1/4 inch squares for the sample I show here. (You need to start with a size of square that gives you a block evenly divisible by 3 once the triangles are sewn together to form the initial windmill block.) Draw a diagonal line on the back of the two lighter colored squares.
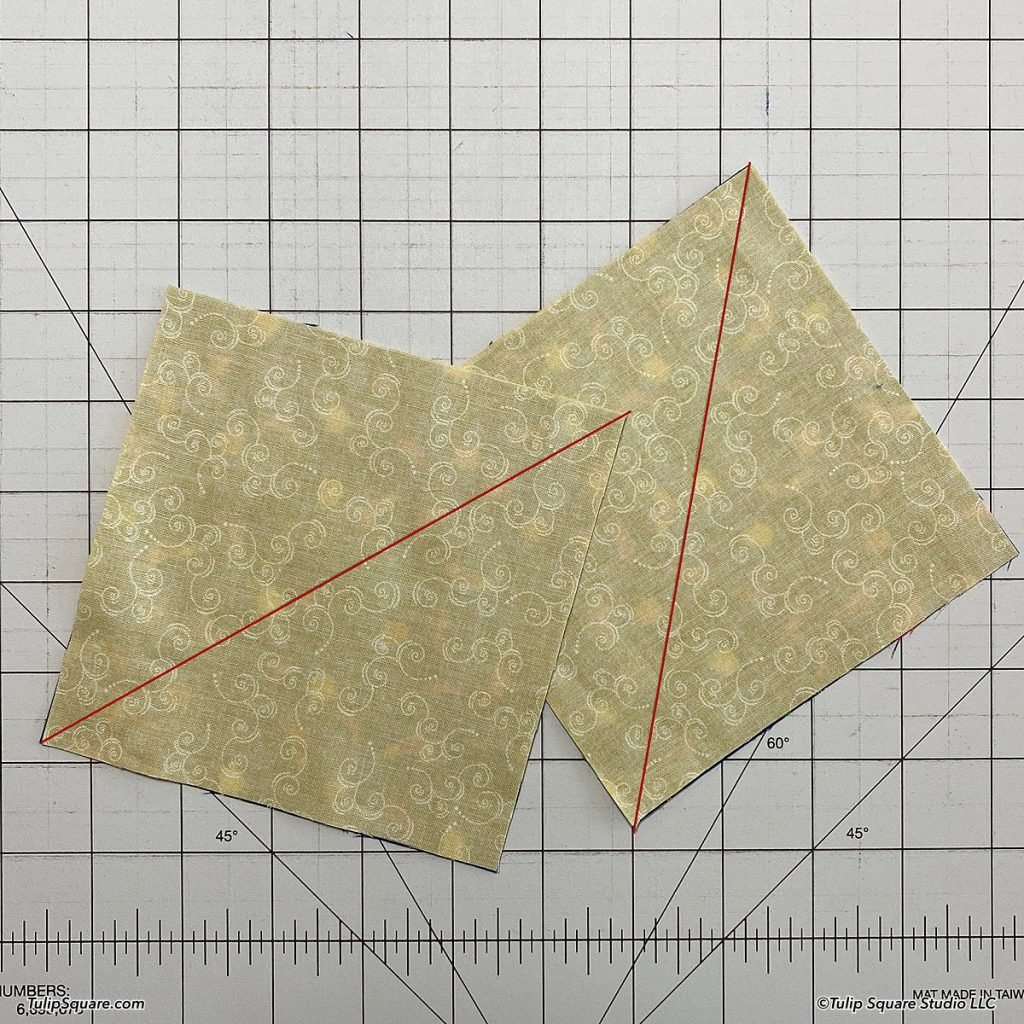
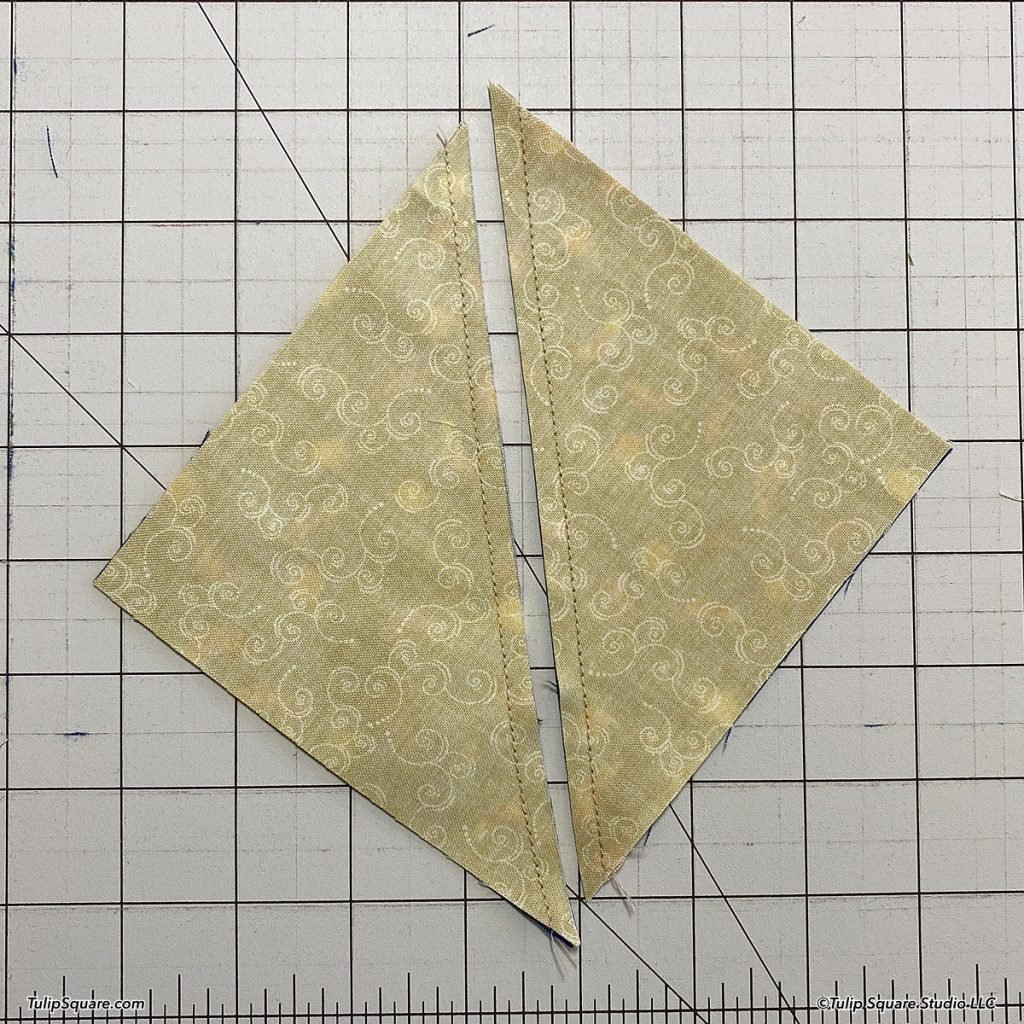
Pair up your two colors of squares, right sides together, then carefully sew 1/4 inch away from the diagonal line, on each side of the line. Cut along these original drawn lines, press the seams open, and you will now have 4 triangles squares, all the same. These are 4-7/8 inches square each.
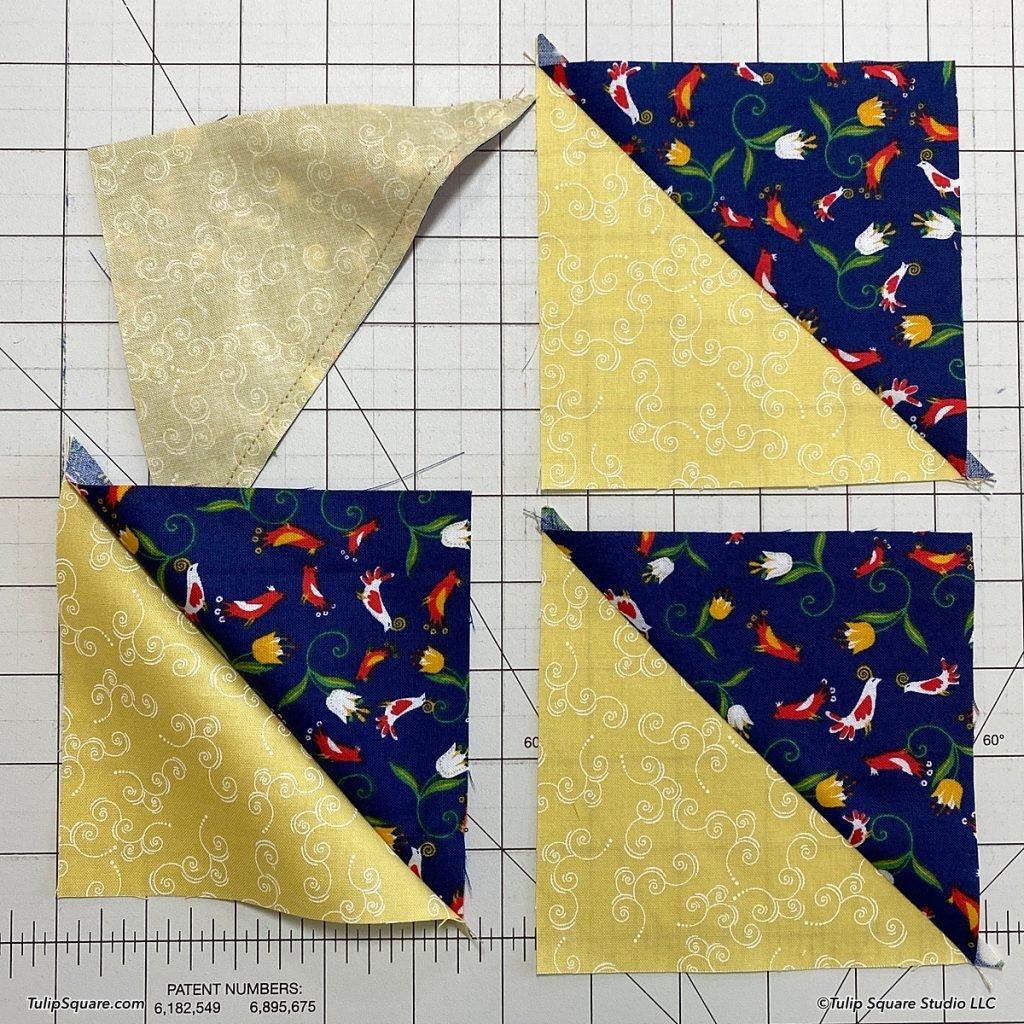
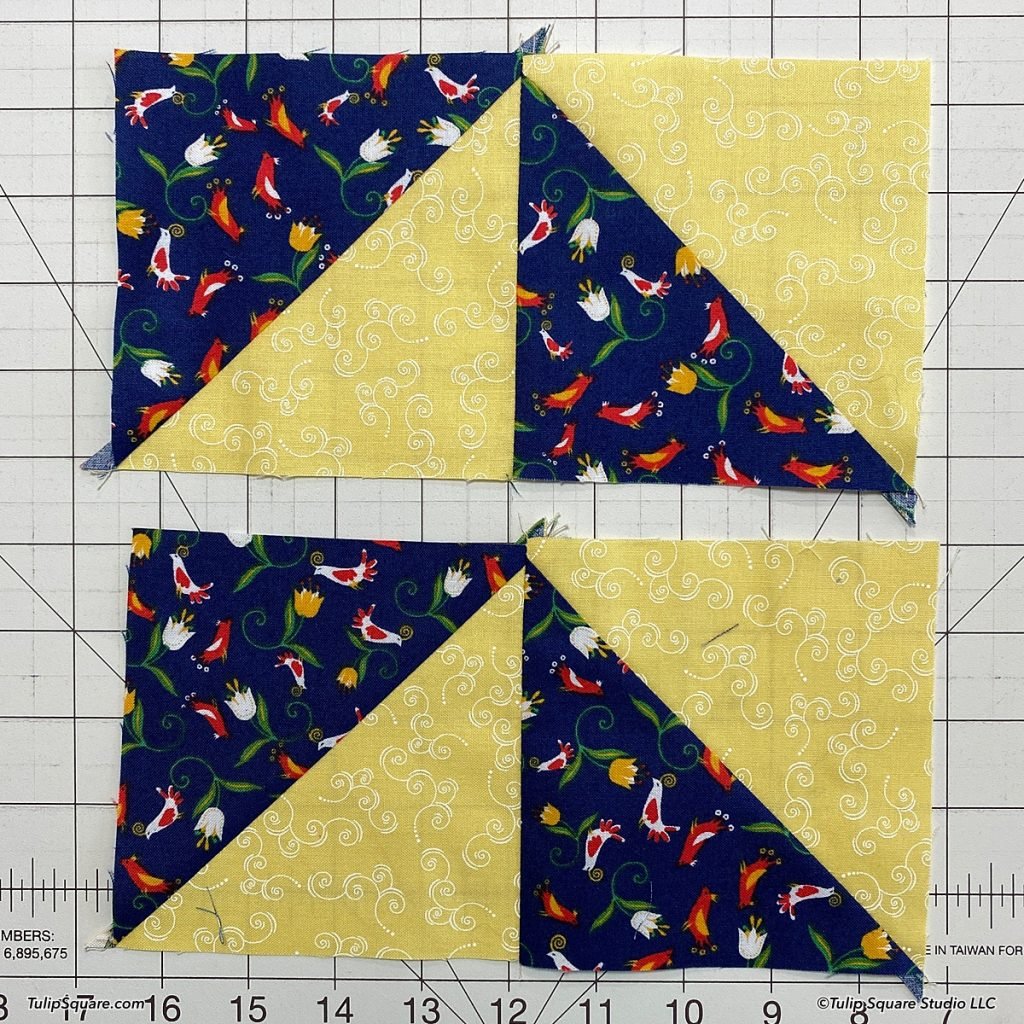
Sew these pieces together in pairs, rotating one in each pair as shown. Now flip the top one around and you have formed the windmill. Sew these together and press the center seam open to reduce bulk. This block is 9-1/4 inches square.
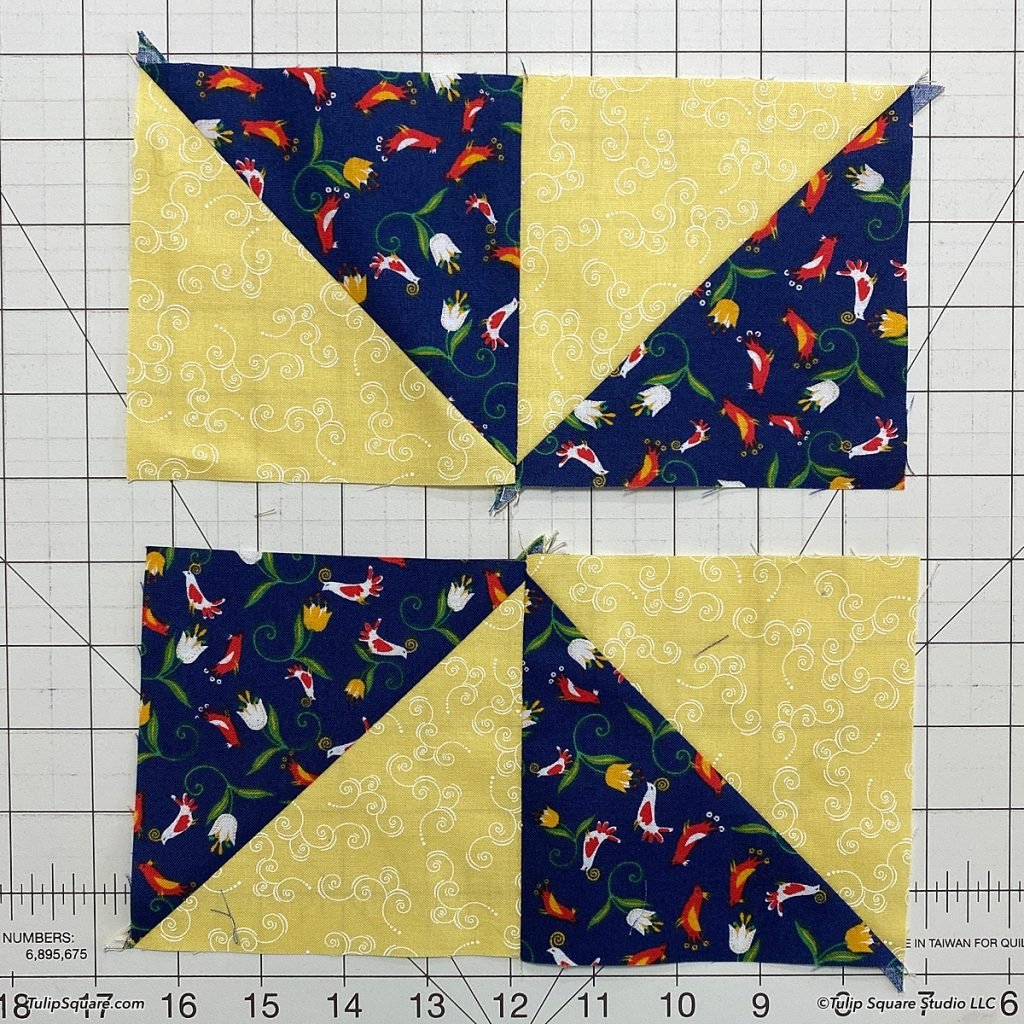

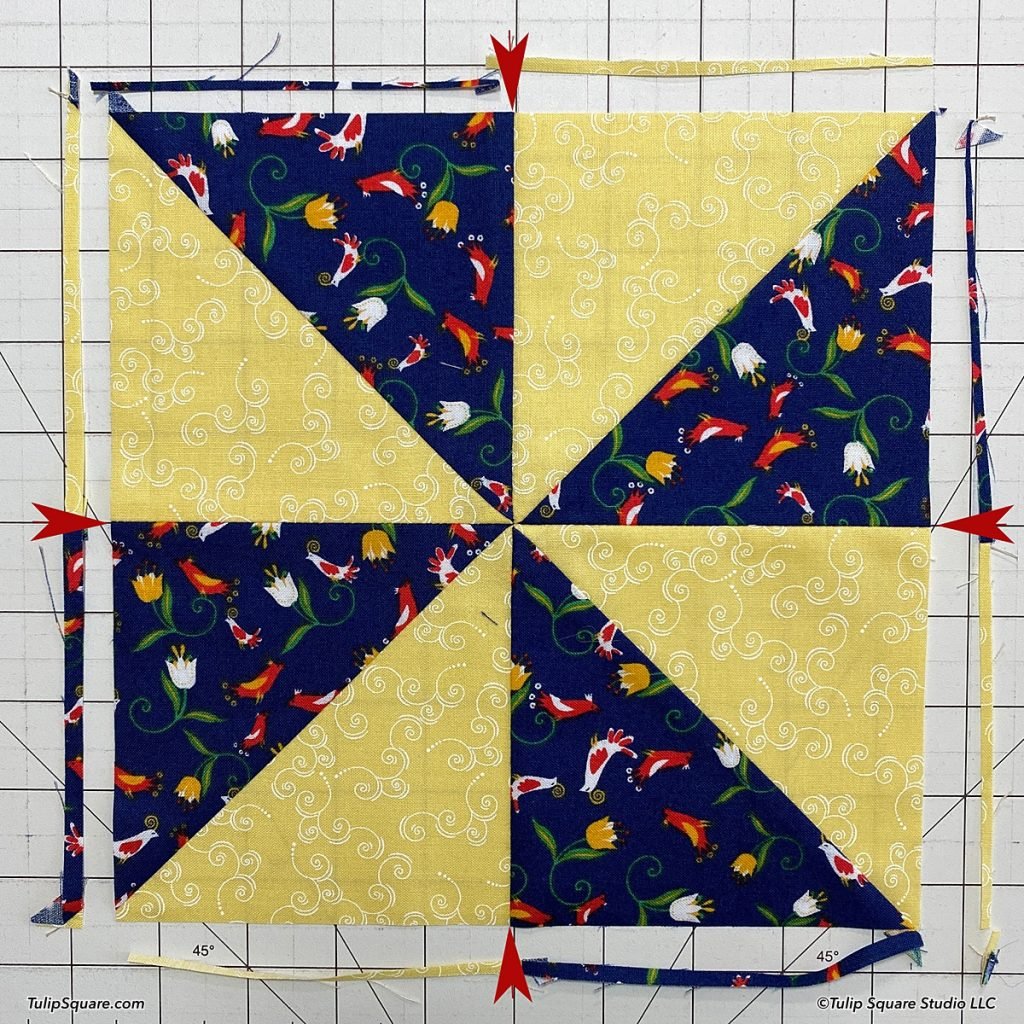
Line up a block on your gridded cutting mat, and carefully trim off an equal amount on each of the four sides. The red arrows show where the center seams are lined up with lines on the grid, making it easier to trim evenly. I trimmed this block to 9 inches square. It’s important to trim all 4 edges evenly so the center seams remain nicely centered.
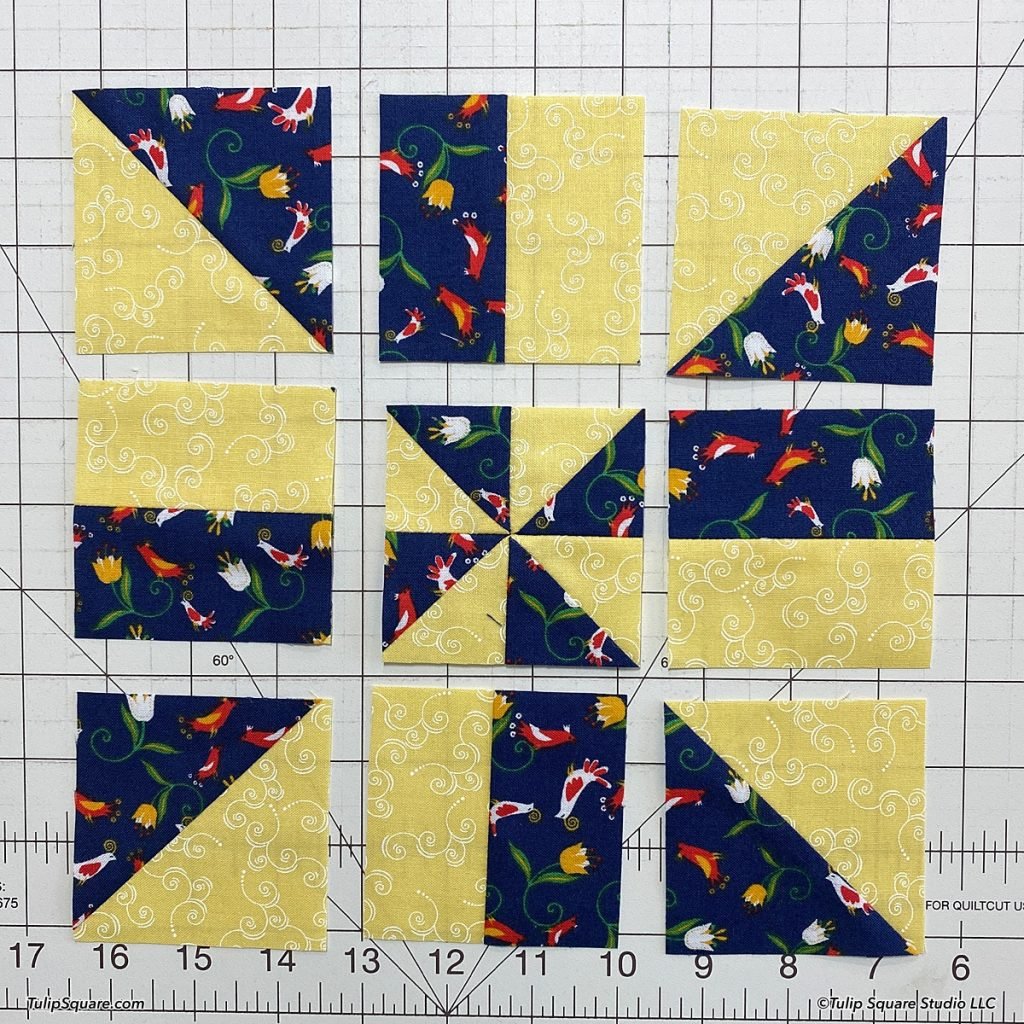
Now carefully measure and cut the block in thirds, in both directions. My block was cut into 3 inch squares.
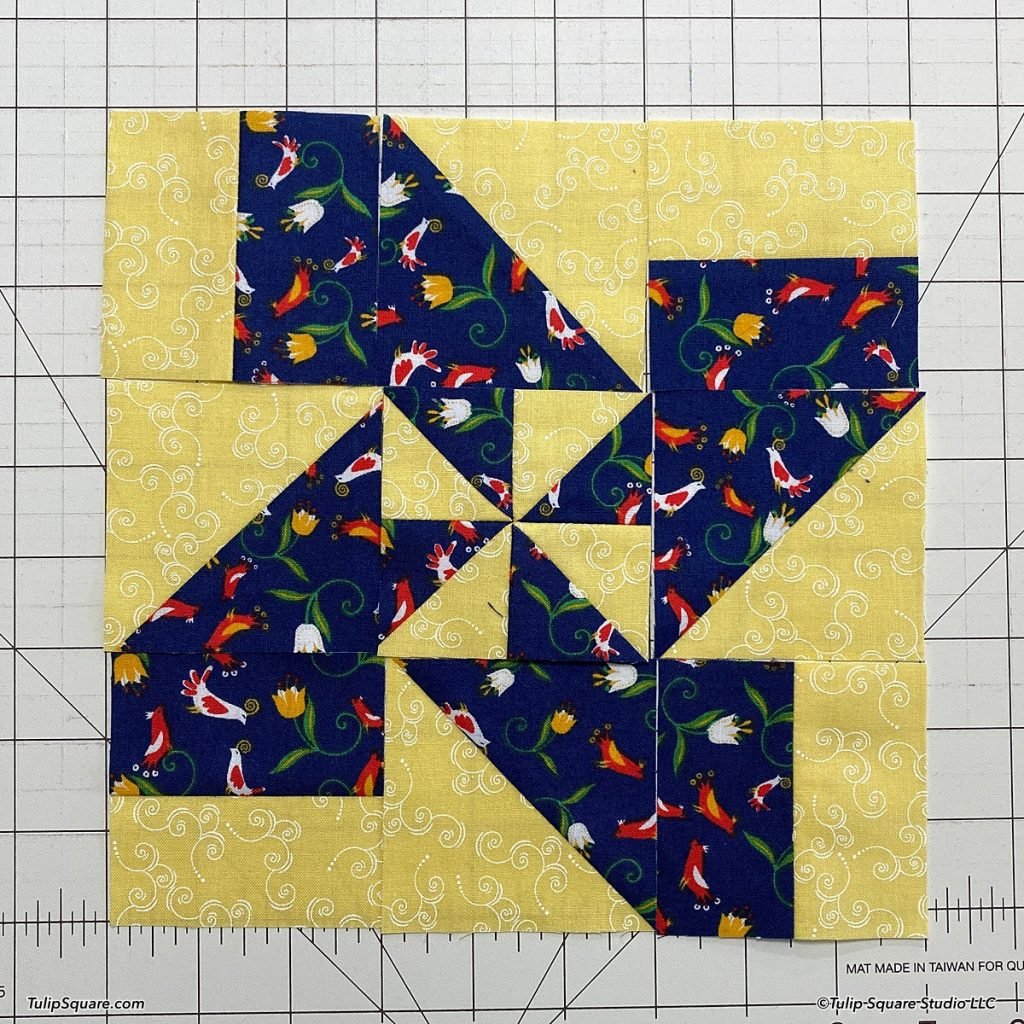
For this first start design, you swap a corner square with the square to the right of it, and turn both a quarter turn clockwise. Do that all the way around the block.
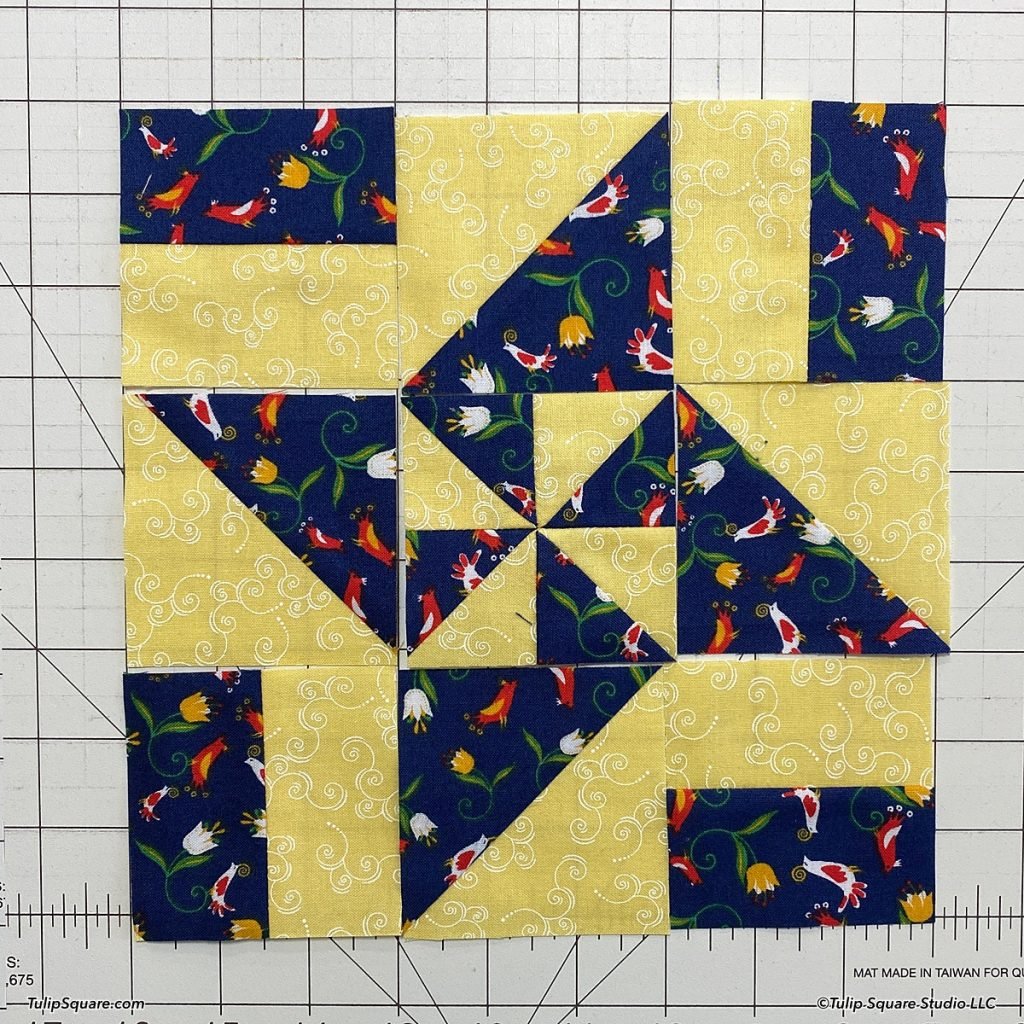
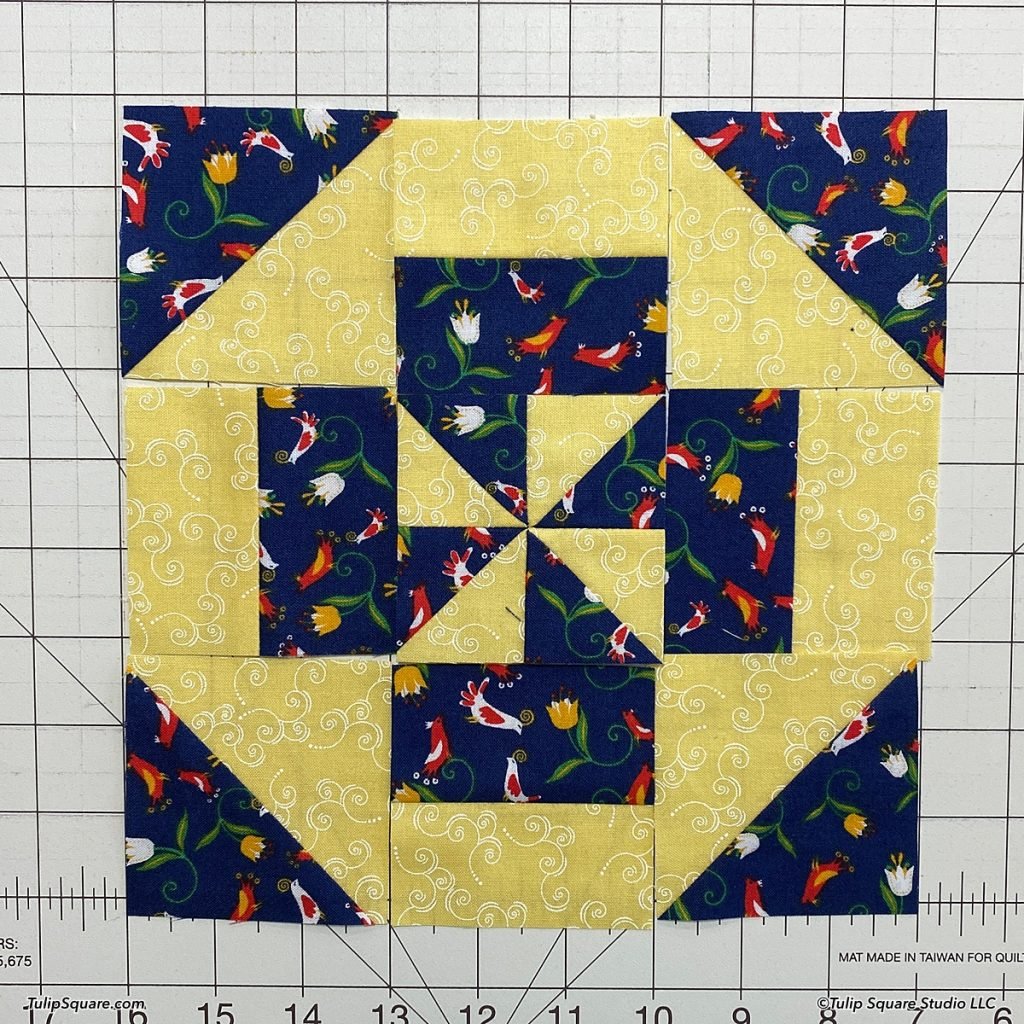
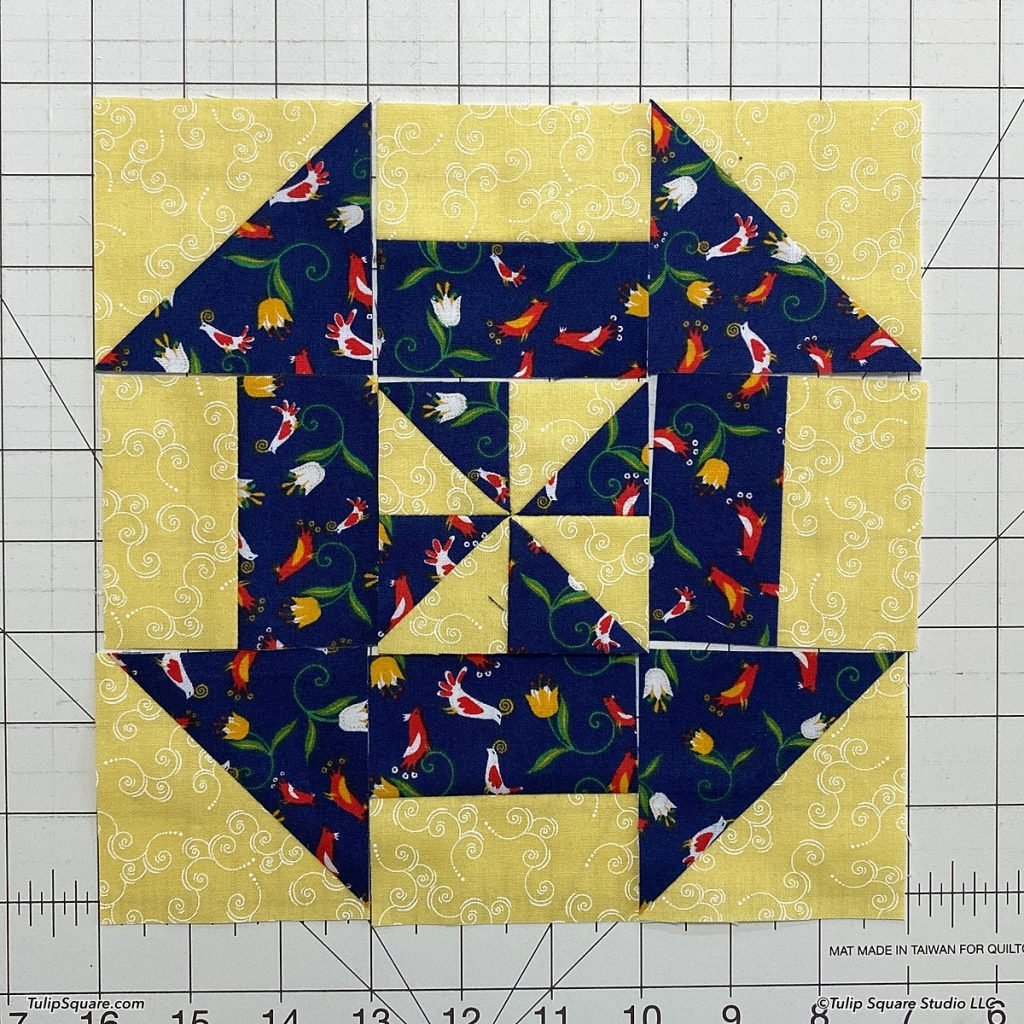
You can see by these examples that there are numerous ways to make blocks with these eight squares. These two designs leave all the blocks in their original spots, but you turn each one a quarter turn in the same direction (clockwise or counter-clockwise). Depending on which direction you make the turns, you get a different design!
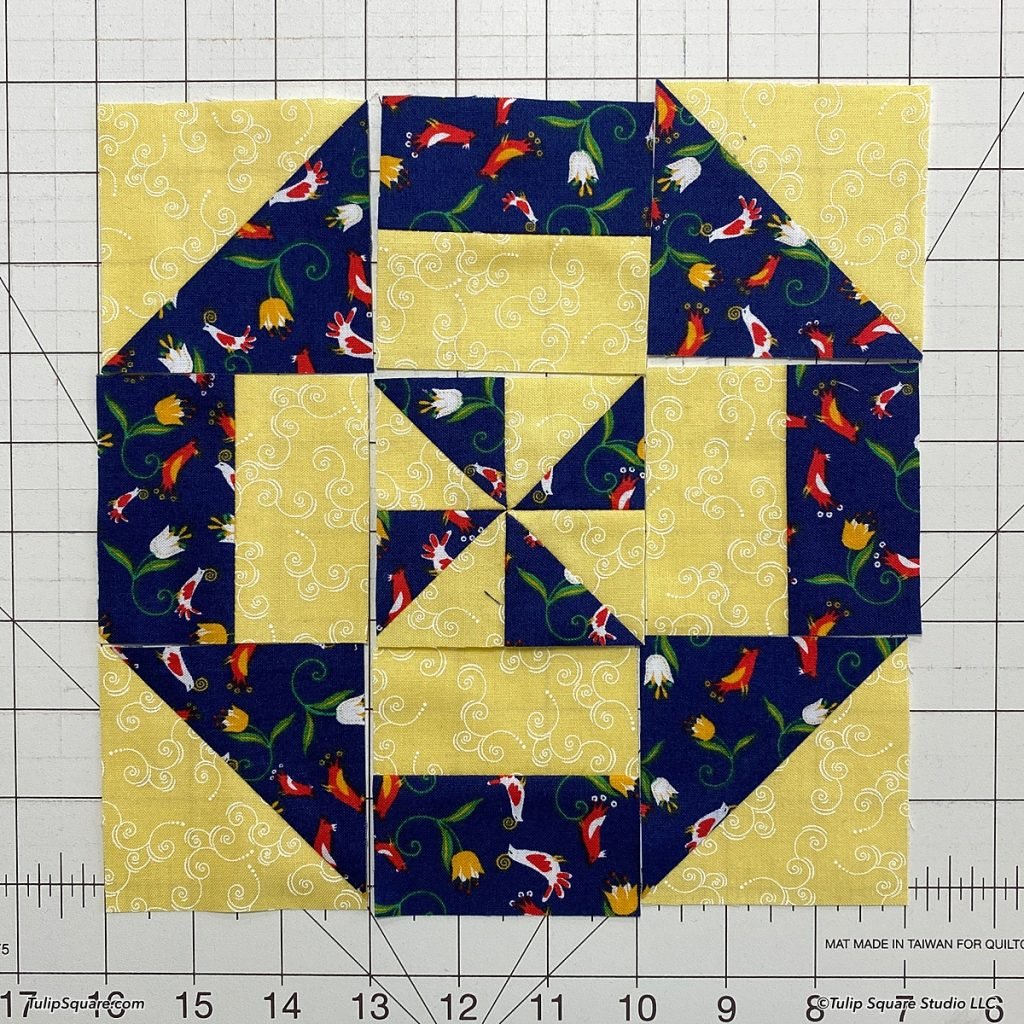
Here are two more designs you can make. A funky fan, and a churn dash with a twist! Try these and a few of your own and have fun experimenting. Happy sewing!