If you’re like most quilters, you have an ever-growing scrap bin. Perhaps you have plans for using all these little leftovers, or maybe you keep adding to it and it just keeps growing! We use a lot of fabric every month so we have a lot of scraps!
Here’s a block you can make very easily, and it’s a lot of fun. Make these blocks any size you want, and have fun digging through your scraps to make as many blocks as you want. It kind of helps to know in advance what you want to make with the blocks, so you can make them a specific size and you have an idea of how many you’ll need.
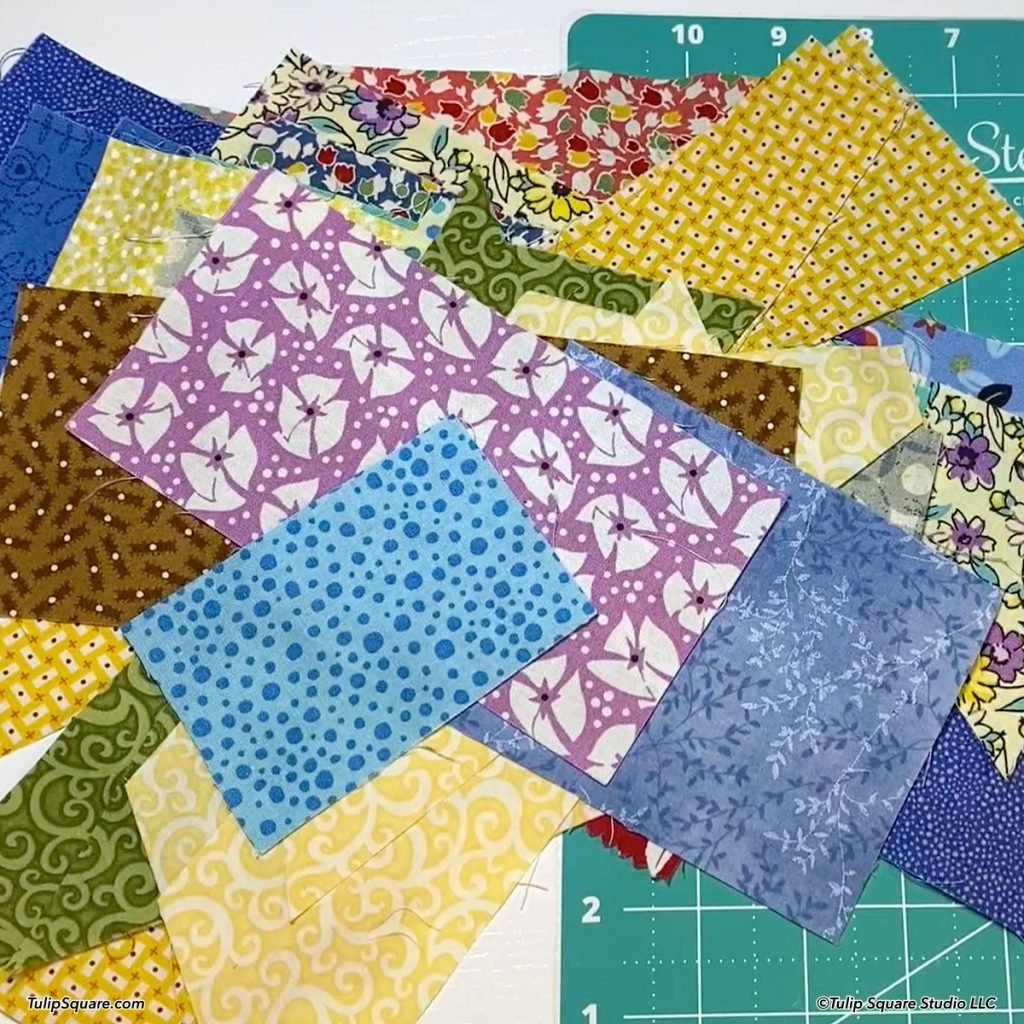
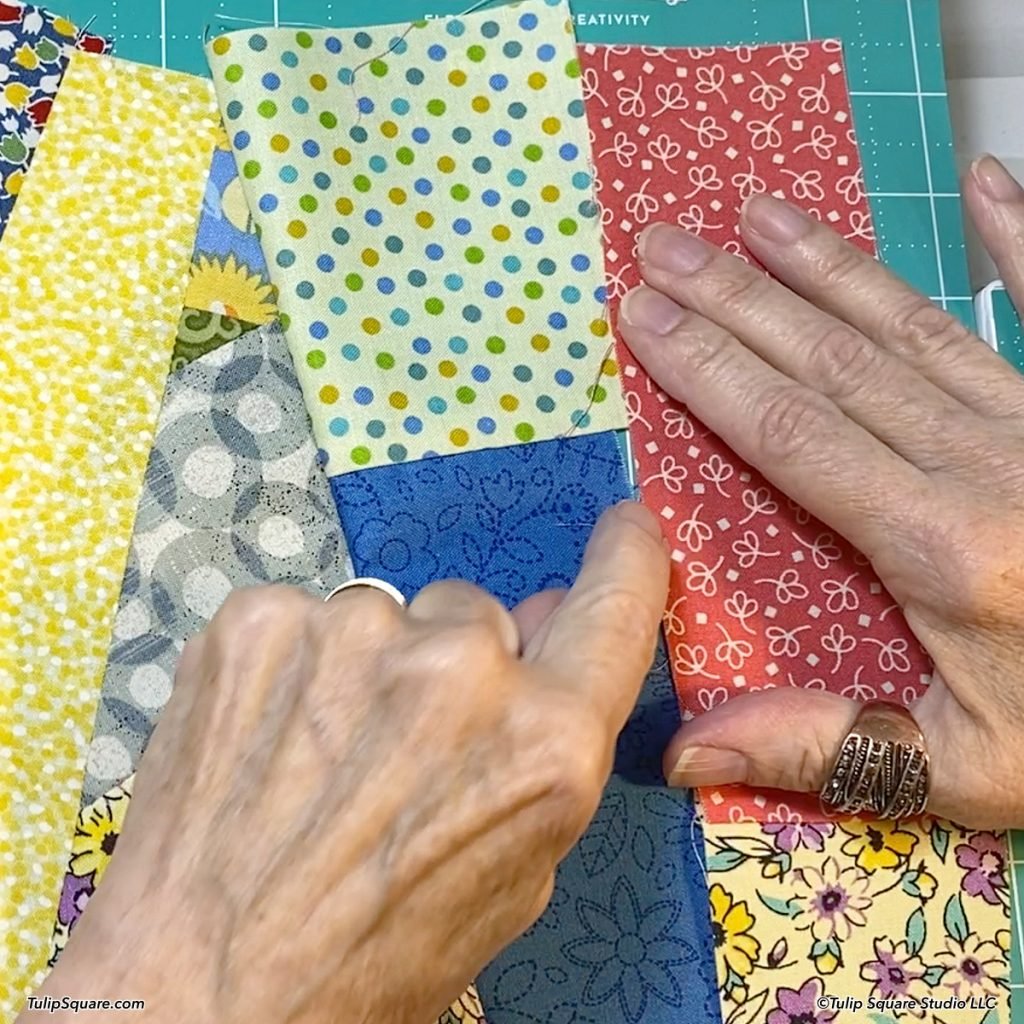
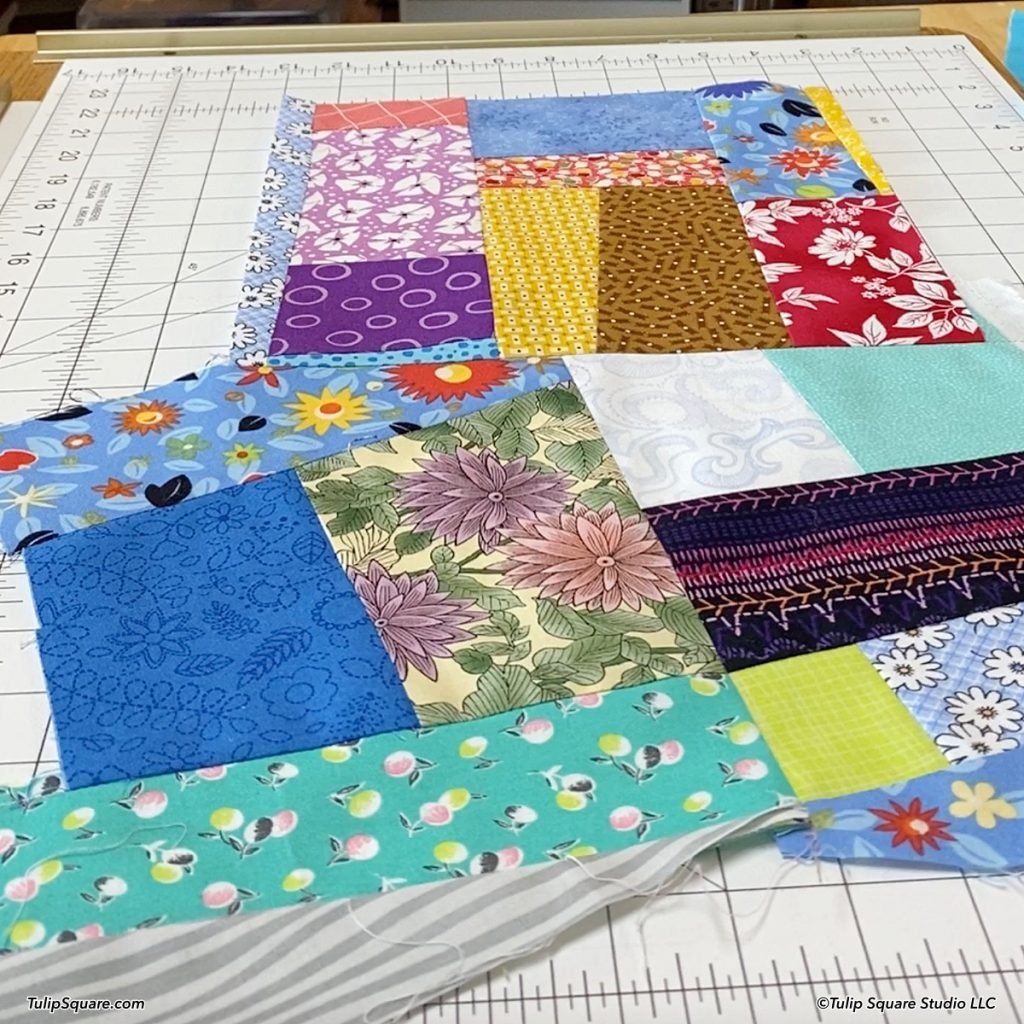
First, pull out an assortment of scraps you want to use – whether you want to use all different colors, or pick a specific color scheme. As you start sewing your scraps together, we find it’s easier to press seams between each step so your work stays nice and flat. You can cut your scraps in strips or leave them as they are. I like to cut some and leave some randomly shaped to keep the blocks interesting.

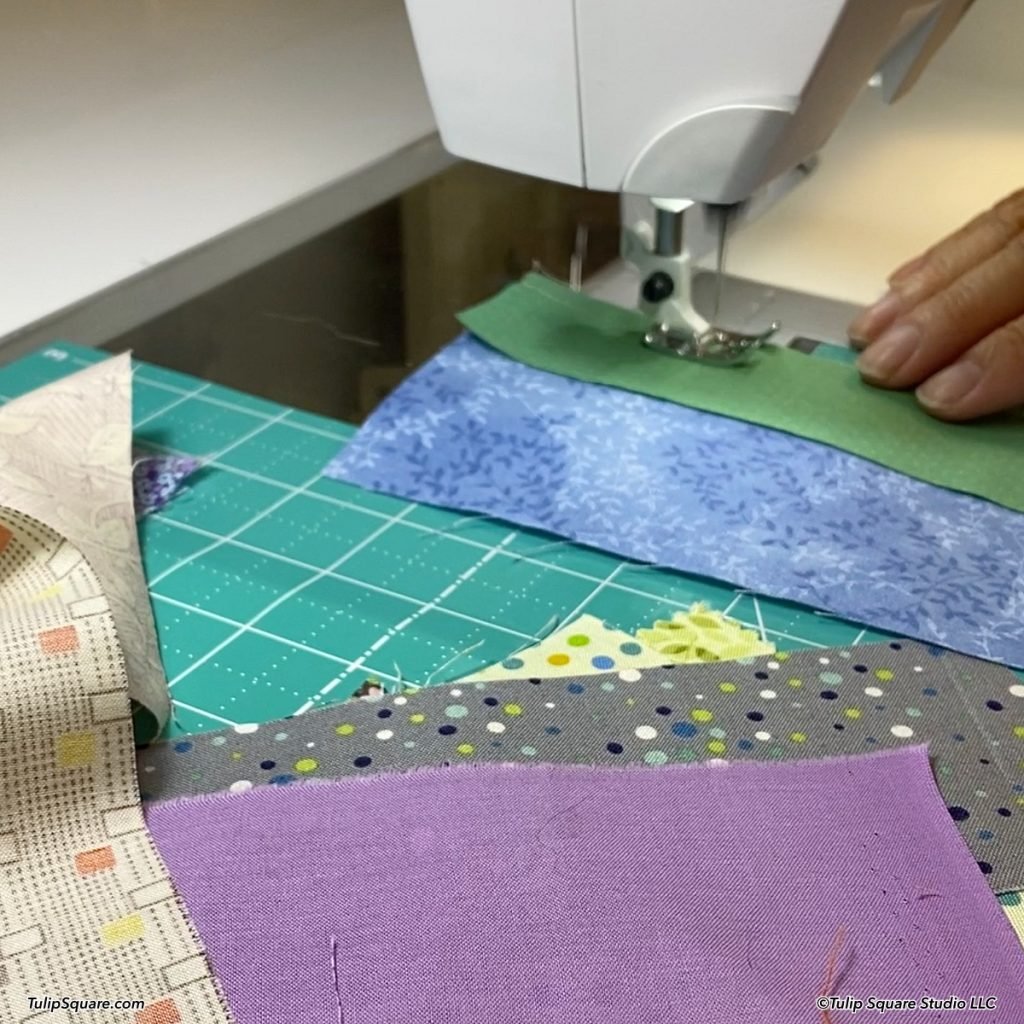
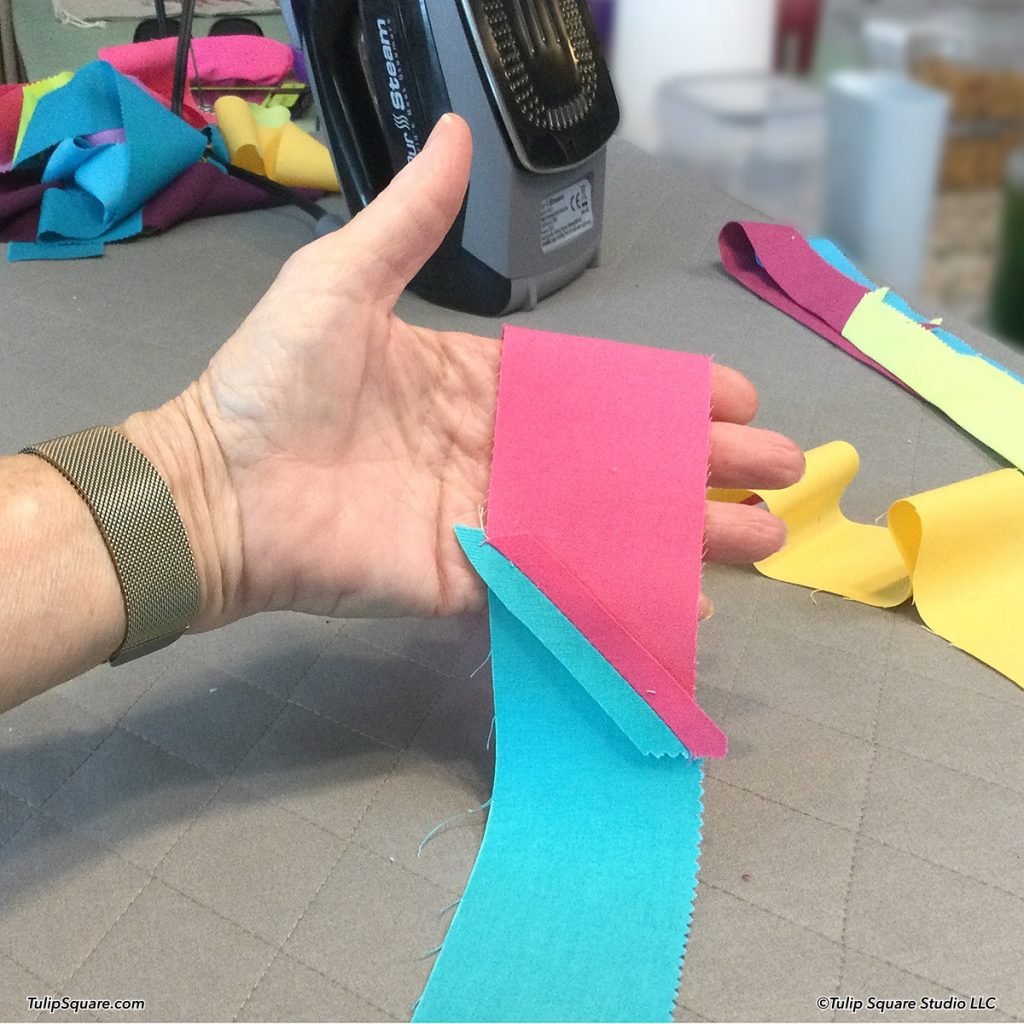
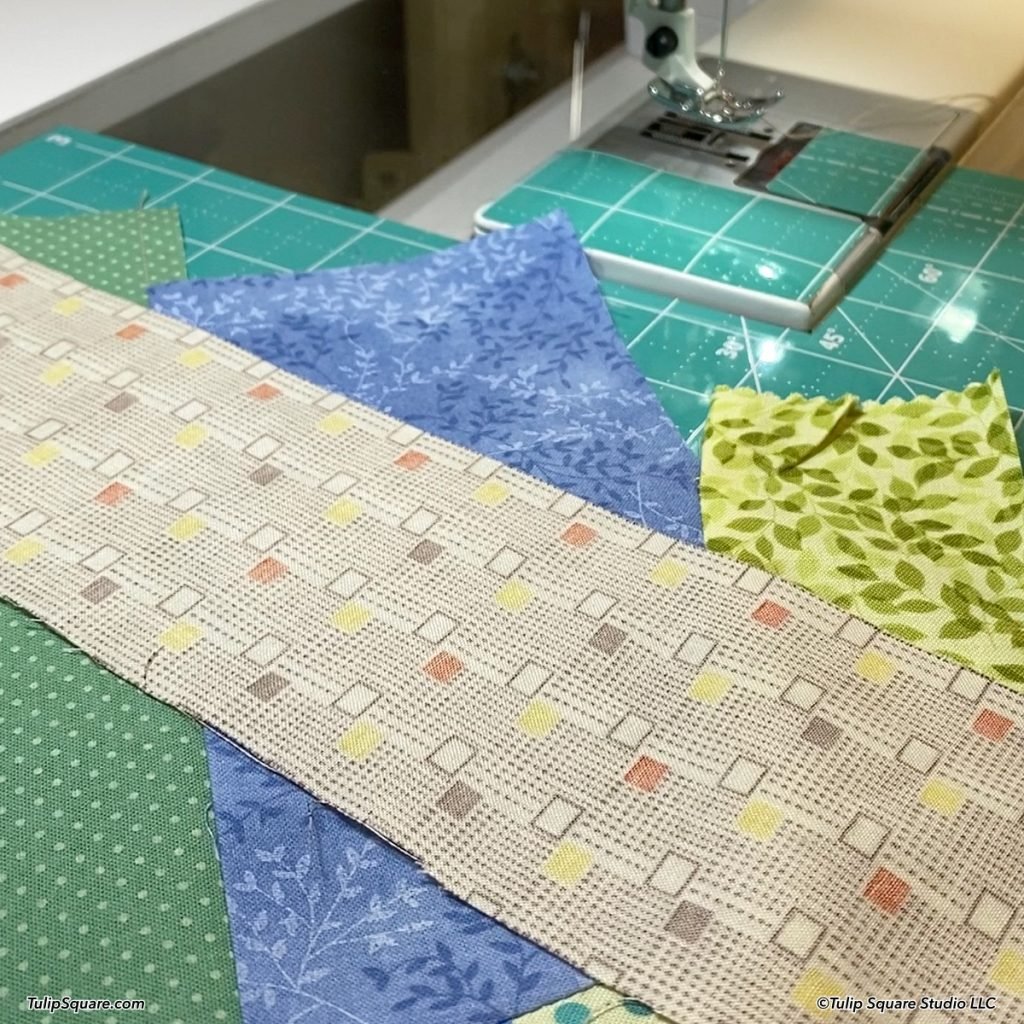
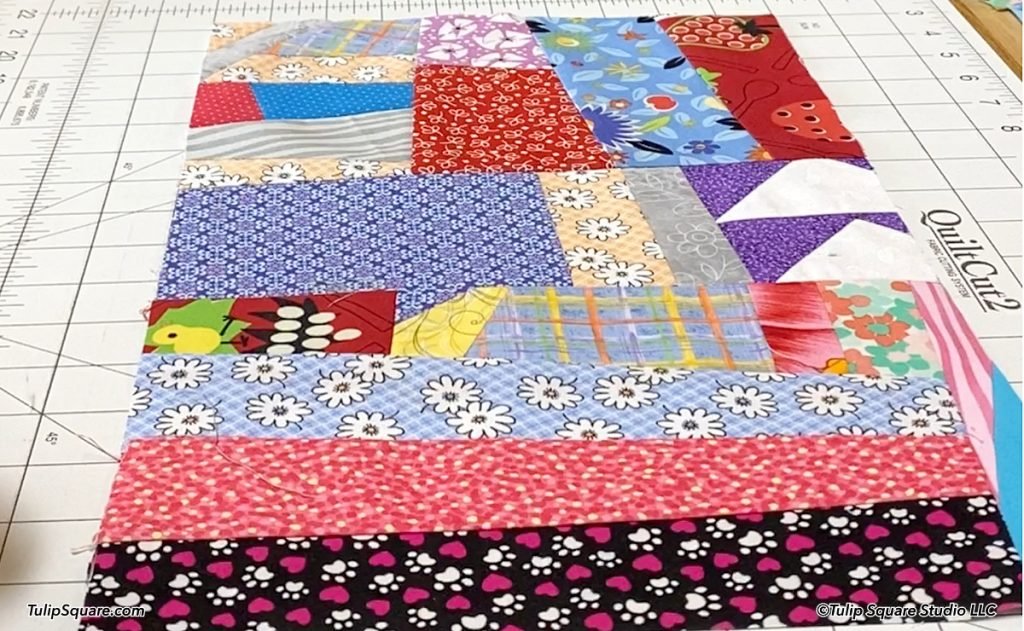
Pick up your first two scraps and stitch them together, right sides facing, then press them, usually toward the darker color. Pick up another scrap and stitch it along any edge you want. Sew additional random pieces along any edges you like, without leaving any gaps. If you have a lot of short pieces, you can sew several together in strips before adding them to your block (see my video as I make a few of these blocks).
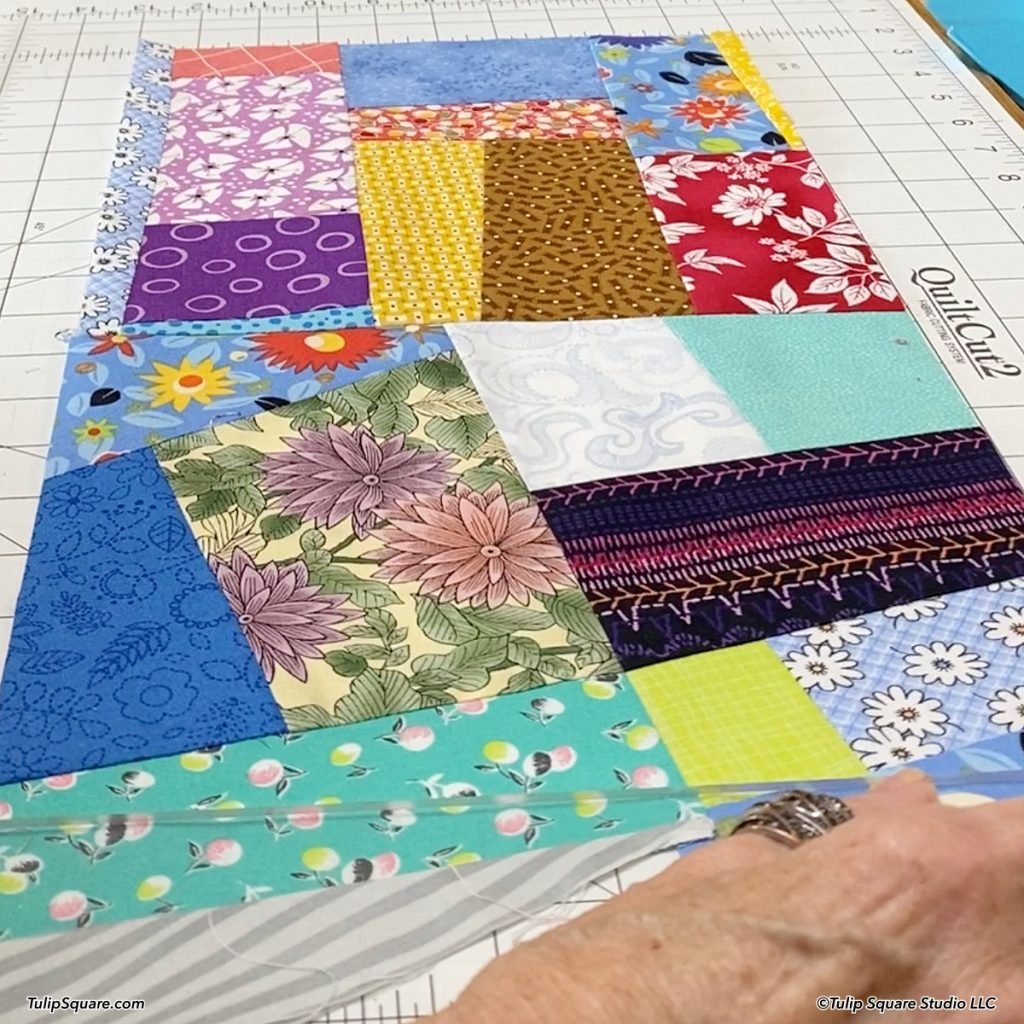
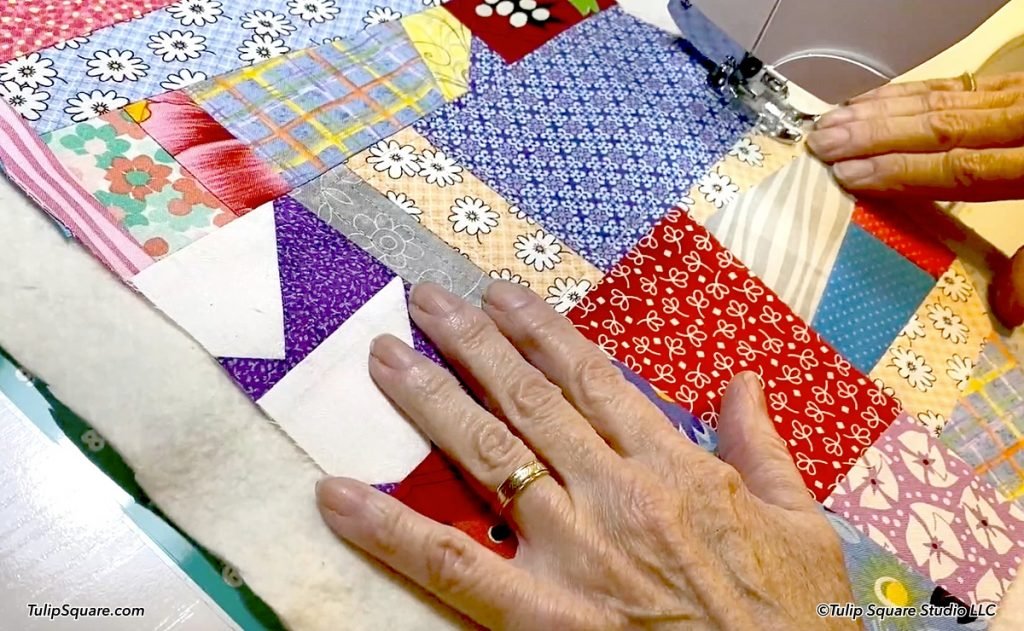
Cut away excess seam allowances where you are sewing pieces together that don’t line up. Try to keep your seams nice and straight. Draw the seam with a ruler and pencil if you need to, where neither of the pieces you are sewing together has a straight edge to follow.
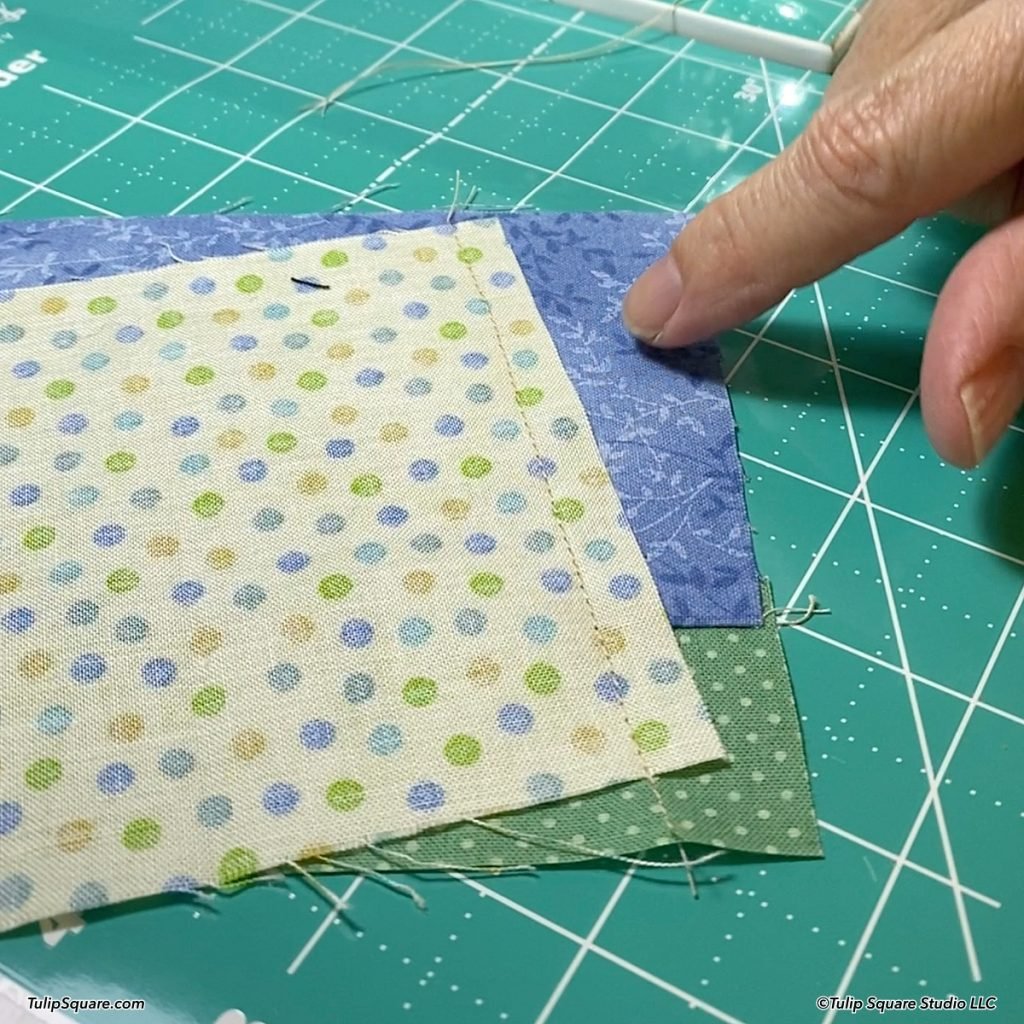

Be sure not to leave any gaps as you sew, by making sure both layers are completely caught in the seam. Otherwise you will have a hole in your seam after it’s sewn.
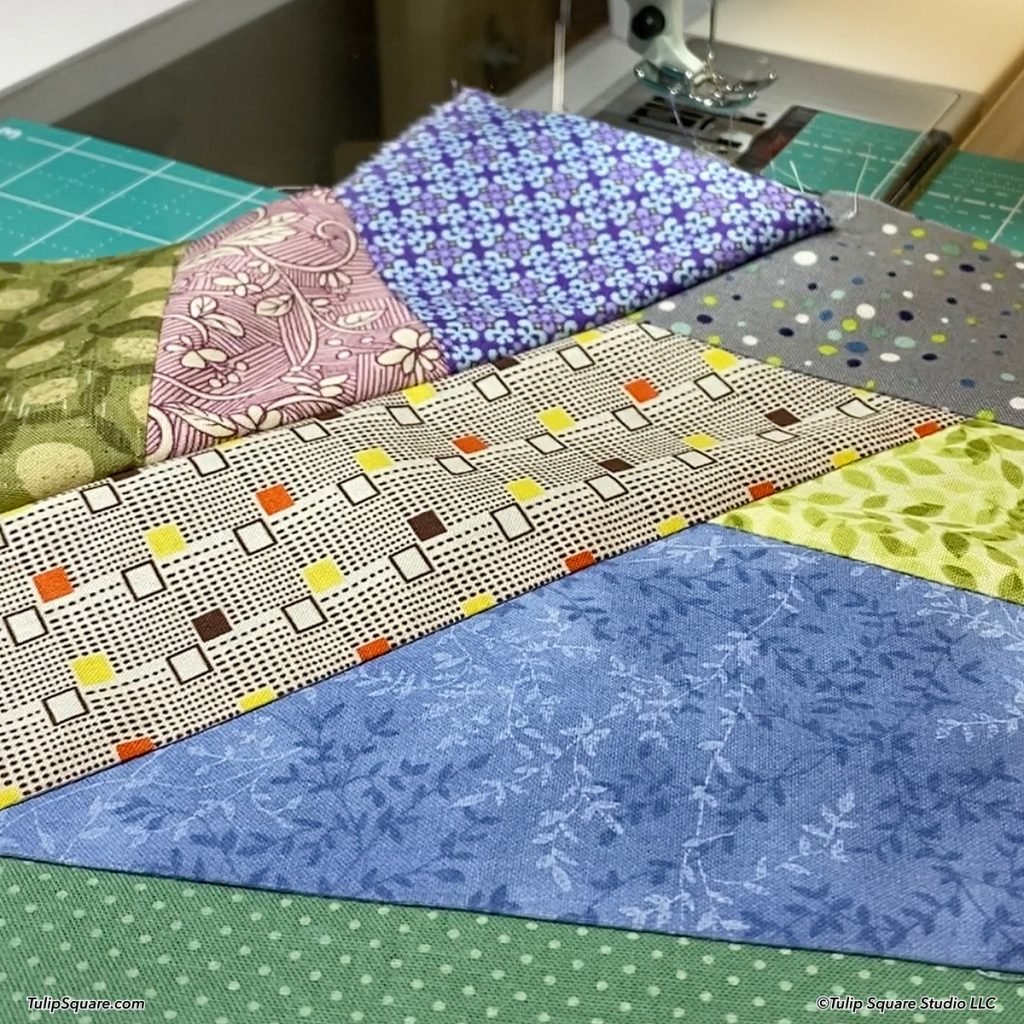
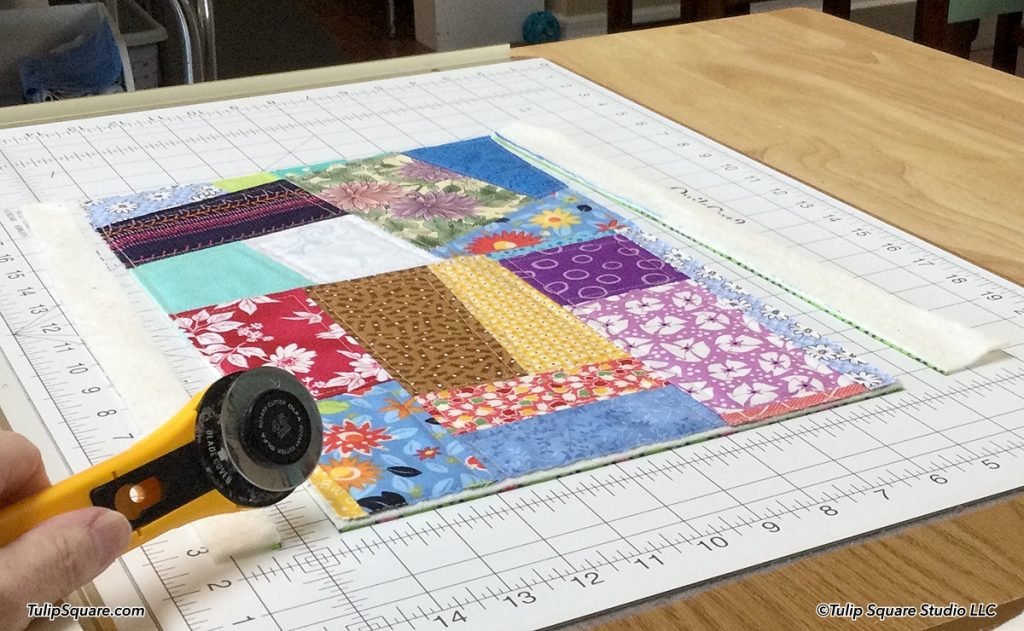
Once you have put together enough scraps to form somewhat of a square, you trim it down to a nice even block, in whatever size you want to make it.
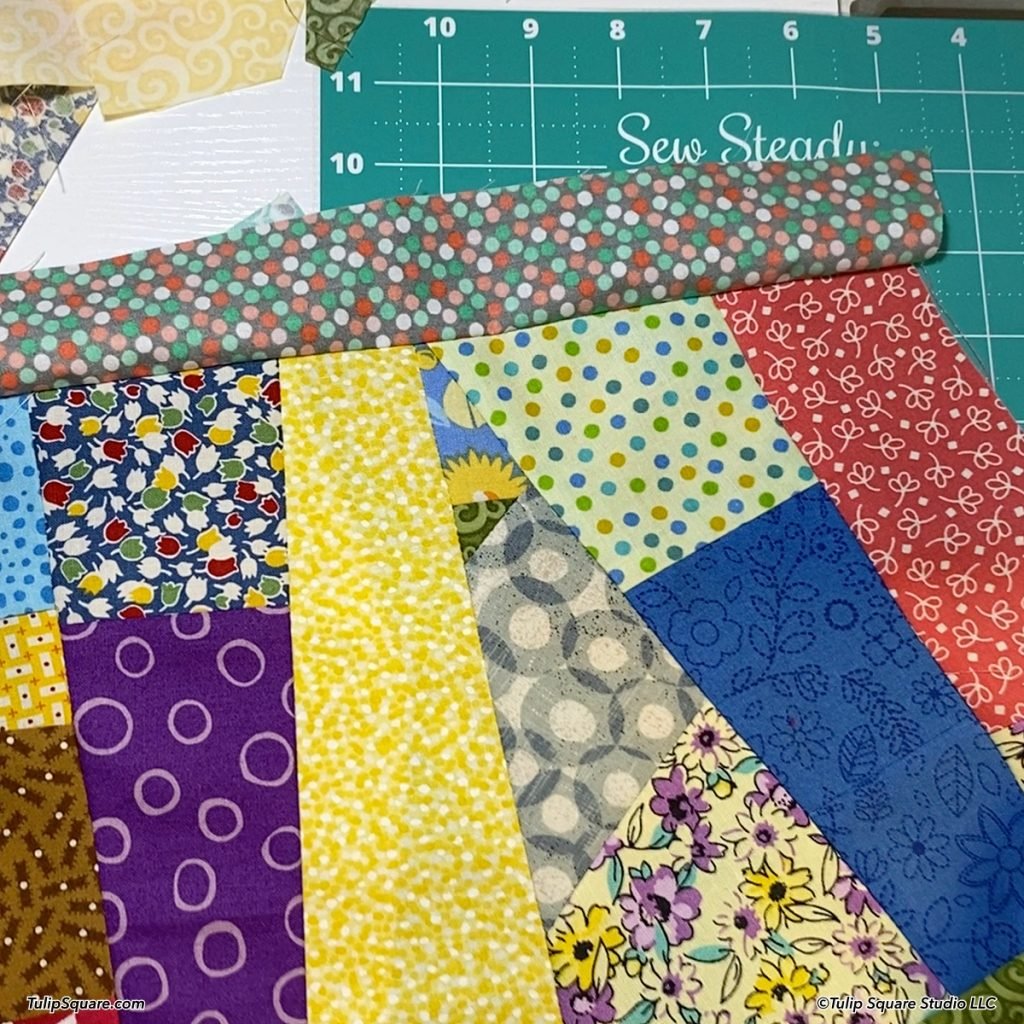
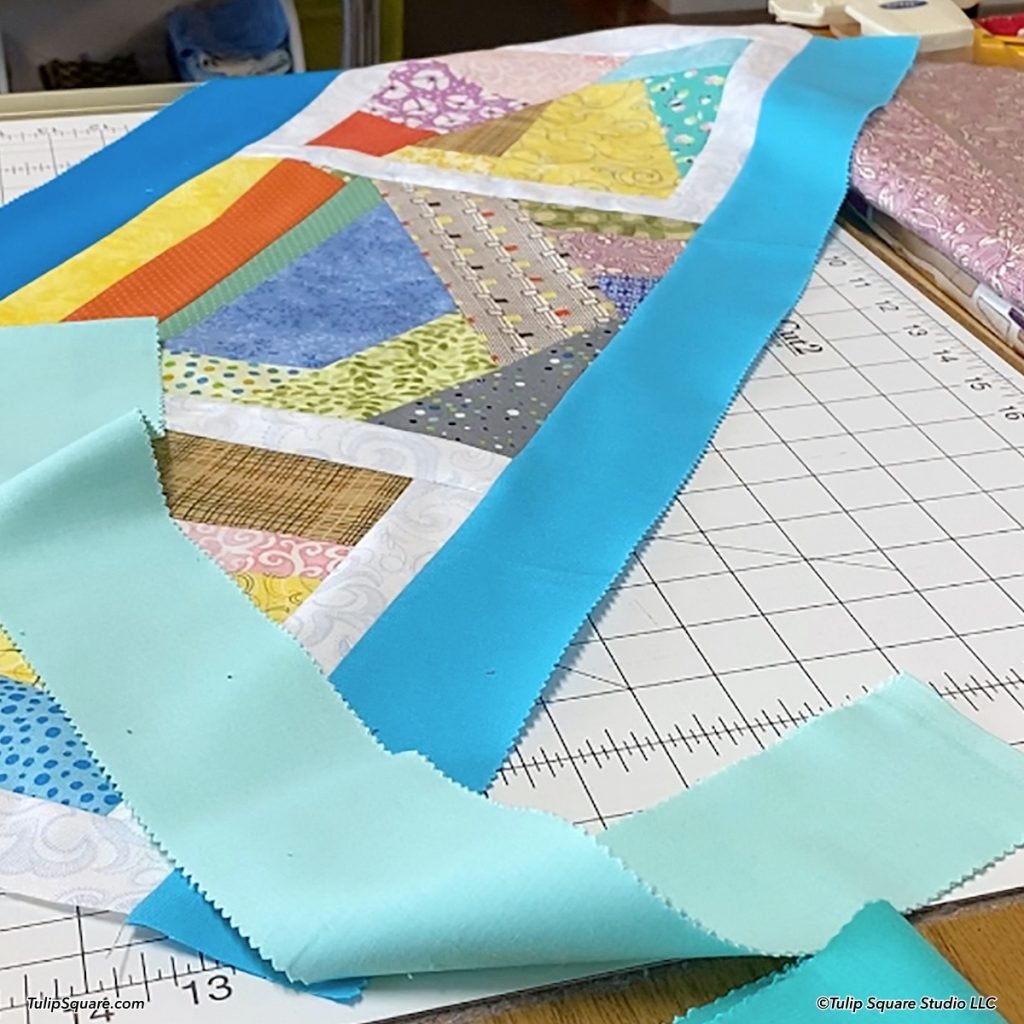
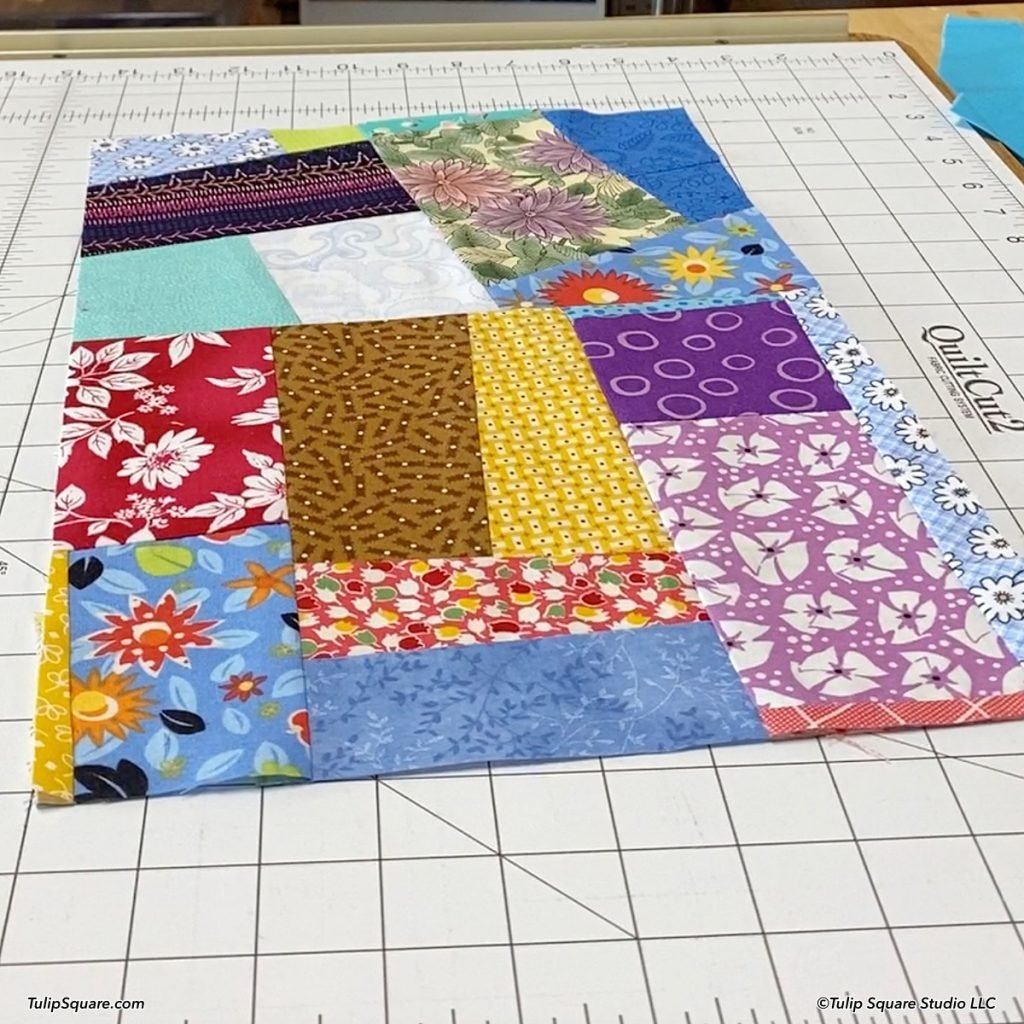
Make more blocks like this. You can add borders to some, or make them in all different sizes. It all depends on what you plan to do with the finished blocks. (For my project shown in some of these pictures, I’m making a set of six placemats, 10 x 16 inches each.)
Once you have enough scrappy blocks pieced, trimmed and put together as needed, you can go ahead and quilt them just like any other project. Trim them and you’re ready for binding!
If you need any help with making and attaching binding, check out our All about binding post, or watch our binding video on YouTube! Thanks for stopping by!