
How to make a fabric covered button for your next project:
Ever have a project that needs just the perfect button to complete it, and you can’t find that exact perfect button? Or you found a good one, but it’s too small or too big. Or maybe you want your button to match your binding or some other element on your project? How about making a fabric covered one so it can be exactly what you want! You can buy fabric button covering kits, but if you don’t have one handy, or the little blanks aren’t the right size you need, you can easily cover a button without the kit.
All you’ll need is a scrap of cloth, a scrap of batting, a needle and thread, and about 15 minutes of your time. This is such a cute way to finish off a purse or tote, or something where the button is visible and part of the design elements. We’ve made them for totes and bags, purses and even jackets.
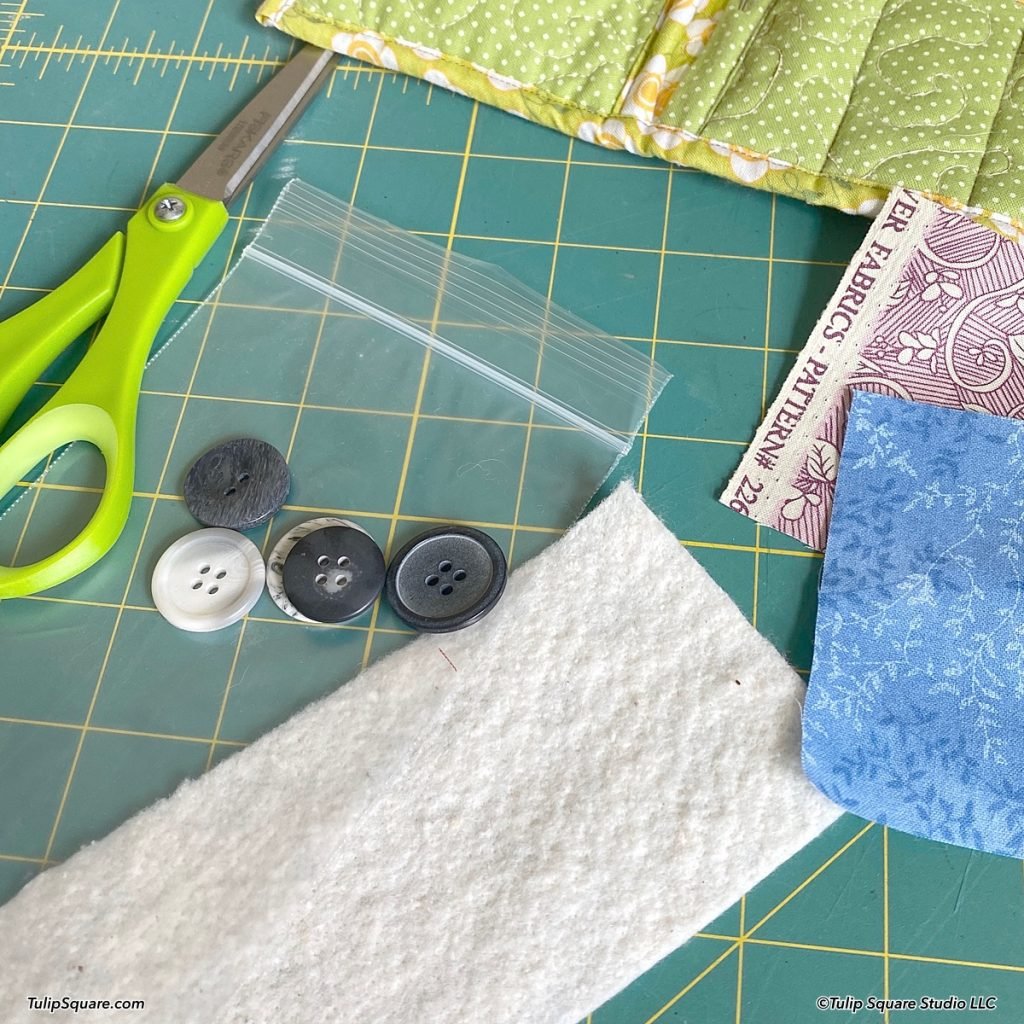
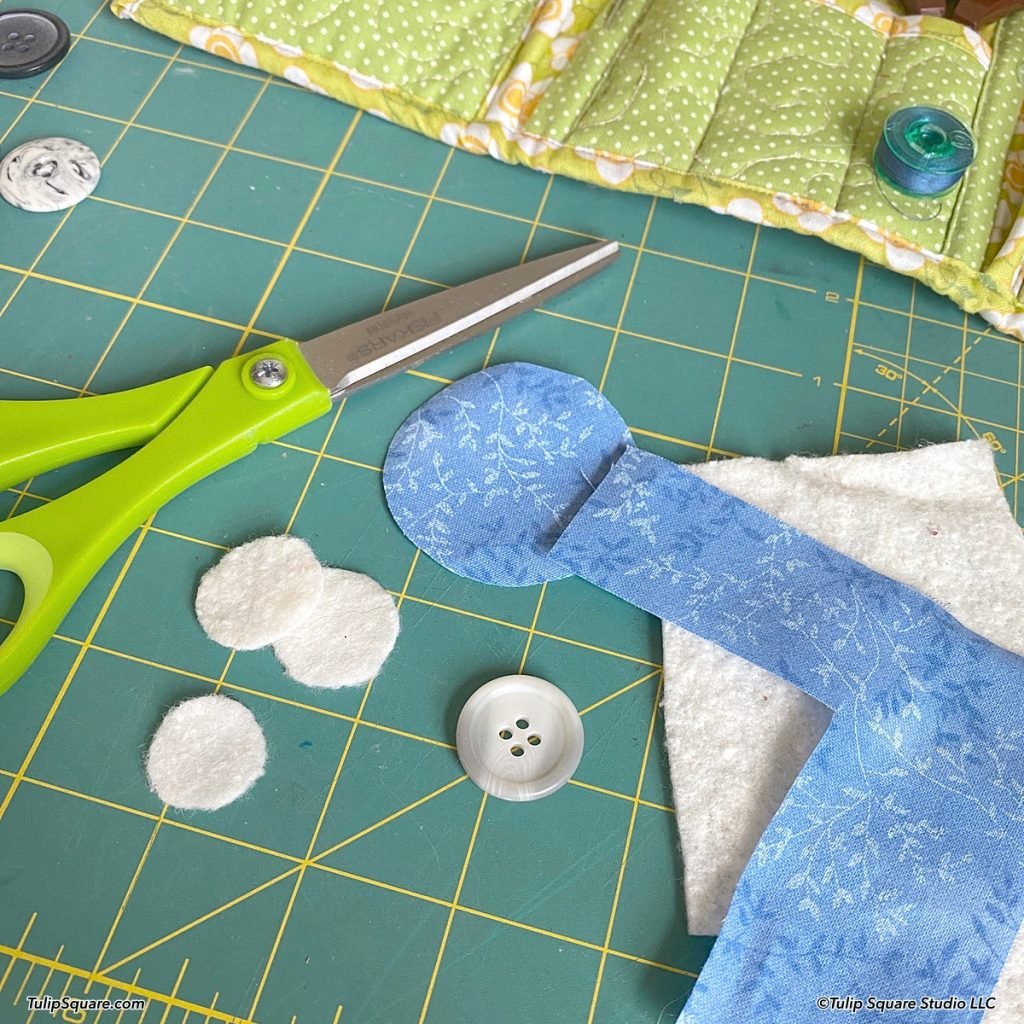
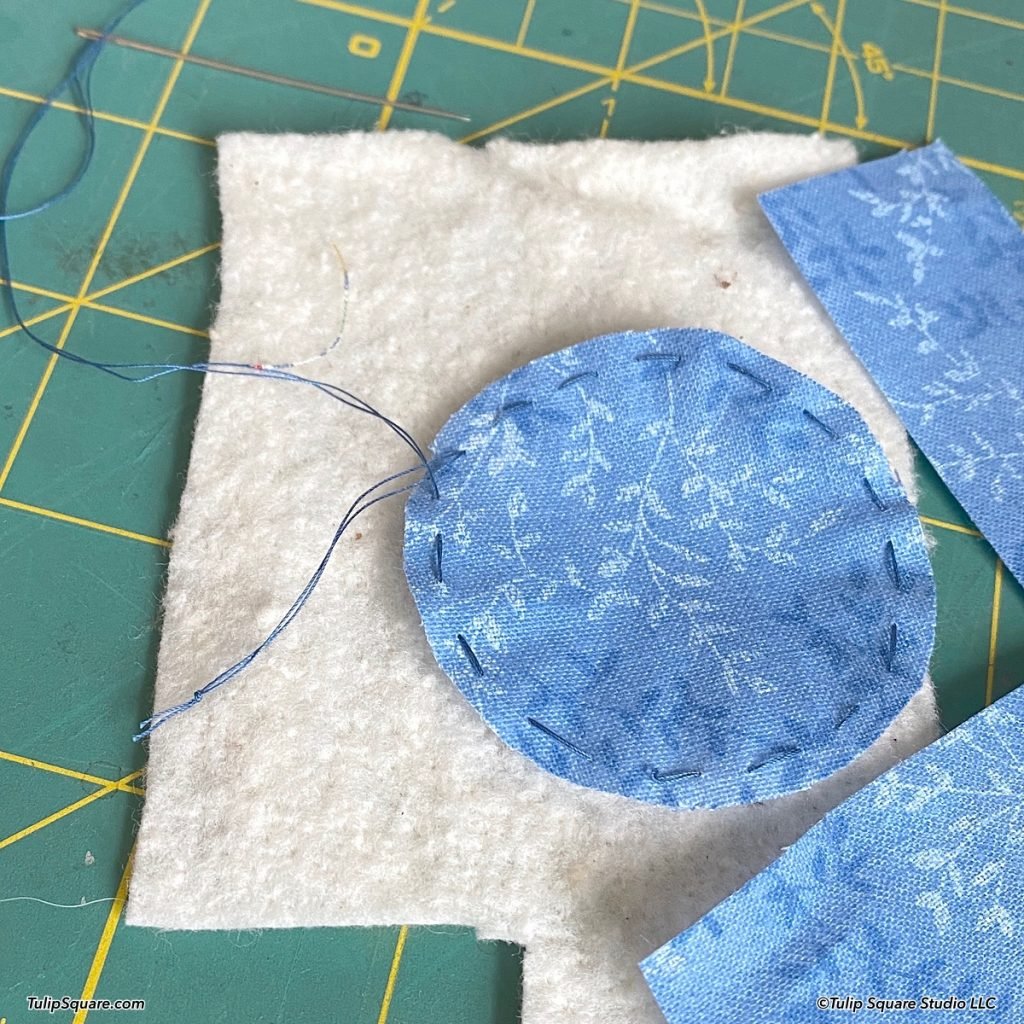
Find an old button the size you want to use. It can be two hole, four hole or even a shank button. If it’s a two or four hole button that’s concave one direction or the other, you can pick if you want your covered button pretty flat or rounded depending on which side of the button you put facing the fabric. Cut a piece of your scrap fabric in a circle a bit more than two times the size of your button. I’m using a 1 inch wide button in this project, so I cut a 2-1/4 inch circle from my fabric. Next cut two or three circles of scrap batting, one about the size of the button and one or two a little smaller.
Hand sew a running stitch around the entire circle, staying about an 1/8 inch from the edge. Use a knotted doubled thread and run your needle through the knotted loop at the end.
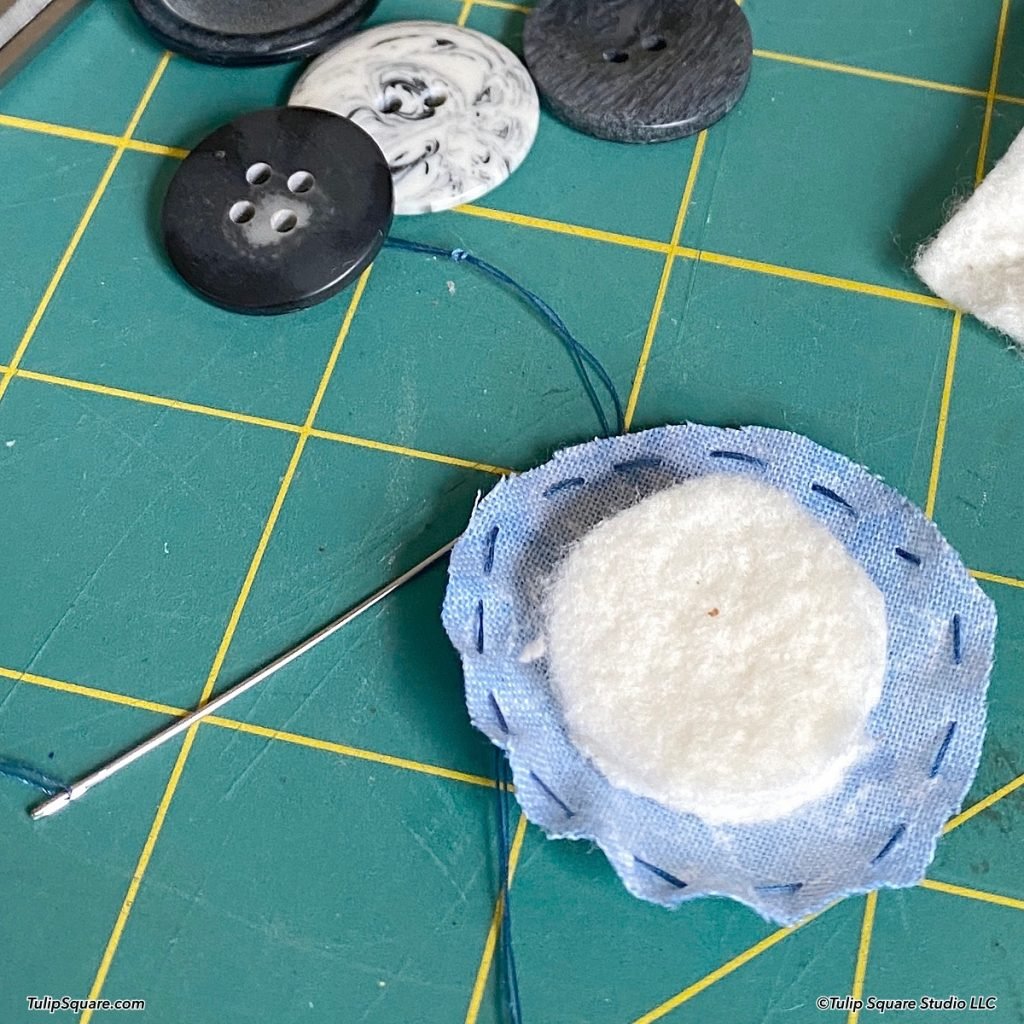

Lay your batting circles in the center of the wrong side of the fabric circle, with the smaller circles down first. Put the button on top of the pile, centering everything.
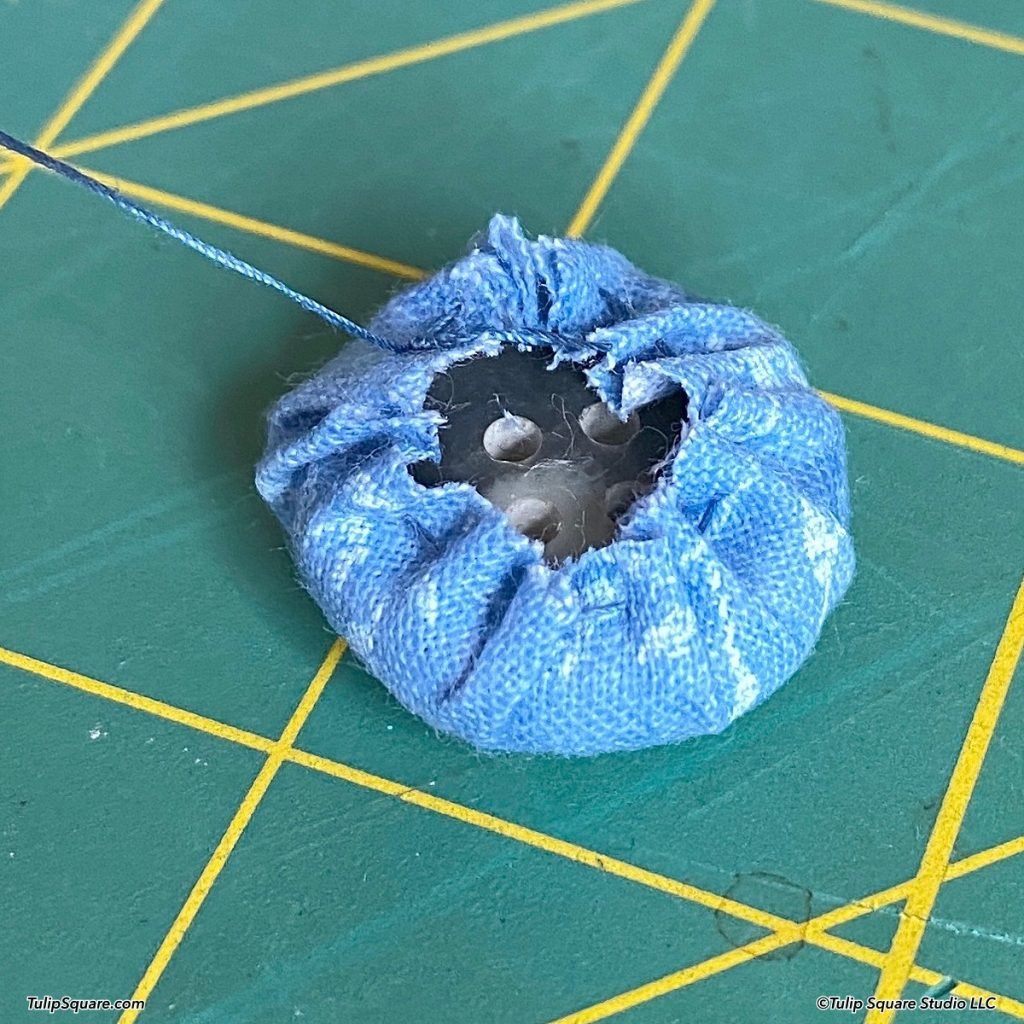
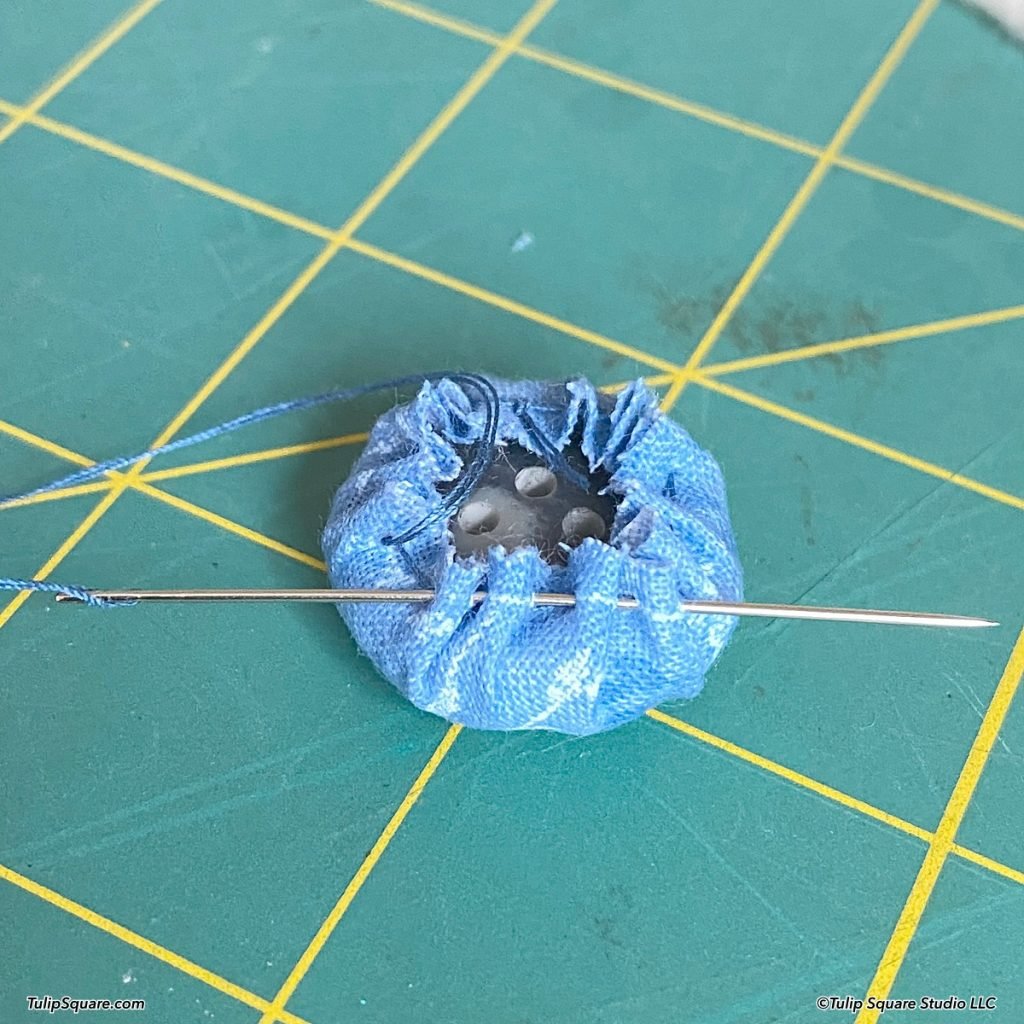
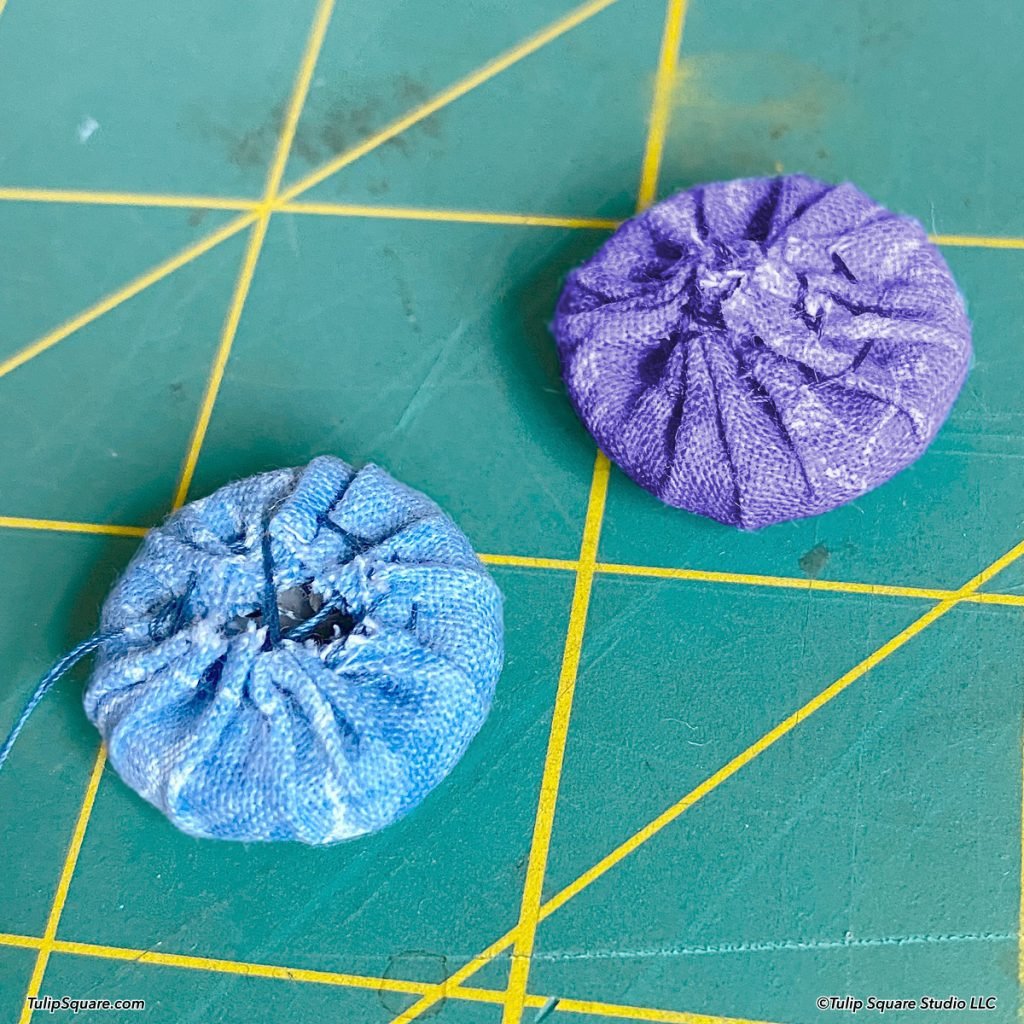
Now pull the gathering thread up tight. It will pretty much cover the entire back of your button, but it’s not exact at all – a little bigger or smaller is ok. I’m showing you two buttons with different size circles sewn around them. You can see the back of one button in the center of the first button, and gathered fabric at the center back on the second button. Pull the thread really snug, then run a few stitches through the gathered ends.

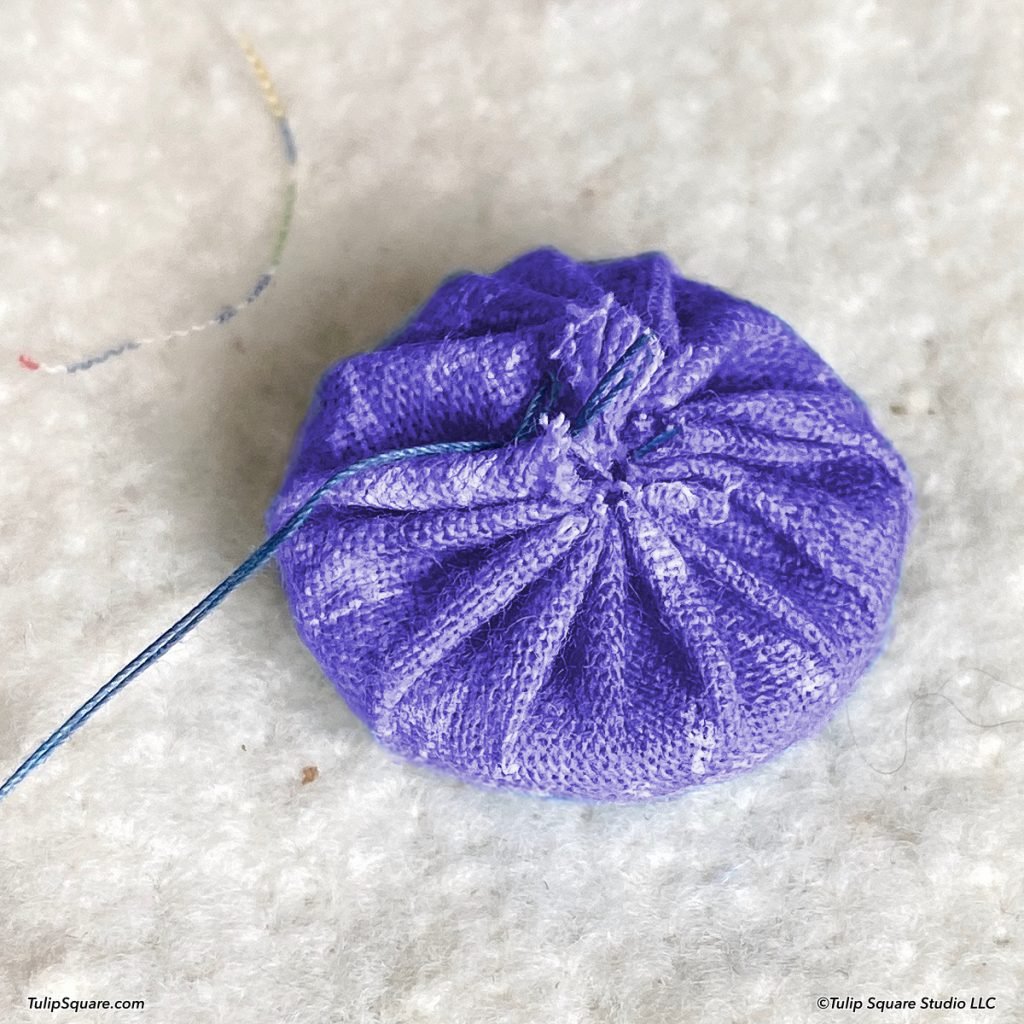
Now stitch around the circle again, close to the center, by going through all the little gather folds.
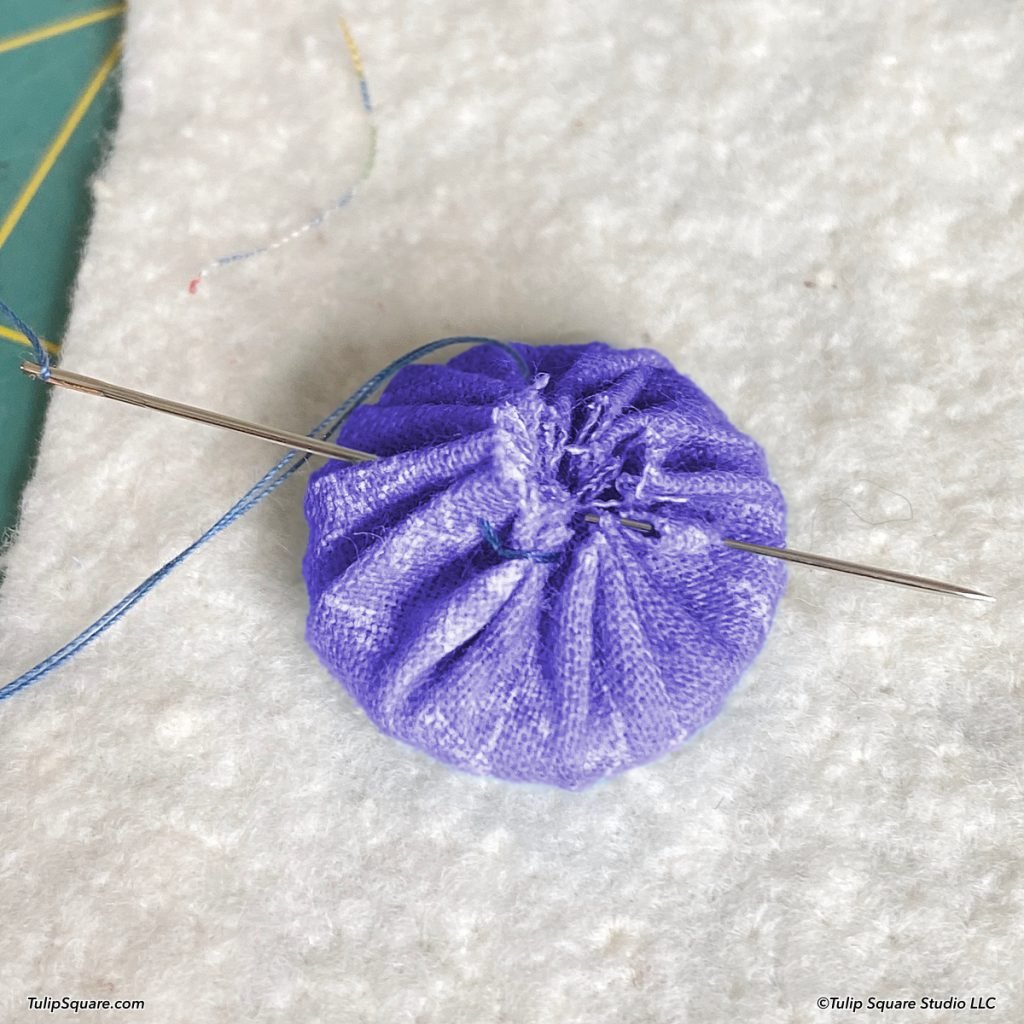
Snug the thread up once more and end it back near the center back, and make a knot or two to secure it. Don’t cut the thread, it will be used to sew the button to your project item. The little center clump of gathered fabric acts like a button shank that you can sew through to attach it.
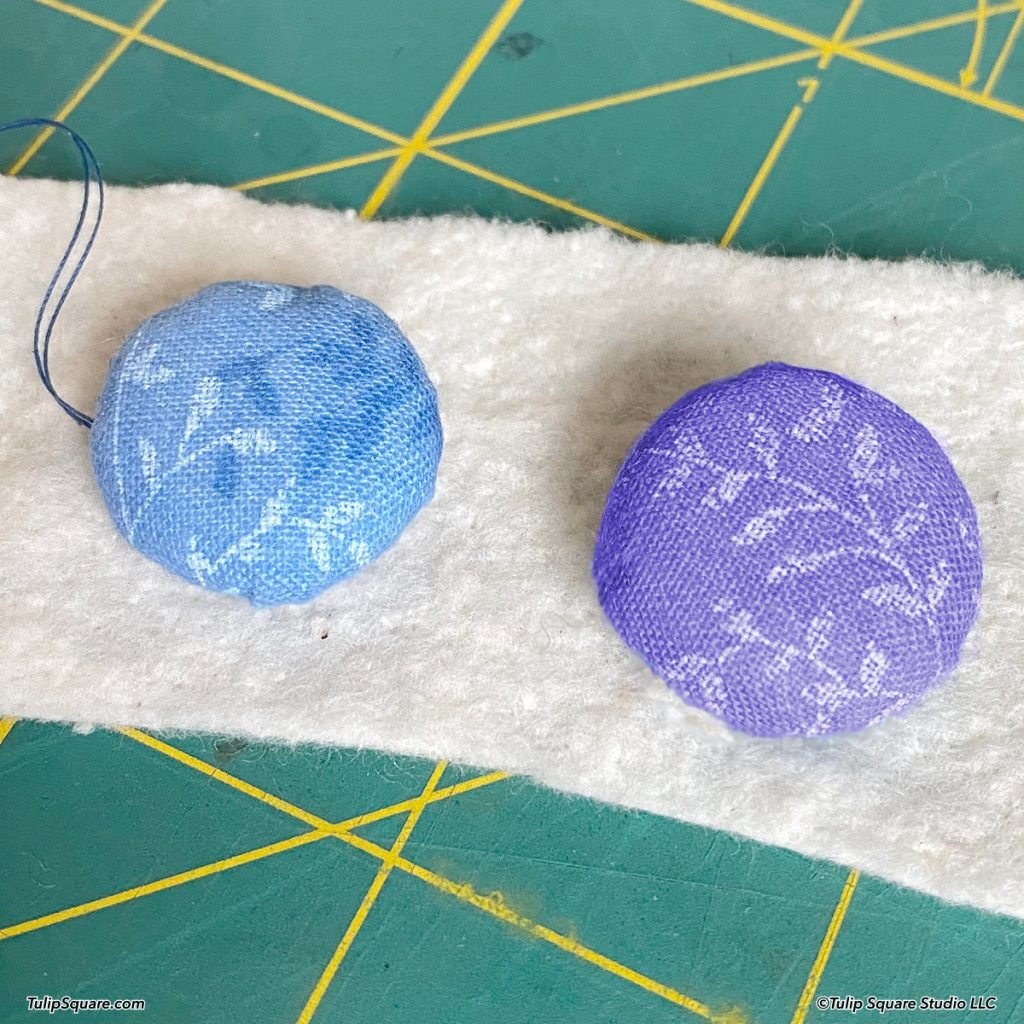
That’s all there is to it! Happy button covering, and I’ll see you again soon with some more fun sewing stuff!
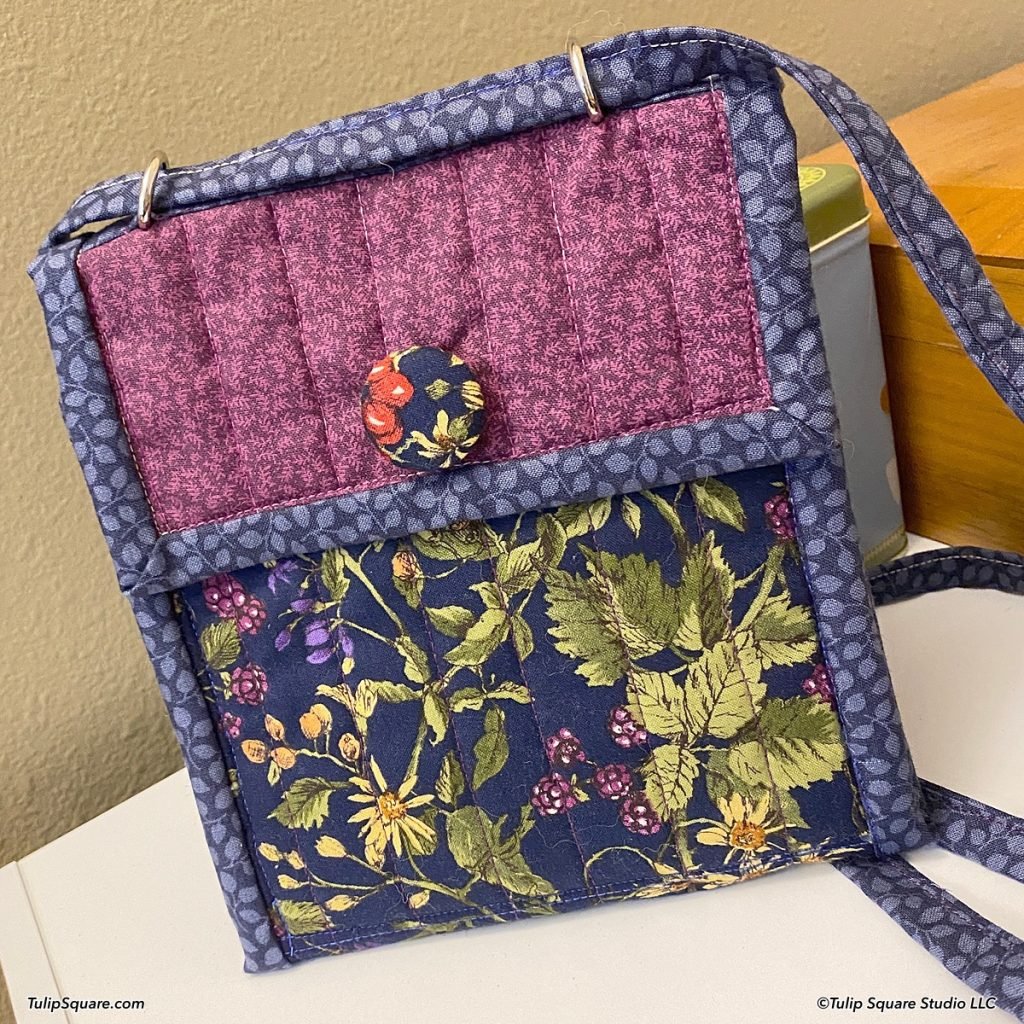
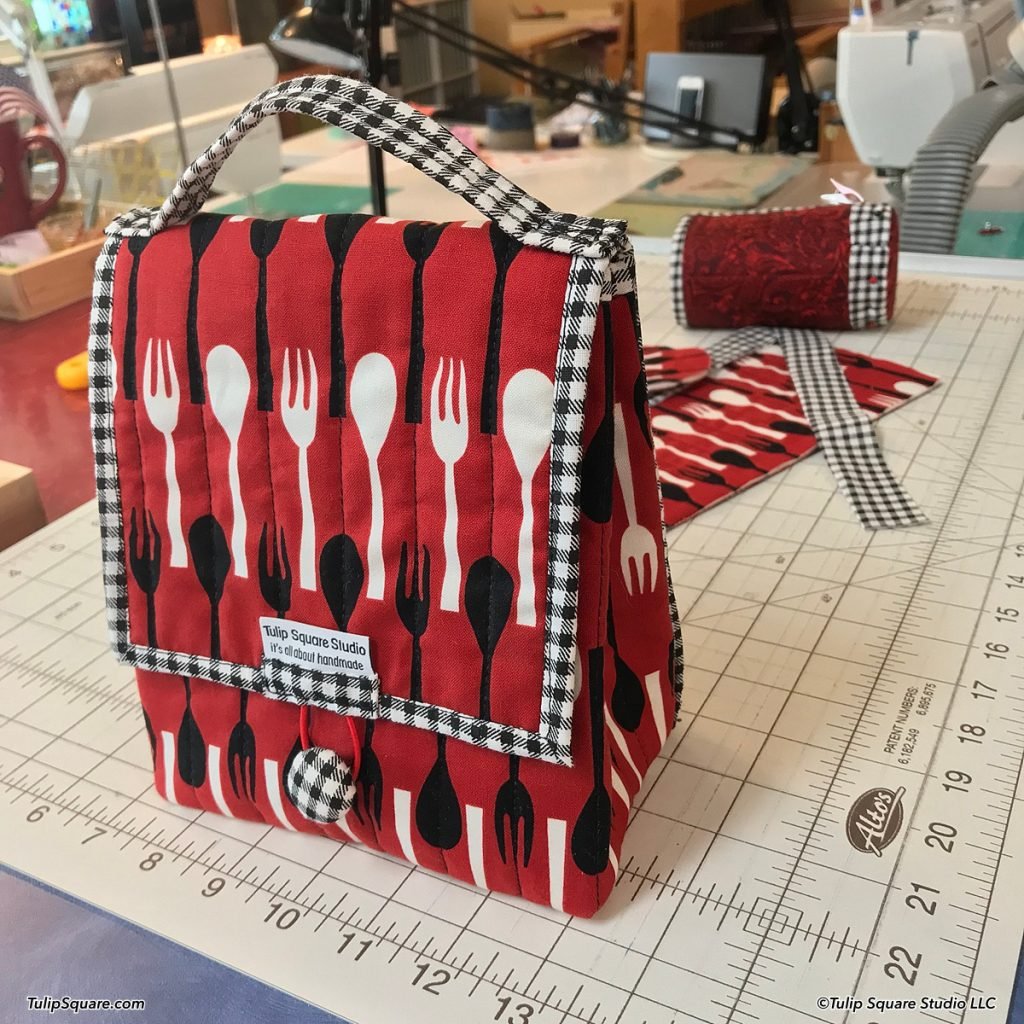
Covered buttons are shown on our Smart Phone Case Plus (pattern #601), and Quilted Lunch Bag (pattern #508)